

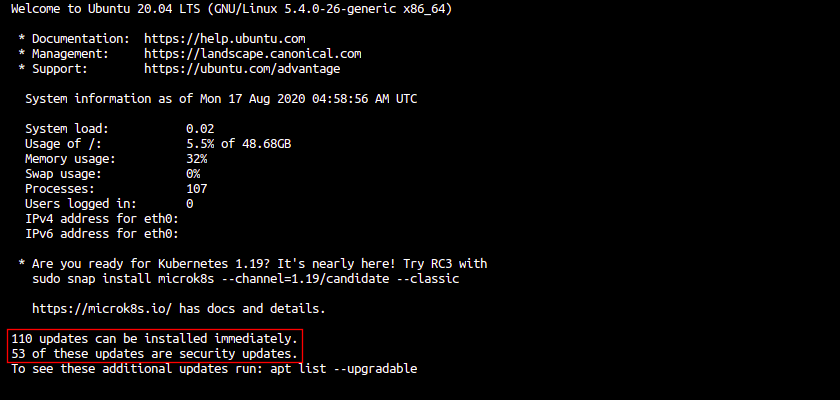
It’s important to install security updates in Linux server. Here I’m going to show you how to enable automatic updates in Ubuntu Server, when and how often it will install updates, which packages to install or not to install, etc in details.
Enable automatic security updates in brief:
Just want to enable this feature in Ubuntu Server, without boring with other things? Well, you can do it via 2 commands in console:
- Log into your Ubuntu Server and run command to install “unattended-upgrades” package:
sudo apt install unattended-upgrades - Then run command to enable automatic updates in daily basis:
sudo dpkg-reconfigure --priority=low unattended-upgrades
That’s it. Your Ubuntu Server will now check and install security updates once a day.
More about security updates:
1. Tell how often to check for & install updates:
The /etc/apt/apt.conf.d/20auto-upgrades configuration file controls how often to check for and install updates.

There are two lines in the file:
- APT::Periodic::Update-Package-Lists “1”; Number 1 in the line tells to check for updates (apt update) once a day, you can change it to 0 to stop checking updates.
- APT::Periodic::Unattended-Upgrade “1”; Number 1 in this line tells to install updates (via rules in 50unattended-upgrades) once a day, and you can change it to 0 to disable automatic updates.
And there are two more rules in /etc/apt/apt.conf.d/10periodic config file:
- APT::Periodic::Download-Upgradeable-Packages “0”; defines how many days to download update packages once.
- APT::Periodic::AutocleanInterval “0”; defines how many days to run apt autoclean once.
2. Control which packages to install or not to install:
You can edit the /etc/apt/apt.conf.d/50unattended-upgrades file to configure more about the automatic updates features.
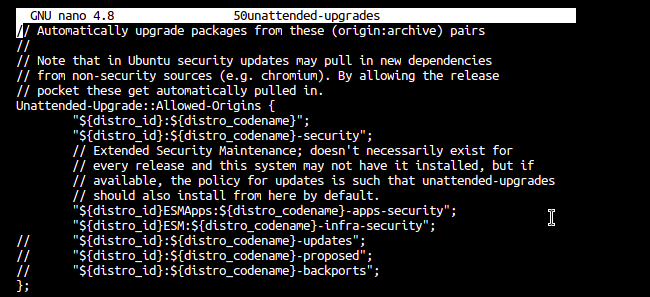
This section by default defines to install security updates:
Unattended-Upgrade::Allowed-Origins {

        "${distro_id}:${distro_codename}";

        "${distro_id}:${distro_codename}-security";

        "${distro_id}ESM:${distro_codename}";

//      "${distro_id}:${distro_codename}-updates";

//      "${distro_id}:${distro_codename}-proposed";

//      "${distro_id}:${distro_codename}-backports";

};
You can enable automatic install all package updates via following line, by removing the two back-slant “//” at the beginning.
"${distro_id}:${distro_codename}-updates";
And block some packages from auto-updates by following sections:
Unattended-Upgrade::Package-Blacklist {

      "vim";

      "libc6";

      "libc6-dev";

      "libc6-i686";

};
Automatically remove unused kernel packages, dependency libraries by following line:
Unattended-Upgrade::Remove-Unused-Kernel-Packages "true";

Unattended-Upgrade::Remove-Unused-Dependencies "true";
Some updates require system to reboot to apply changes. You can enable automatically reboot by changing the value in the line below to true.
Unattended-Upgrade::Automatic-Reboot "true";
To make it reboot in a given time by setting following line:
Unattended-Upgrade::Automatic-Reboot-Time "04:30";
If something goes wrong while the updating process, set to send mail to a given email address:
Unattended-Upgrade::Mail "[email protected]";

Unattended-Upgrade::MailOnlyOnError "true";
3. At what time to download and install the updates:
Ubuntu by default check for and download updates at 6:00 AM and 18:00 PM, with a random delay of up to 12 hours.
This replies on /lib/systemd/system/apt-daily.timer config file. It is however recommended to run following command to change the time:
sudo systemctl edit apt-daily.timerIt will create a new file under /etc to override the previous rules. Just copy and paste following lines and change the time, press Ctrl+X then type Y and hit Enter to save it.
[Unit]
Description=Daily apt download activities

[Timer]
OnCalendar=*-*-* 4:00
RandomizedDelaySec=2h
Persistent=true

[Install]
WantedBy=timers.target
And Ubuntu by default install these updates at 6:00 AM, with a random delay of up to 60 minutes, then clean the package caches.
It replies on /lib/systemd/system/apt-daily-upgrade.timer config file. And you can change the time by running command:
sudo systemctl edit apt-daily-upgrade.timerCopy and paste following lines and change the time as your want:
[Unit]
Description=Daily apt upgrade and clean activities
After=apt-daily.timer

[Timer]
OnCalendar=*-*-* 6:00
RandomizedDelaySec=60m
Persistent=true

[Install]
WantedBy=timers.target
For debugging purpose, check log files at /var/log/apt, /var/log/unattended-upgrades
Conclusion:
Ubuntu Server users can install “unattended-upgrades” package to enable automatic updates, and configure systemd timer, 20auto-upgrades, and 50unattended-upgrades files to change more details.