

This is a step by step beginner’s guide shows how to install MLDonkey as Docker container in Ubuntu 22.04 LTS.
For those who want to sharing and/or downloading files using eMule p2p network, MLDonkey is a good replacement for aMule in Linux system repository. And, here’s how to install it!
NOTE: This tutorial is originally posted by Wibol, from Linux Mint forum. It’s just a re-written with screenshots and more text to make easy to follow for beginners.
This tutorial is tested and works in Ubuntu 22.04. It should also works in Linux Mint 21, Ubuntu 23.04 and even Debian 12, though not tested.
Step 1: Install & Setup Docker
Docker is a popular free platform allows to build and run application in container. You app run in Docker container is isolated from the host operating system.
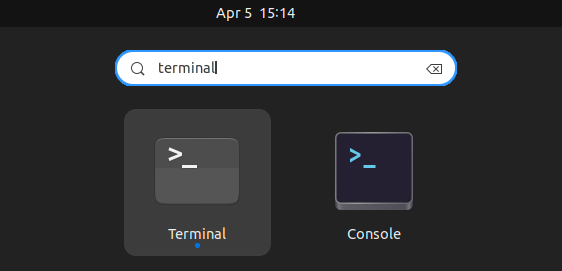
Firstly, open terminal (or connect to your Ubuntu server) either by pressing Ctrl+Alt+T or by searching from start menu or ‘Activities’ overview.
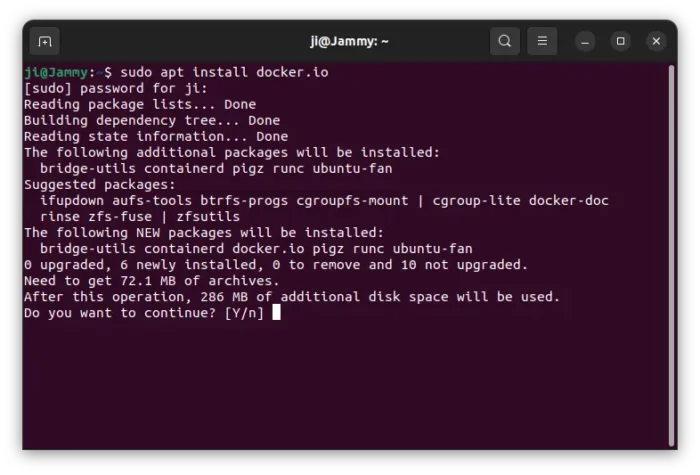
When terminal opens, install Docker by running command:
sudo apt install docker.io
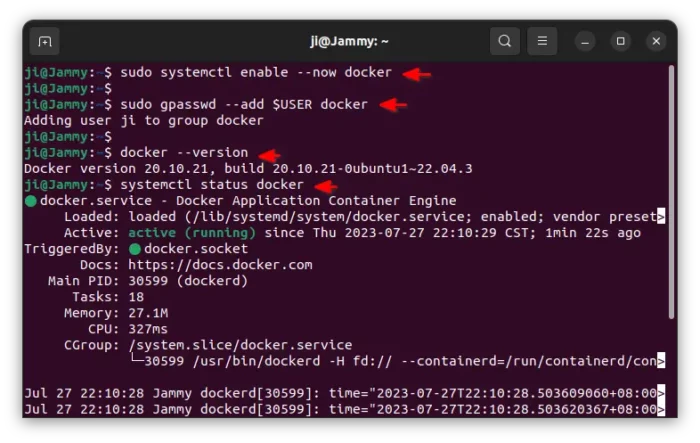
Next, enable docker service by running command:
sudo systemctl enable --now docker
You may run systemctl status docker command to check if it’s running.
Also, grant permission by adding your user to ‘docker’ group:
sudo gpasswd --add $USER docker
Finally, reboot your computer.
Step 2: Install MLDonkey as Docker Container
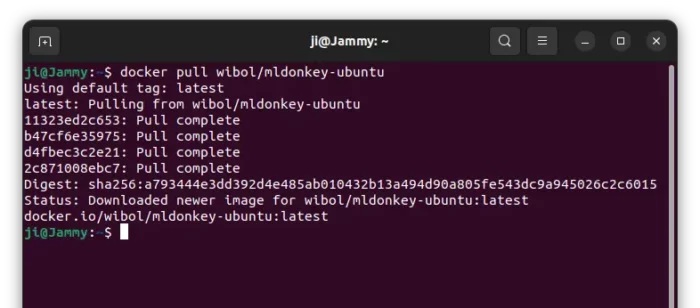
Also in terminal window, download MLDonkey Docker image by running command:
docker pull wibol/mldonkey-ubuntu
When done, create a container for mldonkey by running command:
docker create --name mldonkey-ubuntu --restart=always \
-p 4080:4080 -p 4000:4000 -p 4001:4001 \
-p 20562:20562 -p 20566:20566/udp -p 16965:16965/udp \
-v "$HOME/Downloads/mlDonkey:/var/lib/mldonkey/incoming/files" \
wibol/mldonkey-ubuntu
NOTE: This is a SINGLE command separated in multiple lines! It creates ‘mlDonkey’ sub-folder in your Downloads folder, and bind it for saving your downloads. Replace $HOME/Downloads/mlDonkey in command to change its location if you want.
You may also set 'shared' and 'temporary' folders, so the command will be:
docker create --name mldonkey-ubuntu --restart=always \
-p 4080:4080 -p 4000:4000 -p 4001:4001 \
-p 20562:20562 -p 20566:20566/udp -p 16965:16965/udp \
-v "$HOME/Downloads/mlDonkey:/var/lib/mldonkey/incoming/files" \
-v "/var/lib/mldonkey:/var/lib/mldonkey" \
-v "/tmp/mldonkey:/var/lib/mldonkey/temp" \
-v "$HOME/Videos/mlDonkey:/var/lib/mldonkey/shared" \
wibol/mldonkey-ubuntu
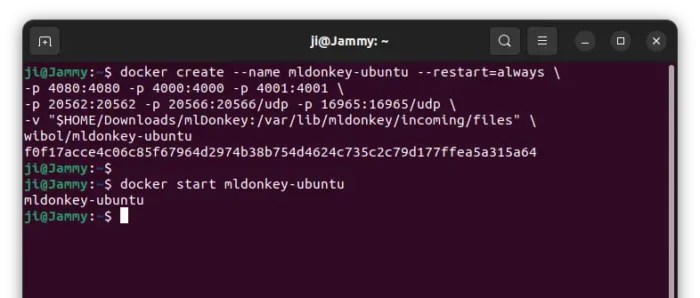
Finally, start MLDonkey server in container via command:
docker start mldonkey-ubuntu
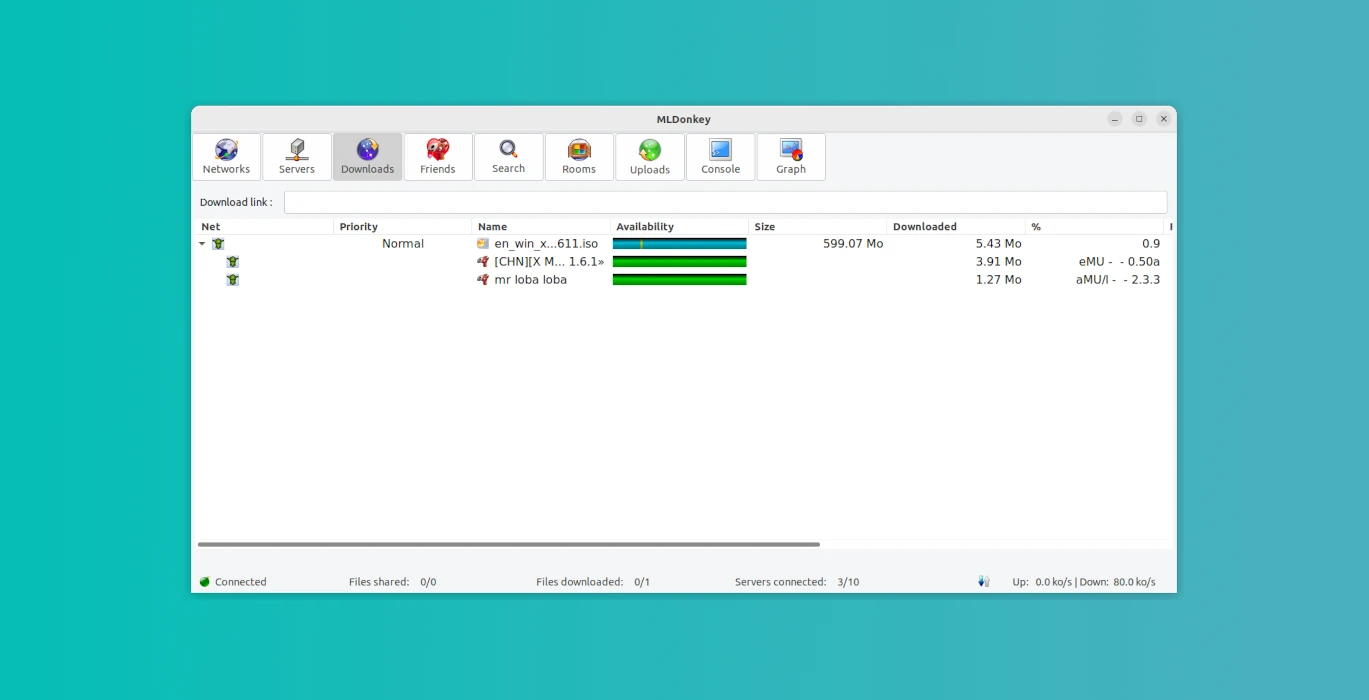
Step 3: MLDonkey web UI & GTK Client
If firewall activated (run sudo ufw status to tell), it is necessary to open ports 20562/TCP, 20566/UDP and 16965/UDP in router to develop its full potential. Also, open port 4001 for remote client.
Web UI
Once your MLDonkey server is successfully running, you can just open a web browser and go localhost:4080 with:
- username: admin
- password: Passw0rd- (it’s number ‘zero’, rather than letter o)
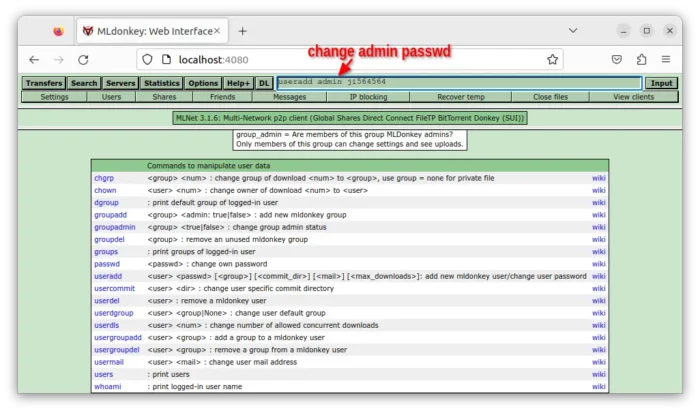
Then in the ‘input’ field, type useradd admin NEW_PASSWD_HERE to change the default password to another one, and hit “Input” button.
GTK Client
Ubuntu has the ‘mldonkey-gui’ package in system repository for Ubuntu 20.04. It’s still working in my case in 22.04, though removed from system repository.
1. Firstly, download the .deb package by going to the link below:
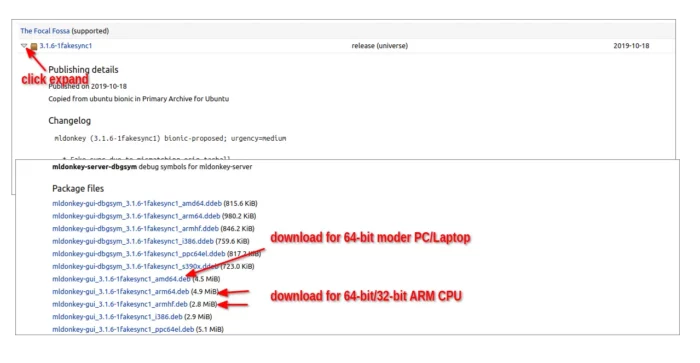
Click ‘▸’ icon to expand the package for the Focal Fossa, then select download one of the following packages:
mldonkey-gui_3.1.6-1fakesync1_amd64.debfor modern x86_64 pc/laptops.mldonkey-gui_3.1.6-1fakesync1_arm64.debfor 64-bit ARM devices, such as Apple M1/M2, Raspberry Pi 3/4.mldonkey-gui_3.1.6-1fakesync1_armhf.debfor 32-bit ARM, such as Raspberry Pi Zero.
2. Then, either click open with “Software Install” and install the .deb package. Or, run command in terminal to install the downloaded package:
sudo apt install ~/Downloads/mldonkey-gui_3.1.6-1fakesync1*.deb
3. Once installed, search for and launch ‘MLDonkey’ from either start menu or ‘Activities’ overview depends on your desktop environment.
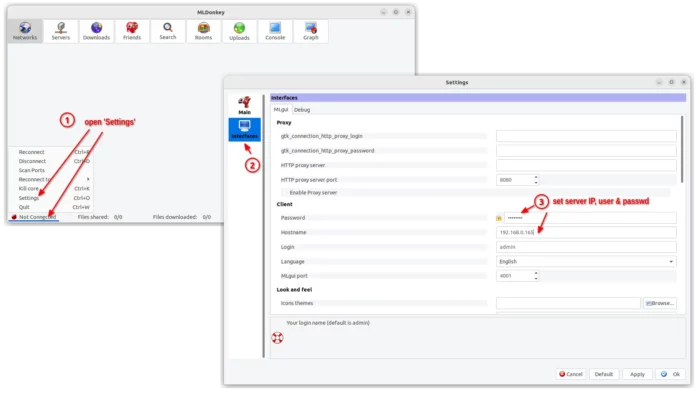
4. Finally, do following steps one by one to connect to server:
- Open ‘Settings’ by clicking on bottom-left ‘Not Connected‘ to open menu, then choose ‘Settings’ (or press Ctrl+O shortcut key)
- In ‘Settings’ dialog, navigate to “Interfaces” in left pane.
- Configure hostname (‘localhost’ for access locally), and password.
- Finally, click ‘Apply’ and ‘OK’
When done, you can enjoy downloading and sharing via eMule p2p network!
Step 4: Fix permissions for Downloads folder
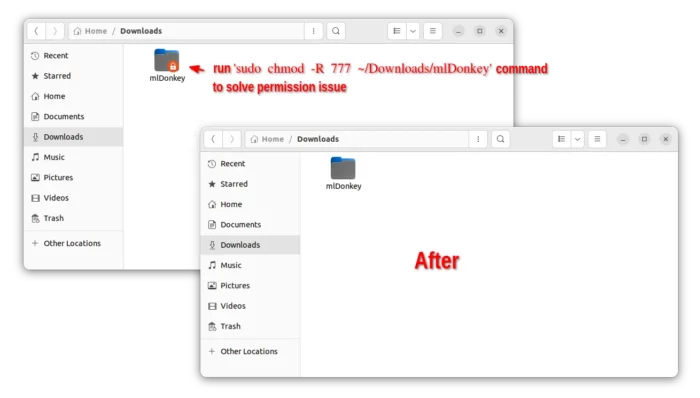
The ‘mlDonkey’ sub-folder in Downloads is NOT belong to you, so it by default has a small lock icon that indicates you have permission issue to access it.
To workaround the issue, open terminal and run command:
sudo chmod -R 777 ~/Downloads/mlDonkey
Also run sudo chmod -R 777 ~/Videos/mlDonkey if you set the shared folder. After that, all users in system has full permission access to that folders.
Uninstall
To uninstall the MLDonkey server, open terminal and run commands:
- First, stop the container:
docker stop mldonkey-ubuntu
- Then,remove the container:
docker container rm mldonkey-ubuntu
Then, remove the GTK client by running command:
sudo apt remove mldonkey-gui
If you don’t use any other Docker container, you may also remove all the images and volumes to free up disk space (don’t run command below if you’re running any other Docker container):
docker system prune -a
docker volume prune