

The ‘pip install’ command does no longer work out-of-the-box in since Ubuntu 23.04 and Debian 12 Stable ‘bookworm’! Here are the new methods installing Python packages in your Linux!
This is due to a conflict between the system apt package manager and Python-specific package management tools. The upstream has proposed the change about 2 years ago. And, Ubuntu 23.04 and Debian testing are the first releases take use of the new policy, that do NOT allow ‘pip install‘ outside a virtual environment.
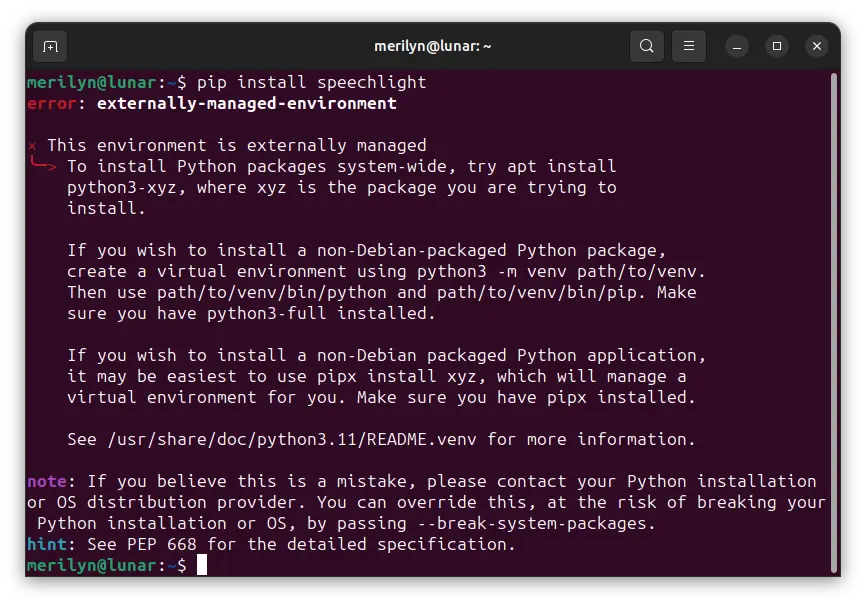
When you trying to install any package via that command, it will output something look like:
error: externally-managed-environment
× This environment is externally managed
╰─> To install Python packages system-wide, try apt install
python3-xyz, where xyz is the package you are trying to
install.If you wish to install a non-Debian-packaged Python package,
create a virtual environment using python3 -m venv path/to/venv.
Then use path/to/venv/bin/python and path/to/venv/bin/pip. Make
sure you have python3-full installed.If you wish to install a non-Debian packaged Python application,
it may be easiest to use pipx install xyz, which will manage a
virtual environment for you. Make sure you have pipx installed.See /usr/share/doc/python3.11/README.venv for more information.
note: If you believe this is a mistake, please contact your Python installation or OS distribution provider. You can override this, at the risk of breaking your Python installation or OS, by passing –break-system-packages.
hint: See PEP 668 for the detailed specification.
As the error output indicates, there are a few alternative ways to install Python packages. And, here I’m going to show you how via the following steps.
Option 1: Install Python Library/App via Apt
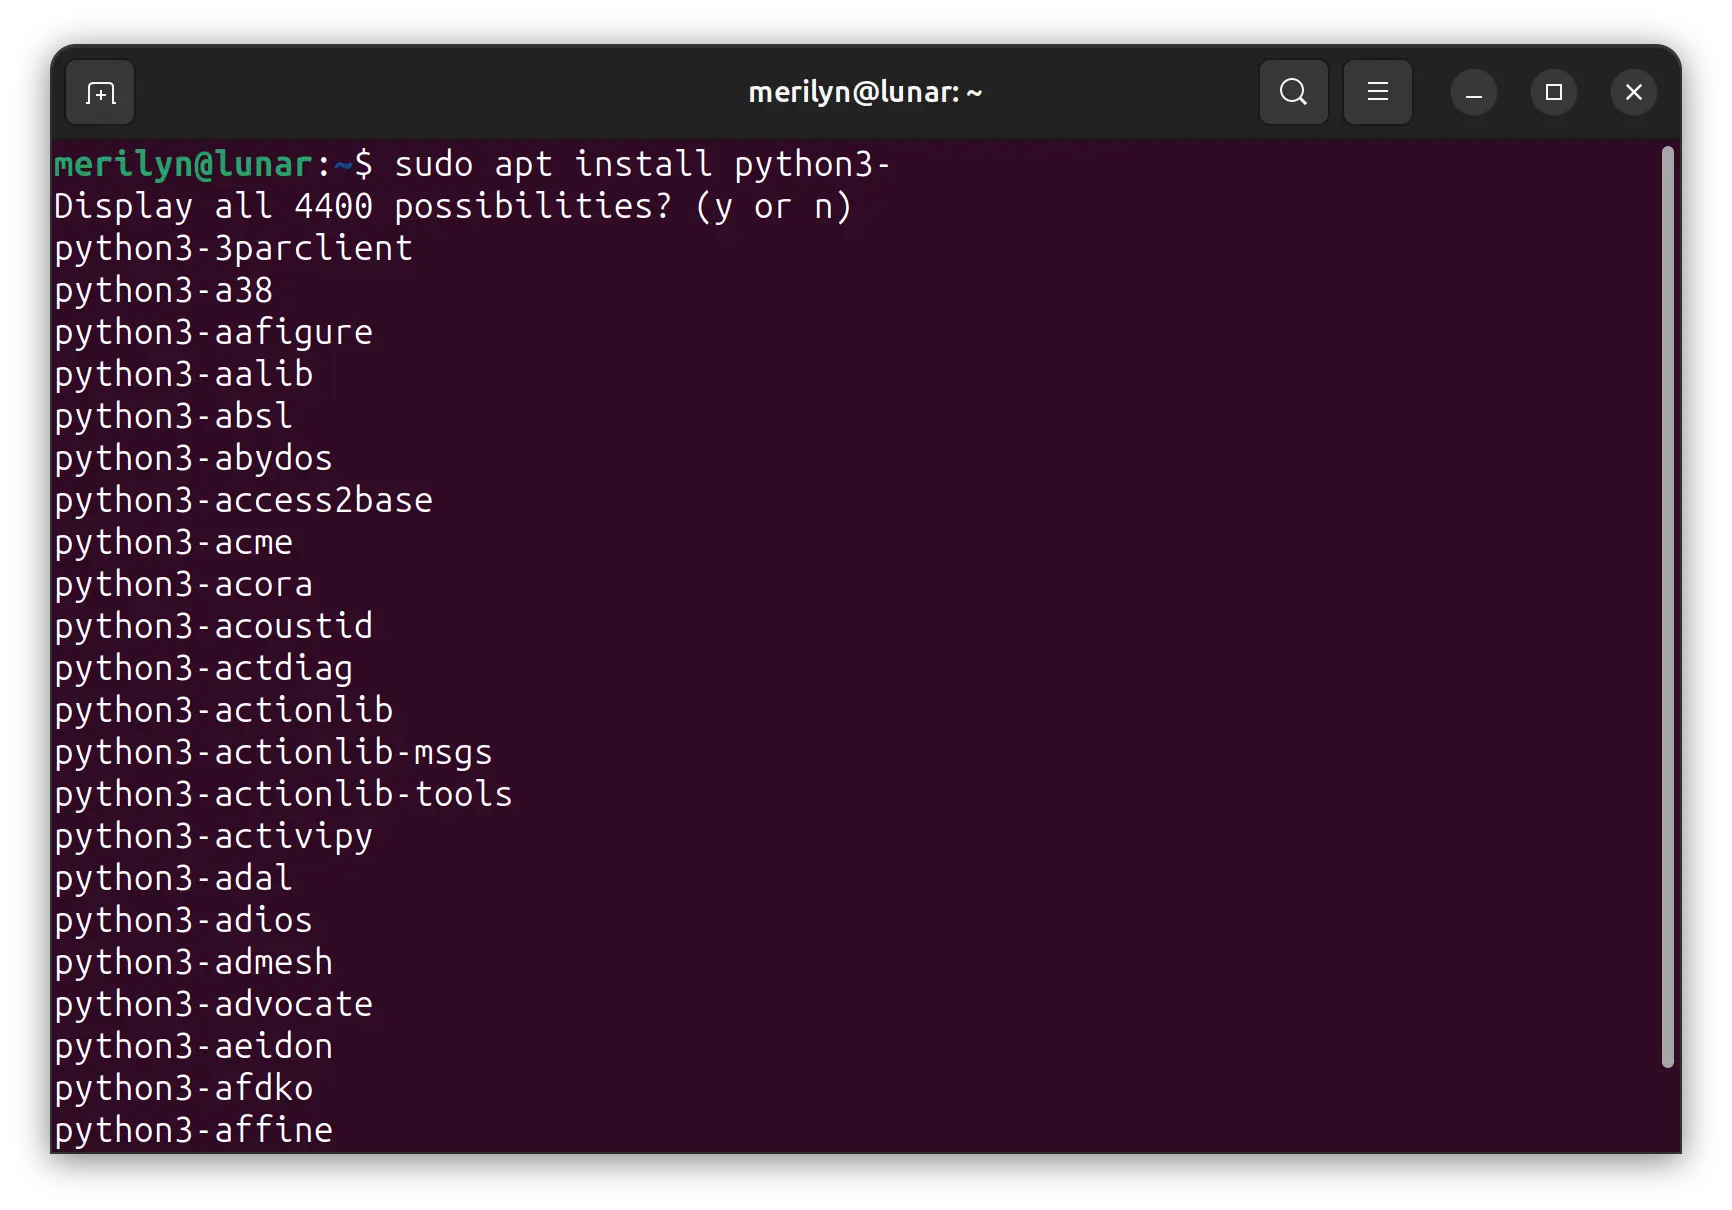
Debian and Ubuntu system repositories provide more than 4000 Python packages. Before trying ‘pip’ command, it’s HIGHLY recommended to try installing via system package manager first.
In Ubuntu, just press Ctrl+Alt+T on keyboard to open terminal and run command:
sudo apt install python3-
Then, hit Tab and type y to view all available Python packages.
Or, go to https://packages.ubuntu.com/ and use a keyword to search your Python package in Ubuntu repository.
Option 2: Force install (NOT Recommended!)
It’s still possible to install Python packages outside virtual environment, like in old Ubuntu editions. However, it’s NOT recommended. Use it at your own risk!
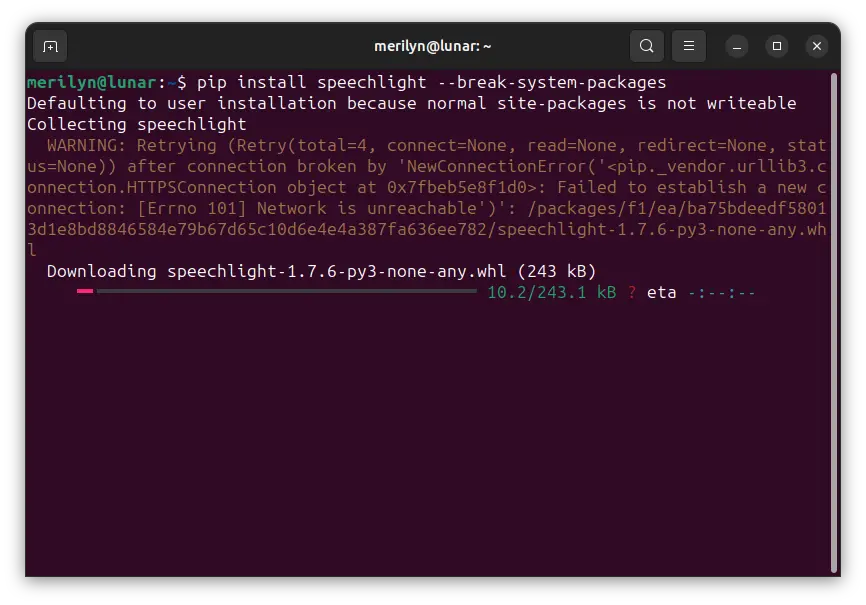
To do so, just add --break-system-packages flag after ‘pip install‘ command.
For example, force to install the speechlight package via command:
pip install speechlight --break-system-packages
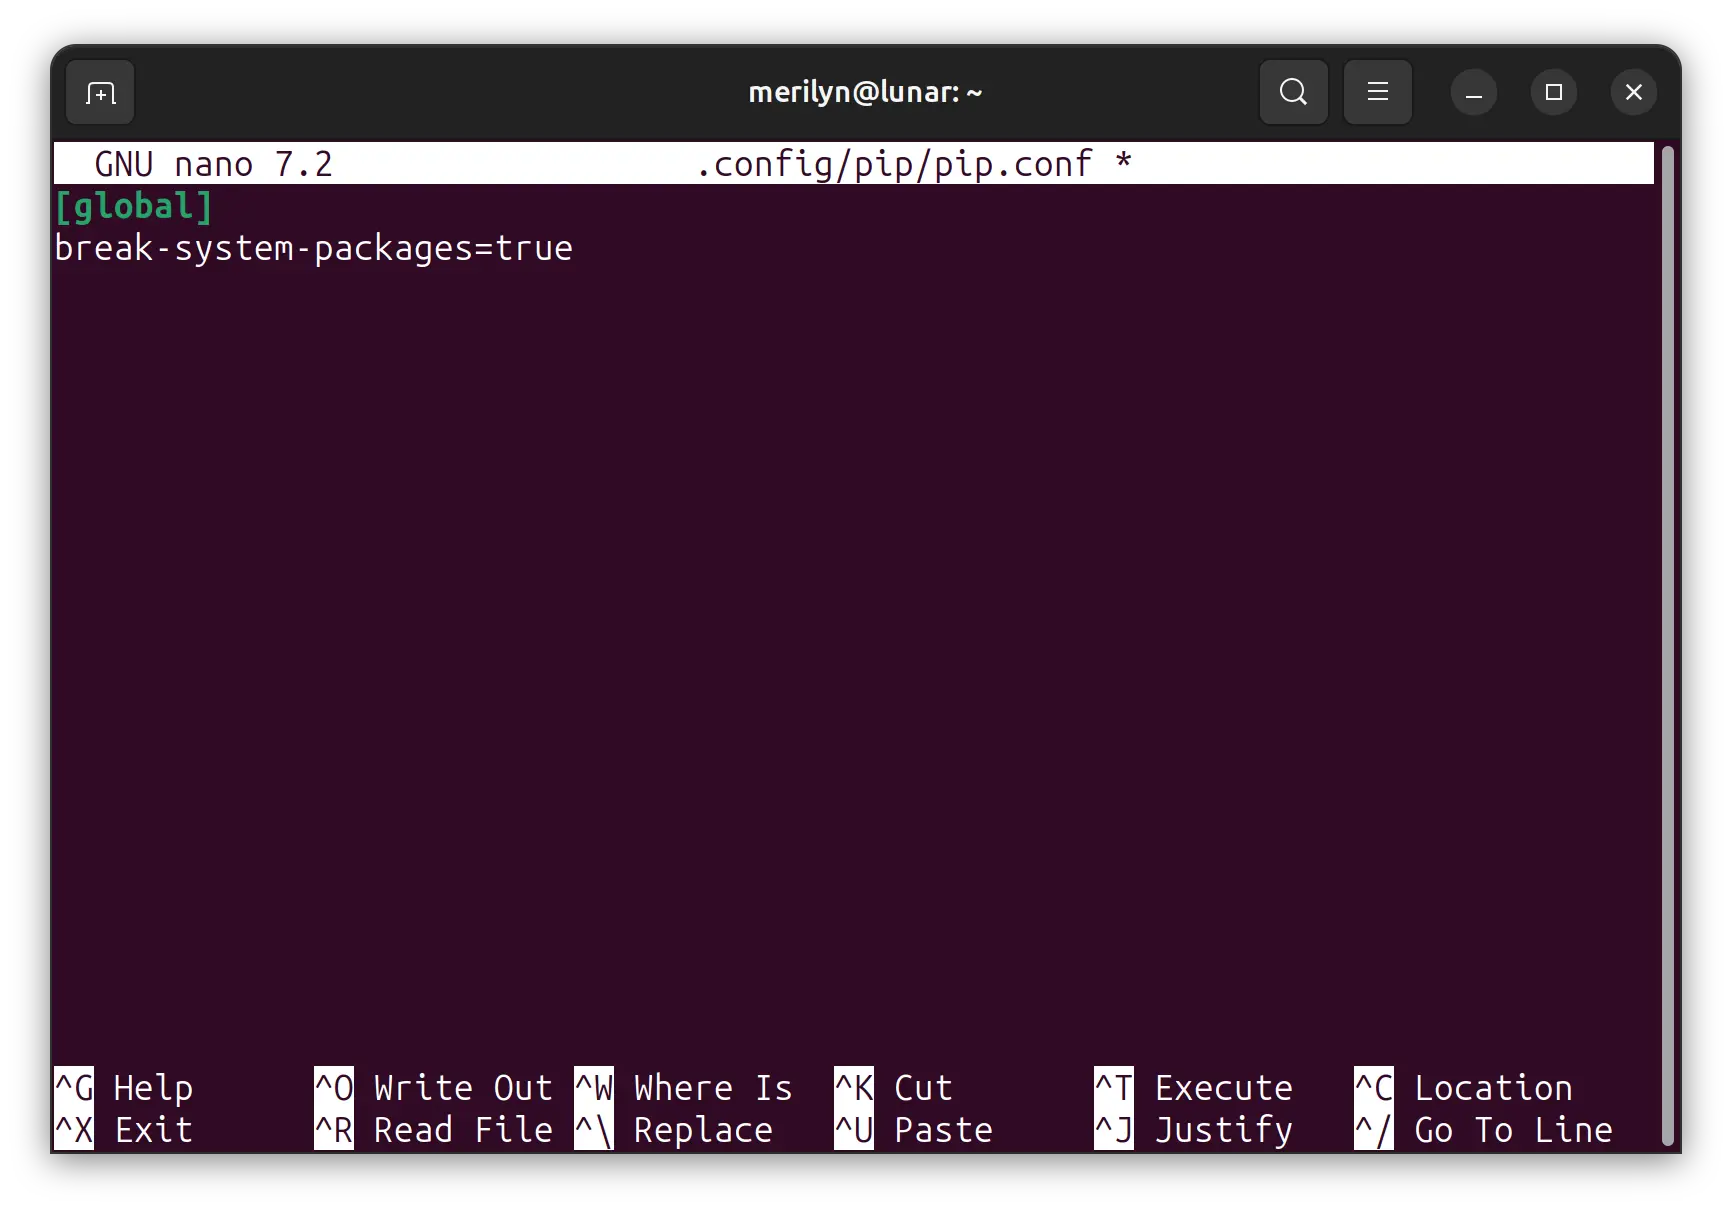
You can EVEN skip this flag, by making it default. To do so, run command to create and edit the config file:
mkdir -p ~/.config/pip && nano ~/.config/pip/pip.conf
When file opens in terminal, add following lines:
[global]
break-system-packages=true
Finally, save the change by pressing Ctrl+X, typing y and hitting Enter.
Option 3: Create Virtual Environment
To follow the new policy, it recommends to install Python packages into a virtual environment.
To create one, simply run:
python3 -m venv .venv/imagesearch
This command will create a “imagesearch” sub-folder (change the name to whatever that you want) under user’s .venv folder.
The new “.venv/imagesearch” directory is a virtual environment. By navigating to that folder, you’ll find there’s a copy of python and pip executable files.
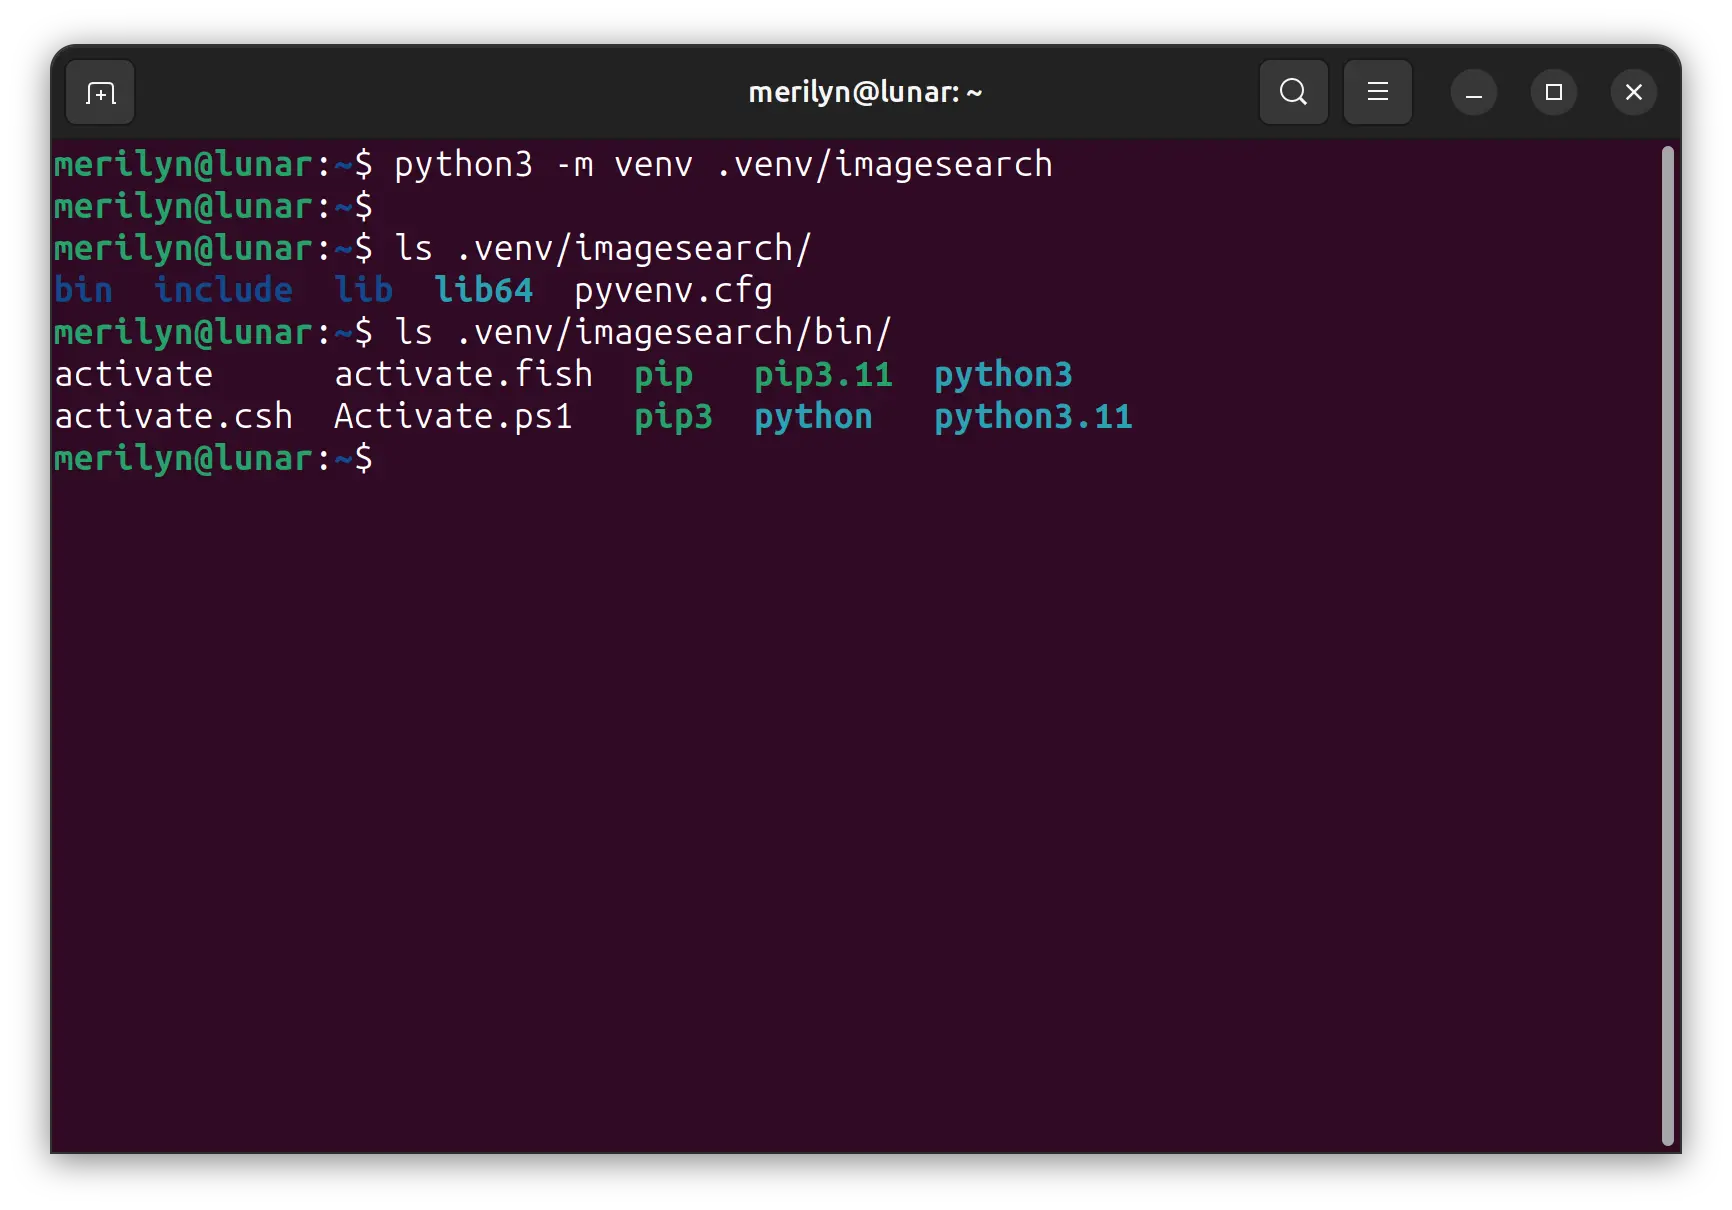
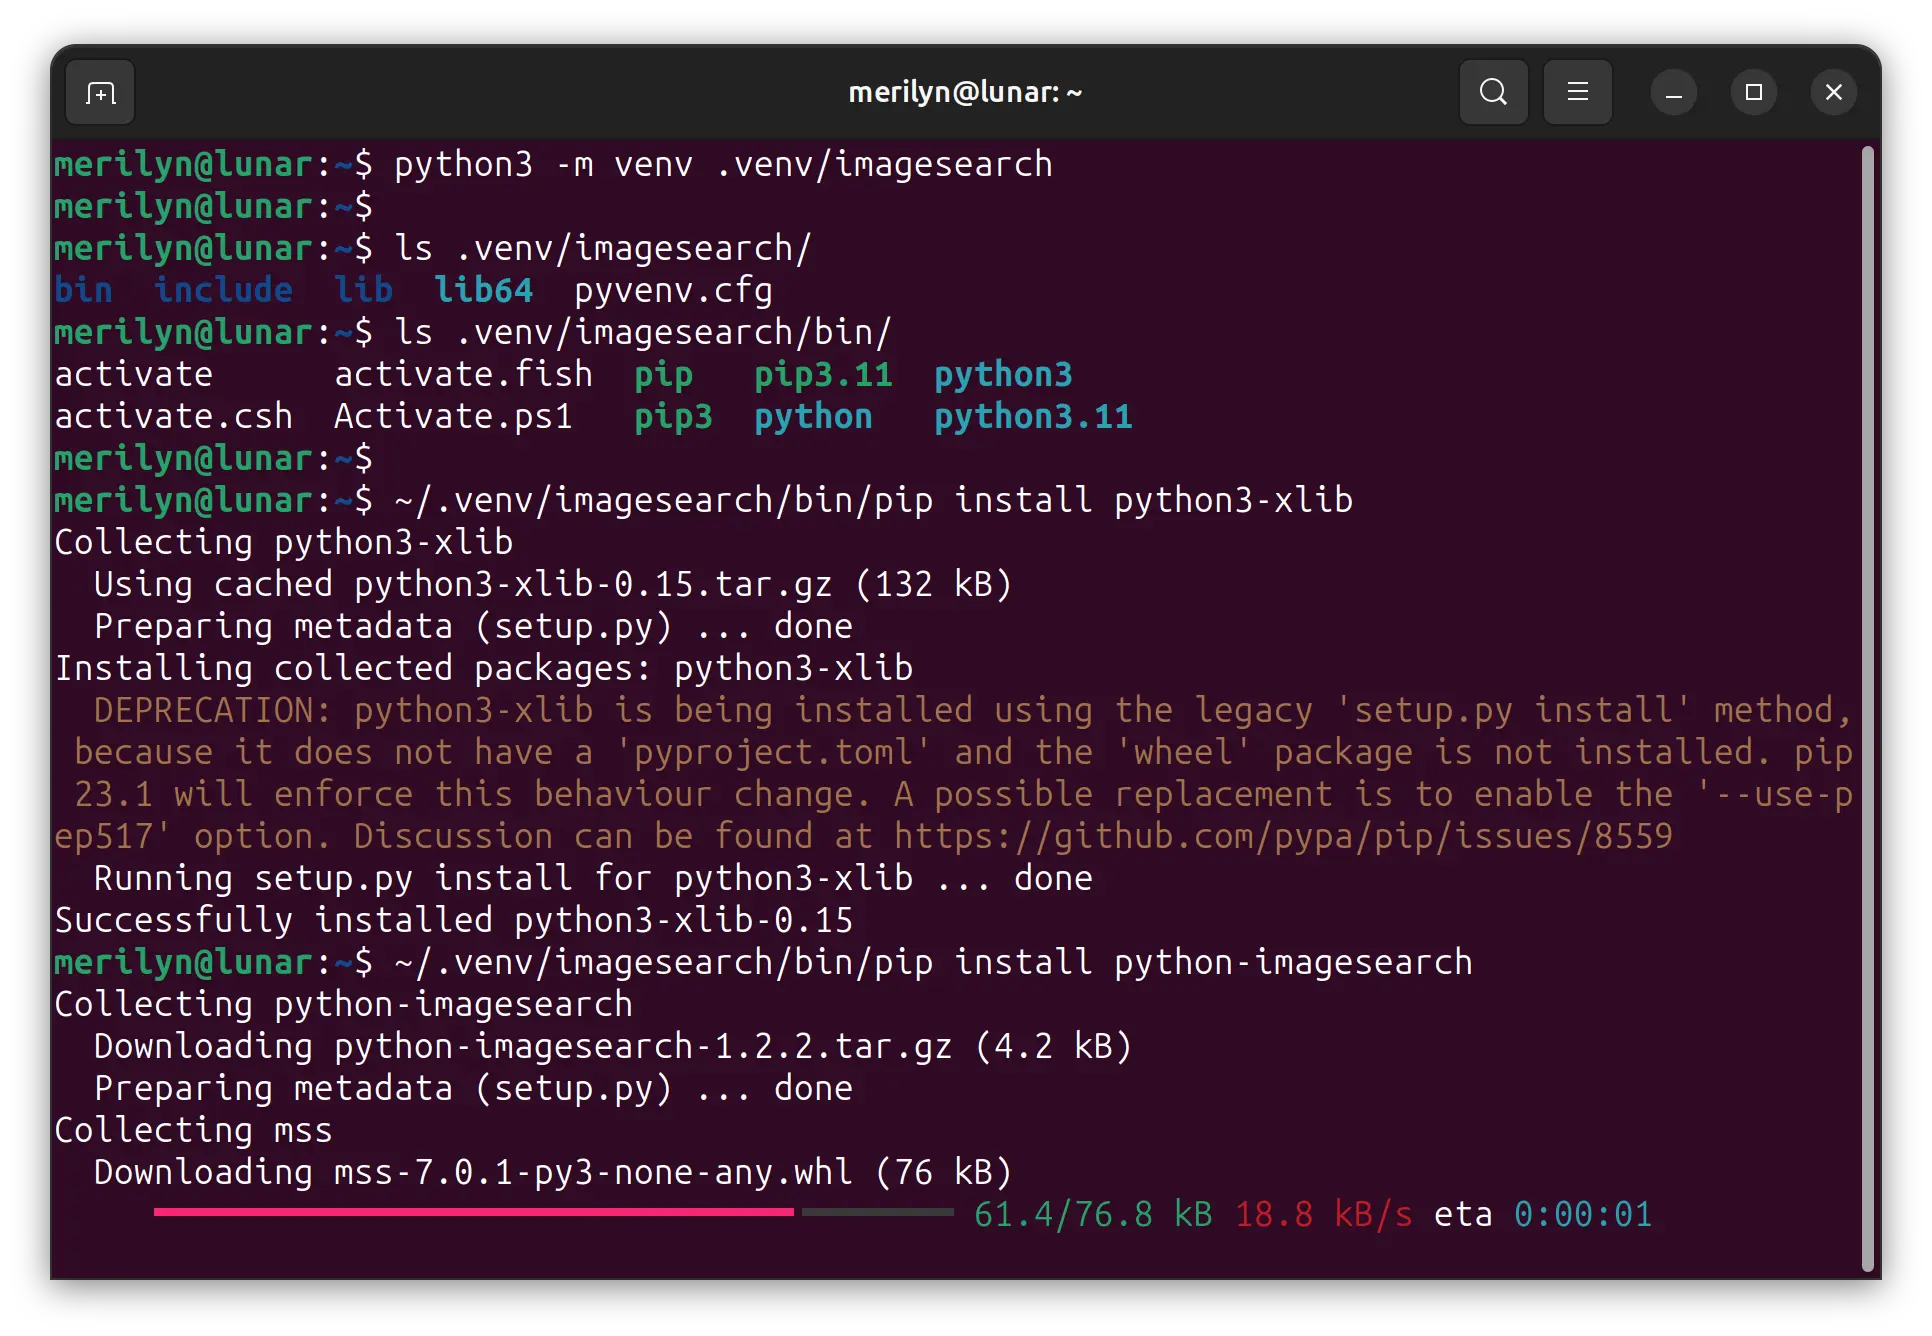
You then need to use the pip binary under that environment (meaning “.venv/imagesearch/bin/pip“) to start installing a Python package. Of course, all the libraries/packages will be installed into that directory.
~/.venv/imagesearch/bin/pip install python-imagesearch
And, of course you need to use the Python executable under this virtual environment to run all the library or Python application.
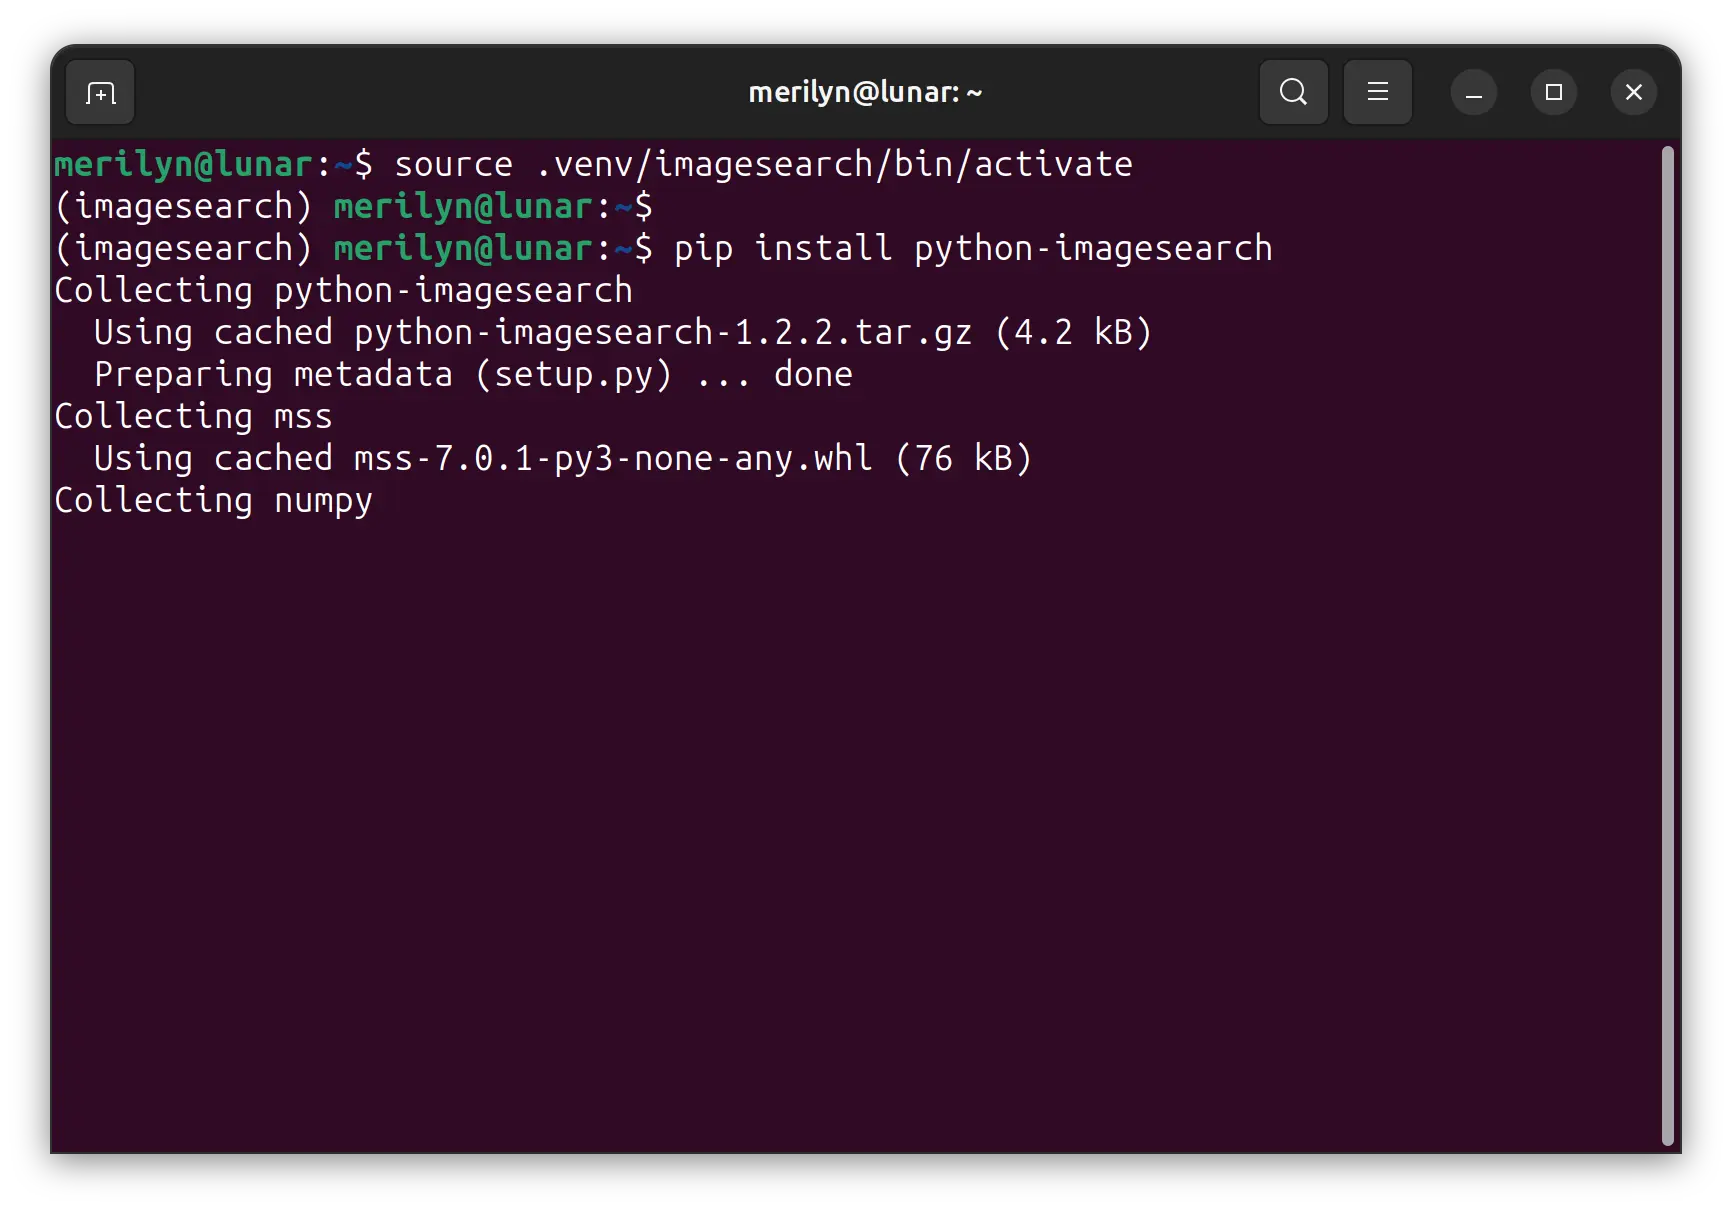
Without typing the full PATH every time, run command (change ‘.venv/imagesearch’ to yours):
source .venv/imagesearch/bin/activate
You can then simply use pip or python in this terminal console instead to shorten the command.
Option 4: Use pipx
For Python applications, there’s a pipx command line tool to make things simple by automatically creating virtual environment.
NOTE: pipx so far only works for Python applications, but NOT for Python libraries.
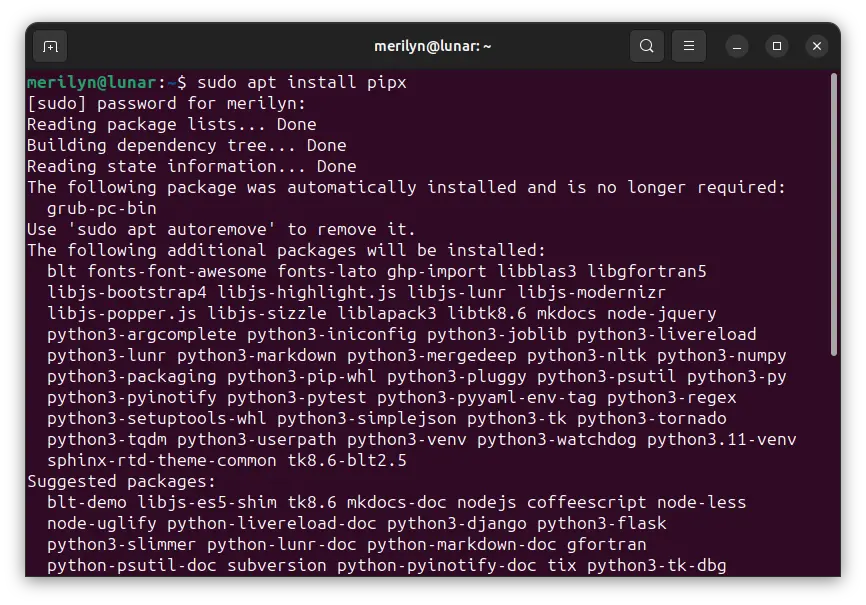
Firstly, install pipx by running command in terminal:
sudo apt install pipx
You can then install a Python application via pipx by running command:
pipx install package_name_here
pipx automatically creates virtual environment for each application, and creates a symbolic link for executable file under user’s .local/bin folder.
To uninstall a package, use pipx uninstall package_name_here. For more, see man pipx.