This simple tutorial shows how to install GNOME, KDE Plasma, and/or Xfce Desktop in AlmaLinux 9 or Rocky Linux 9.
If you installed AlmaLinux or Rocky Linux through the minimal .iso image, then it just boots into blank and white text mode like Linux server. For the graphical desktop environment, such as GNOME, KDE, and XFCE, here’s how to install them step by step.
Step 1: Enable EPEL repository
For KDE Plasma and XFCE4 desktop, you need to first Enable EPEL repository. If you’re going to install the GNOME Desktop, then you can skip this step.
First, boot and login AlmaLinux or Rocky Linux with root account (or other user account with sudo permission if created).
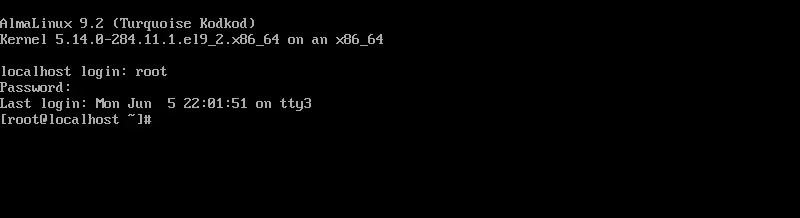
For root account, you may skip sudo in the following commands.
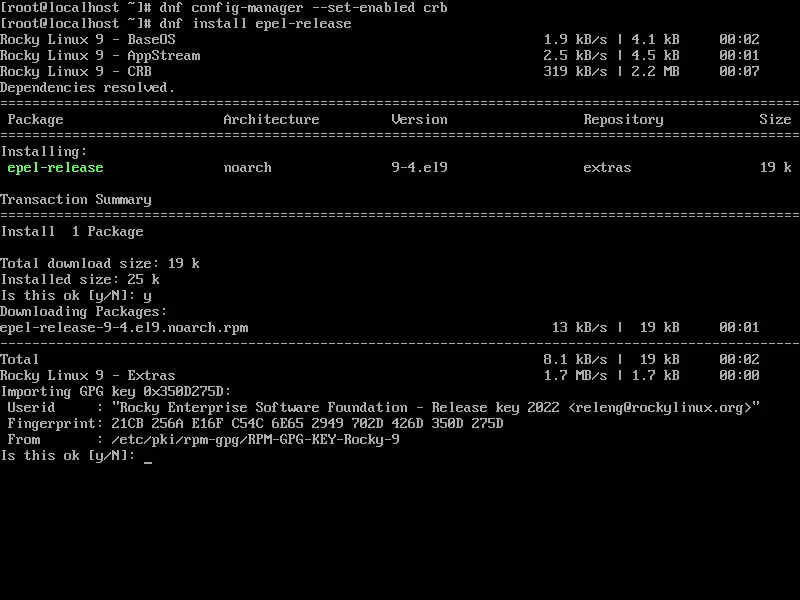
Then, run command to first enable ‘crb’ repository:
sudo dnf config-manager --set-enabled crt
Next, enable Extra Packages for Enterprise Linux (EPEL) repository by running command:
sudo dnf install epel-release
Step 2: Install GNOME, KDE Plasma, or XFCE
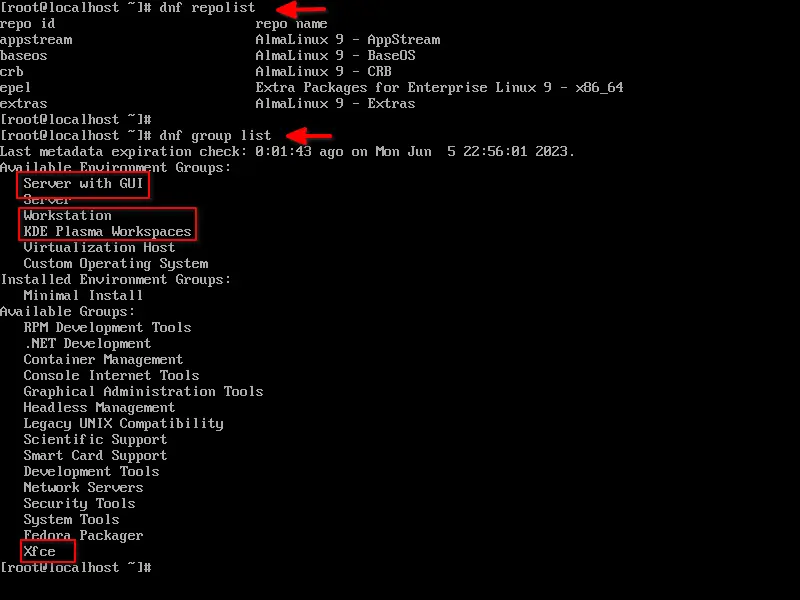
Now, you can verify enabled source repositories in your system by running command:
sudo dnf repolist
Once you’re sure ‘crb’ and ‘epel’ repositories are enabled, you can then use package groups to install one of the desktop environments.
1. First, run command to print all available package groups:
sudo dnf group list
In the command outputs, you’ll see the following packages:
- Server with GUI – GNOME Desktop with server specific packages, such as httpd.
- Workstation – GNOME Desktop with desktop specific packages, such as Firefox and Evolution.
- KDE Plasma Workspaces – the KDE Desktop environment.
- Xfce – the XFCE desktop environment.
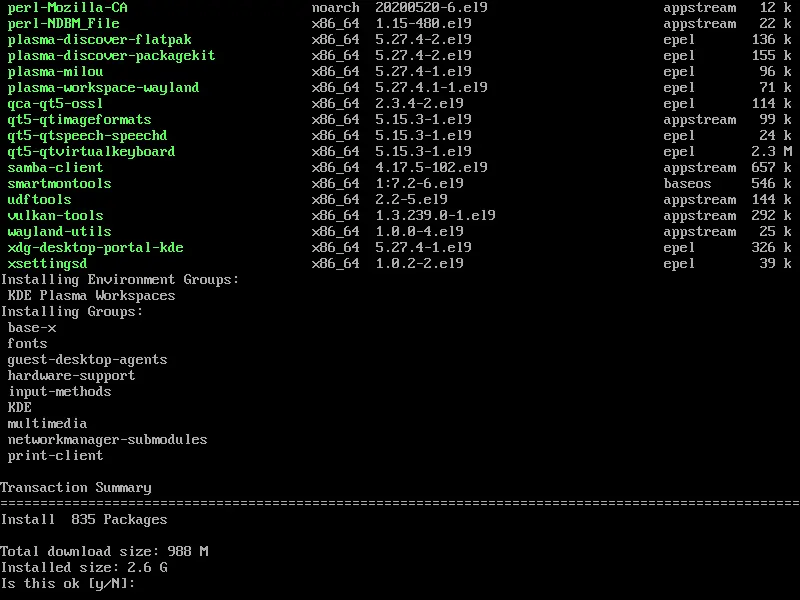
2. According what you need, you can now run command below to install a desktop environment. For example, to install gnome workstation, run command:
sudo dnf groupinstall 'Workstation'
Replace ‘Workstation’ with ‘KDE Plasma Workspaces’, ‘Xfce’, or ‘Server with GUI’ accordingly! NOTE: the quotation mark is required in command to indicate that’s a package group.
Step 3: Switch between text mode and graphical mode
Before running one more command in this step, the Linux system still boots into the blank and white text mode.
To switch to graphical mode, run command:
sudo systemctl set-default graphical.target
And, verify by running command sudo systemctl get-default
Finally, restart your Linux by running sudo reboot command.
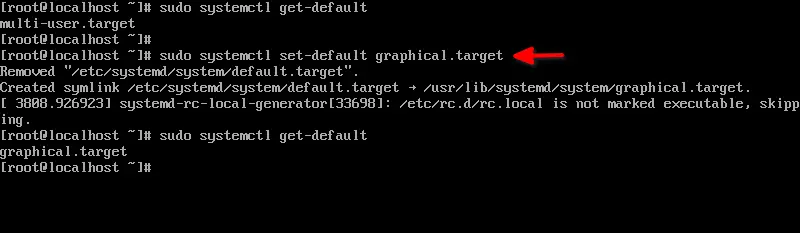
Optionally, you can run sudo systemctl set-default multi-user.target command to switch back text mode.
Furthermore
If you select installed the ‘Workstation’, then it boots directly into an initial setup wizard. Follow it and enjoy!
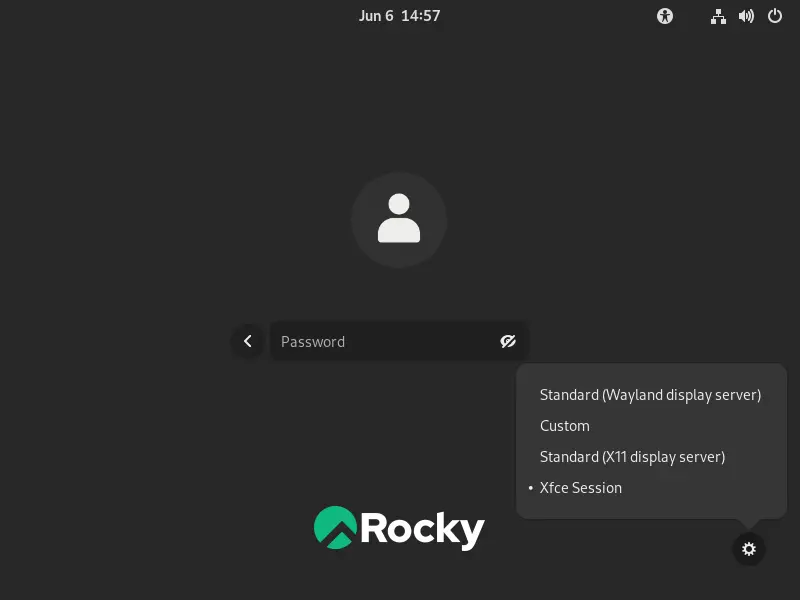
For XFCE and KDE Plasma, you may need to manually type username (root, for example) and password to login. And for XFCE, before typing password, you need to use the bottom right gear button to select the desktop session.