


This is a step by step beginners guide shows how to install the latest version of Nginx web server in Debian 12 Bookworm.
Nginx is a popular free open-source web server, that can be also used as reverse proxy, load balancer, mail proxy and HTTP cache. It’s available in Debian system repository, but old.
For the latest version, either Mainline with the latest features and some experimental modules or Stable, here are 2 ways to get it in Debian.
Option 1: Install Nginx from Sury Repository
Ondřej Surý, a member of Debian developer team, is maintaining the latest version of Nginx through his DPA repository.
The repository is unofficial, but build with most common modules support. And, it can upgrade seamlessly from the stock version in Debian repository.
1. Add the Key
First, search for and launch terminal or connect to remote Debian server.
Then, run the commands below one by one to install the repository key:
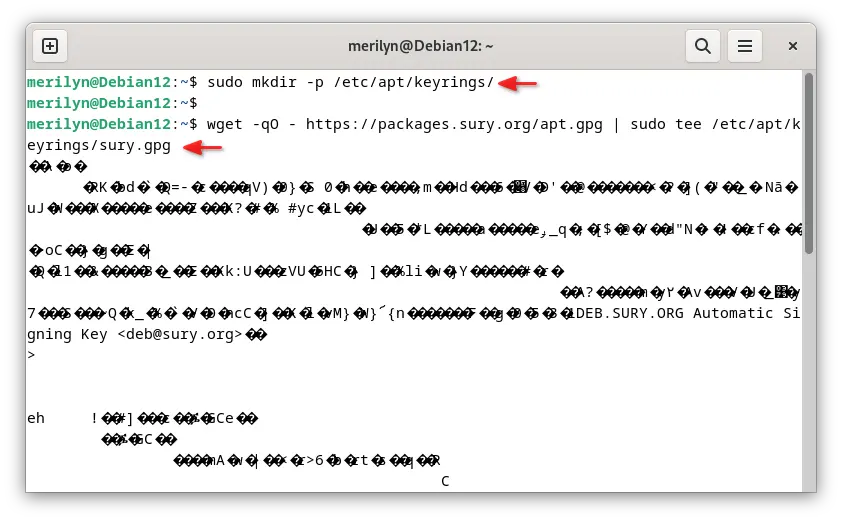
- First create the keyrings folder in case it does not exist:
sudo mkdir -p /etc/apt/keyrings
- Next, download the key and save it to that folder via command:
wget -qO - https://packages.sury.org/apt.gpg | sudo tee /etc/apt/keyrings/sury.gpg
If wget command not found, run
sudo apt install wgetto install it. And, it should output un-readable text as the screenshot below shows you.
2. Add the repository
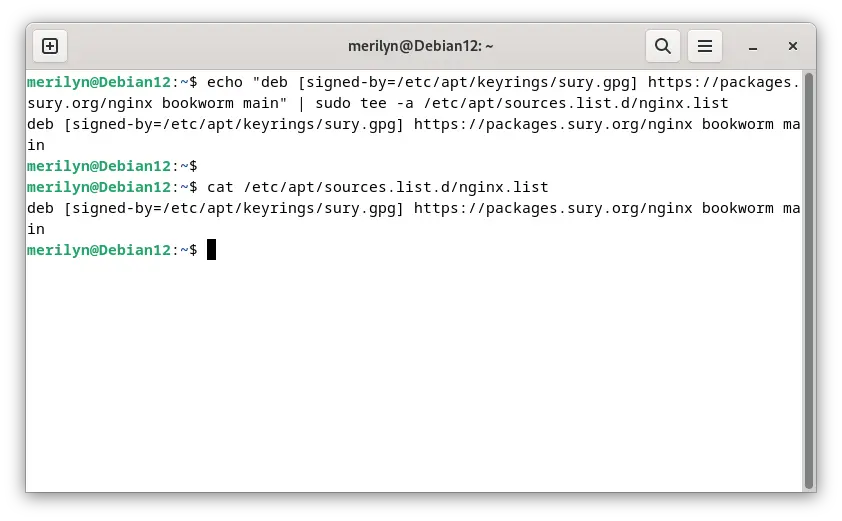
After installing the key file, then run single command to create config file under /etc/apt/sources.list.d directory, and write the source into it.
echo "deb [signed-by=/etc/apt/keyrings/sury.gpg] https://packages.sury.org/nginx bookworm main" | sudo tee /etc/apt/sources.list.d/nginx.list
Note that the command above is for Nginx Stable version. For other Debian edition, replace code-name bookworm accordingly.
For the Mainline version, run the command below instead:
echo "deb [signed-by=/etc/apt/keyrings/sury.gpg] https://packages.sury.org/nginx-mainline bookworm main" | sudo tee /etc/apt/sources.list.d/nginx.list
After adding the repository, you may run cat /etc/apt/sources.list.d/nginx.list to verify its content.
3. Setup Priority
To avoid a module package version conflict, you need to set a higher priority for the repository.
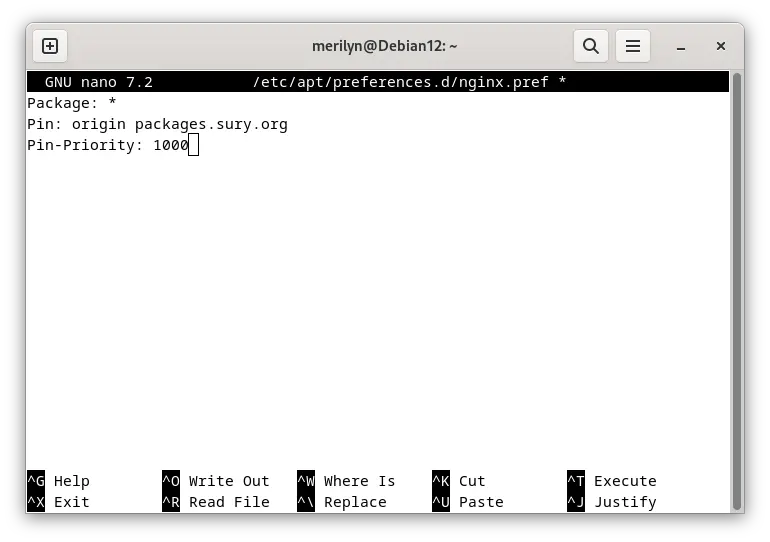
To do so, run command to create (and edit via nano editor) the preferences config file:
sudo nano /etc/apt/preferences.d/nginx.pref
When the file opens in command console (should be empty), write following lines:
Package: *
Pin: origin packages.sury.org
Pin-Priority: 1000
Finally, press ctrl+s to save file, and ctrl+x to exit.
4. Refresh & install/upgrade Nginx
Finally, refresh your system package cache by running command:
sudo apt update
And, install (or upgrade from Distribution version) Nginx as well as common modules via command:
sudo apt install nginx-full

For choice, there is also nginx-extras package with additional modules and some dynamic modules. And, you can list other modules by typing sudo apt install libnginx-mod then hitting Tab key twice (if bash-completion enabled).
Option 2: Install Nginx from Official Repository
Nginx itself provides an official repository with Debian support, which however includes only a few modules.
1. Install the Key
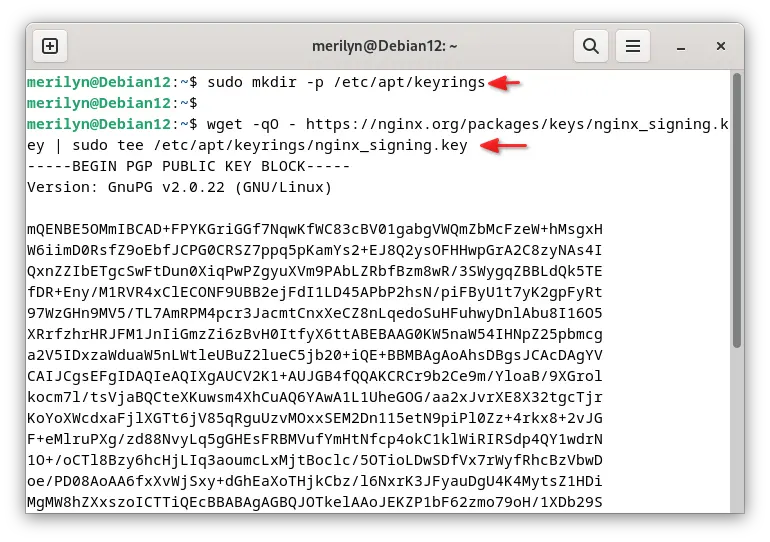
To add the official repository, you also need to download & install the key file.
This can be done by running the command below:
wget -qO - https://nginx.org/packages/keys/nginx_signing.key | sudo tee /etc/apt/keyrings/nginx_signing.key
Run sudo mkdir -p /etc/apt/keyrings first, if the directory does not exist.
2. Add Nginx official repository
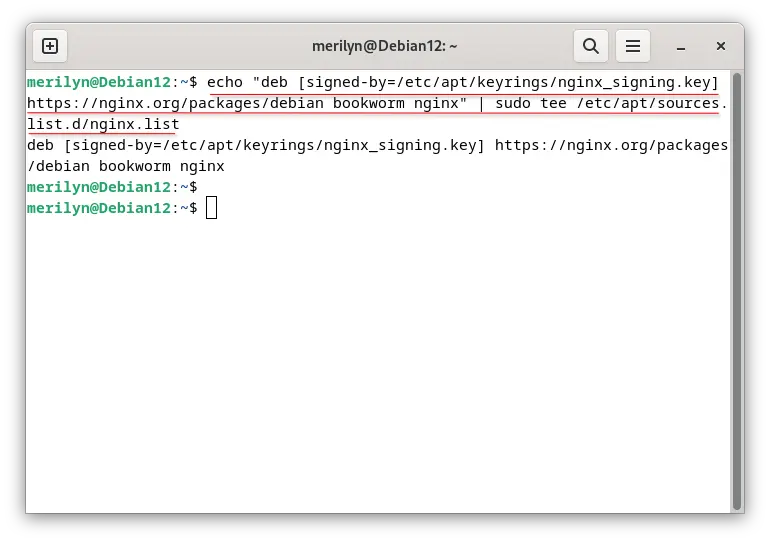
Then, also run command to create the config file and add the source for Stable:
echo "deb [signed-by=/etc/apt/keyrings/nginx_signing.key] https://nginx.org/packages/debian bookworm nginx" | sudo tee /etc/apt/sources.list.d/nginx.list
For the Mainline version, use this one instead:
echo "deb [signed-by=/etc/apt/keyrings/nginx_signing.key] https://nginx.org/packages/mainline/debian bookworm nginx" | sudo tee /etc/apt/sources.list.d/nginx.list
3. Refresh & install Nginx
Finally, refresh system package cache by running command:
sudo apt update
And, install the Nginx web server as well as a few modules:
sudo apt install nginx nginx-module-*
NOTE 1: Installing the official version will replace (remove) the Distribution version of Nginx. Keep an eye on command output, it will ask whether to keep the original configuration file!
NOTE 2: Nginx in official repository is built with nginux as user & group name, which Distribution edition uses www-data instead.

Configure Nginx
After installing the web server, you can edit the /etc/nginx/nginx.conf file for the basic configurations, including user, enabled modules, worker processes and connections.
To do so, simply run command:
sudo nano /etc/nginx/nginx.conf
For serving a website, create and edit the files under /etc/nginx/site-available directory. See the Docs for more details.
After configuration, you may run:
nginx -t
It will test the configuration files, and output errors if any.
Start, Restart Nginx service
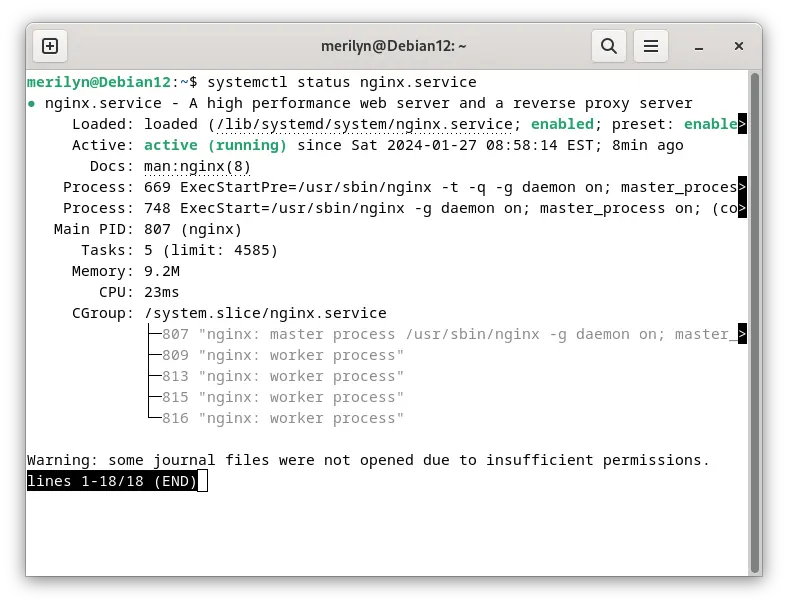
Nginx server is usually started automatically after installation. To check it status, run command:
systemctl status nginx
It should outputs active (running).
If NOT, run the commands below to start and enable it.
systemctl enable nginx
systemctl start nginx
Or, restart the service after making changes to config file via command:
systemctl restart nginx
Summary
In this tutorial, I’ve shown you how to install the latest Nginx (either Mainline or Stable version) from both a Debian developer’s personal repository and Nginx official repository.
While the official repository includes less modules and is build with different user & prefix, the popular 3rd party repository has most common modules and can well upgraded from the Distribution package.