Have an external monitor supports DDC/CI protocol? There’s a free and open-source graphical tool to control the brightness for your display.
Display Data Channel (DDC) / Command Interface (CI) is a type of communication between the computer and the monitor.
Most monitors today support DDC/CI, but not many people have heard of it, since most manufacturers do not develop proprietary software for the feature.
If you have computer monitors purchased in the past few years, DDC/CI should be supported. After enabled the feature via your monitor’s physical settings button, installing ddcutiland its graphical UI will allow you to control the display brightness in Linux desktop.
Step 1: Install ddcutil
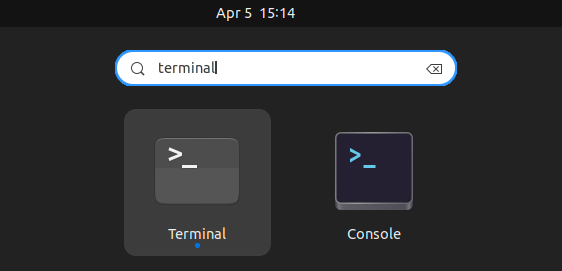
Firstly, open terminal by either searching from system app launcher or pressing Ctrl+Alt+T on keyboard.
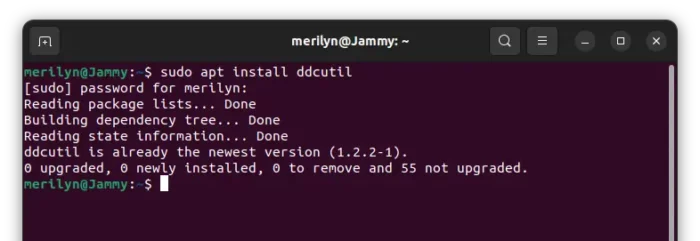
When terminal opens, run the command below to install ‘ddcutil’ package. The package is available in all current Ubuntu releases and derivatives such as Linux Mint.
sudo apt install ddcutil
Step 2: Grant User Permission
After installing the tool, you need to add your current user to i2c group, for permission to communicate with DDC/CI protocol:
sudo gpasswd --add $USER i2c
(Optional) Step 3: Change Screen Brightness from command line
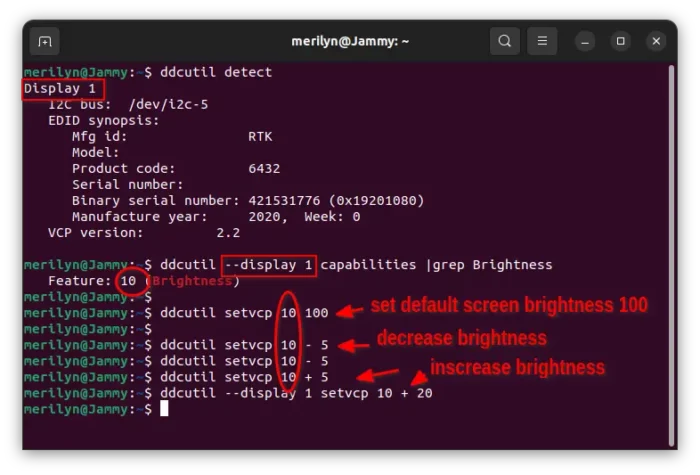
If you would like to control the monitor brightness from command line, then run commands below one by one:
- First, run command to detect all connected monitors:
ddcutil detect
In my case, there’s only one ‘Display 1’.
- Then find out the feature code for controlling the brightness:
ddcutil --display 1 capabilities |grep Brightness
Replace
--display 1according to last command output. You can SKIP it if it’s the default 1. - Finally, set brightness level (e.g., 100) via command:
ddcutil --display 1 setvcp 10 100
Replace 10 the feature code according to the last command output.
- Or, increase / decrease screen brightness (e.g, level 5 up/down) via command:
ddcutil --display 1 setvcp 10 + 5
ddcutil --display 1 setvcp 10 - 5
Step 4: Add brightness slider into top-right system menu (GNOME Only)
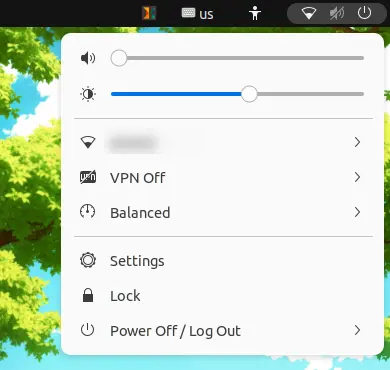
For the default GNOME desktop in all current Ubuntu releases, there’s an extension can add slider control into system menu. With it, your system just look like has external screen brightness control out-of-the-box.
For Ubuntu 22.04 and higher:
- Search for and install “Extension Manager” from Ubuntu Software.
- Then launch Extension Manager, search and install “Brightness control using ddcutil” extension.
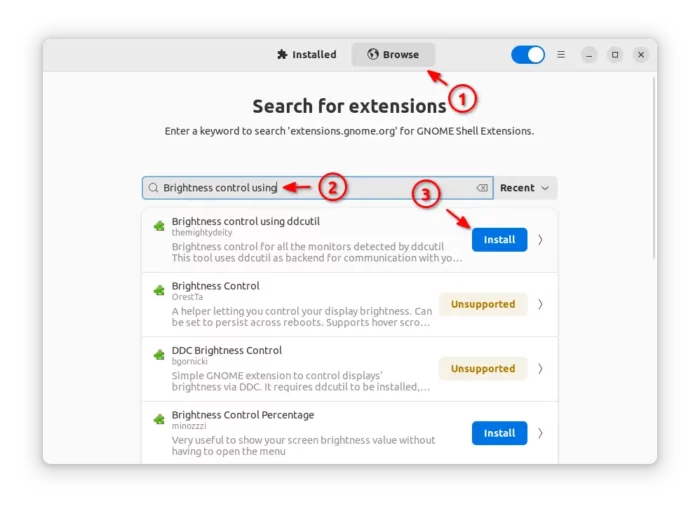
- If the extension works for you, go back ‘Installed’ tab in “Extension Manager” and open the Settings page for the extension. Finally, set its location to ‘System Menu’.
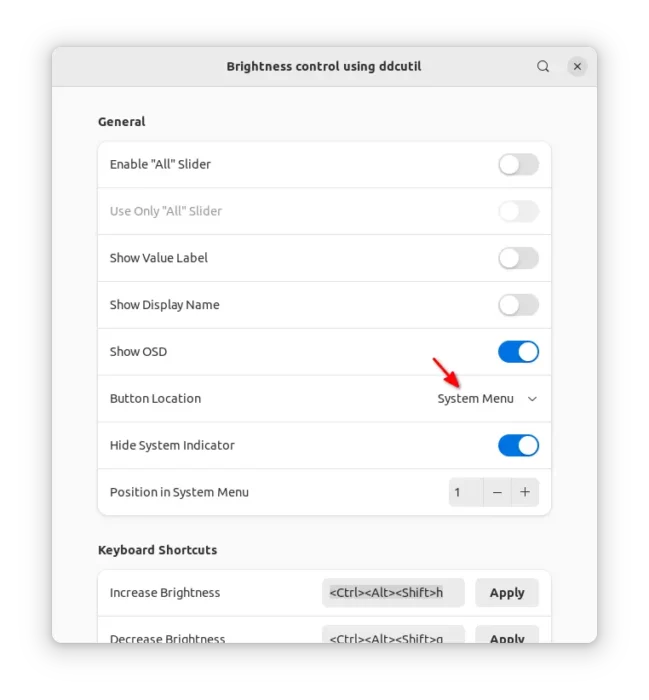
For Ubuntu 20.04, first open terminal (Ctrl+Alt+T) and run command to install the agent package:
sudo apt install chrome-gnome-shell gnome-shell-extension-prefs
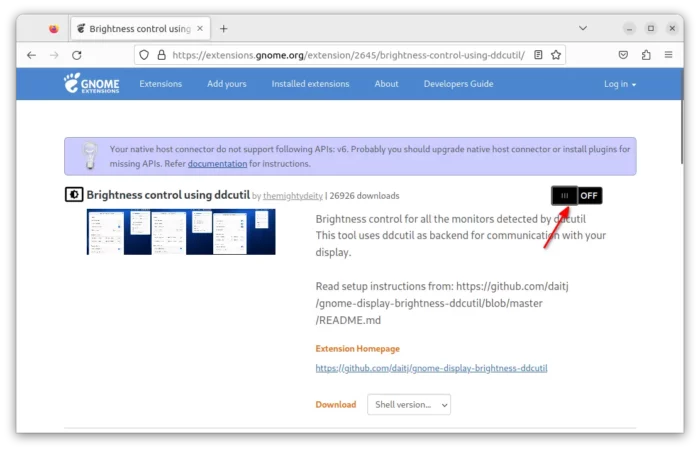
Then, go to link page below (install browser extension if prompted and refresh) and use ON/OFF switch to install the extension.
Finally, launch ‘Gnome Extensions’ app to configure the slider location from top-panel to system menu.
Step 5: Use Gddcontrol – Graphical App for all desktop
For other desktop environments, press Ctrl+Alt+T on keyboard to open terminal. Then, run command to install the ‘gddccontrol’ package:
sudo apt install gddccontrol
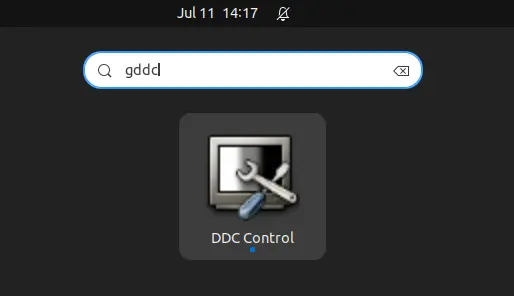
Once installed, launch ‘ddc control’ from start menu (activities overview):
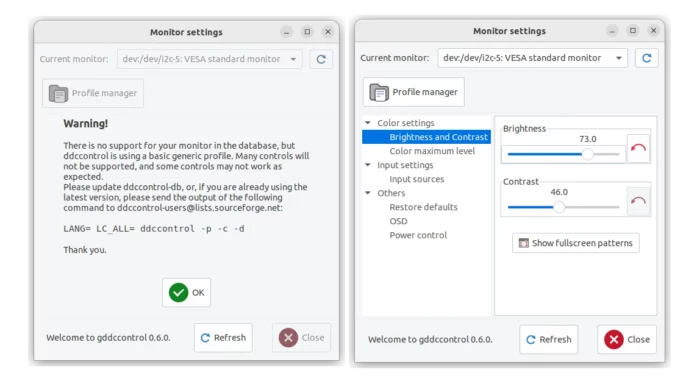
When the app opens, click OK in first page, then you can control brightness, contrast, as well as a few other settings for your monitor.
Uninstall ddcutil
In case the tool does not support your display, remove it by running command in terminal:
sudo apt remove --autoremove ddcutil gddccontrol
For the Gnome Extension, either use ‘Extension Manager’ or ON/OFF switch in web browser page to uninstall it.


