


This simple tutorial shows how to automatically switch your CPU power mode between Performance and Power Saving in Linux.
For laptop running on battery, Power Saver or Power Saving mode makes your CPU working at low clock speed, so to extend battery life. While on AC power supply, Performance mode is good choice to make CPU working fast.
To automate the process of switching between them, this quick tutorial will show you how!
Method 1: Use GNOME Extension
For GNOME Desktop, the default desktop in Ubuntu, Fedora Workstation, and optional in Debian, Arch, etc, it has built-in power mode settings.
Without using top-right corner system status menu or opening ‘Power’ settings every time, an extension can automatically switch CPU mode depending on power status.
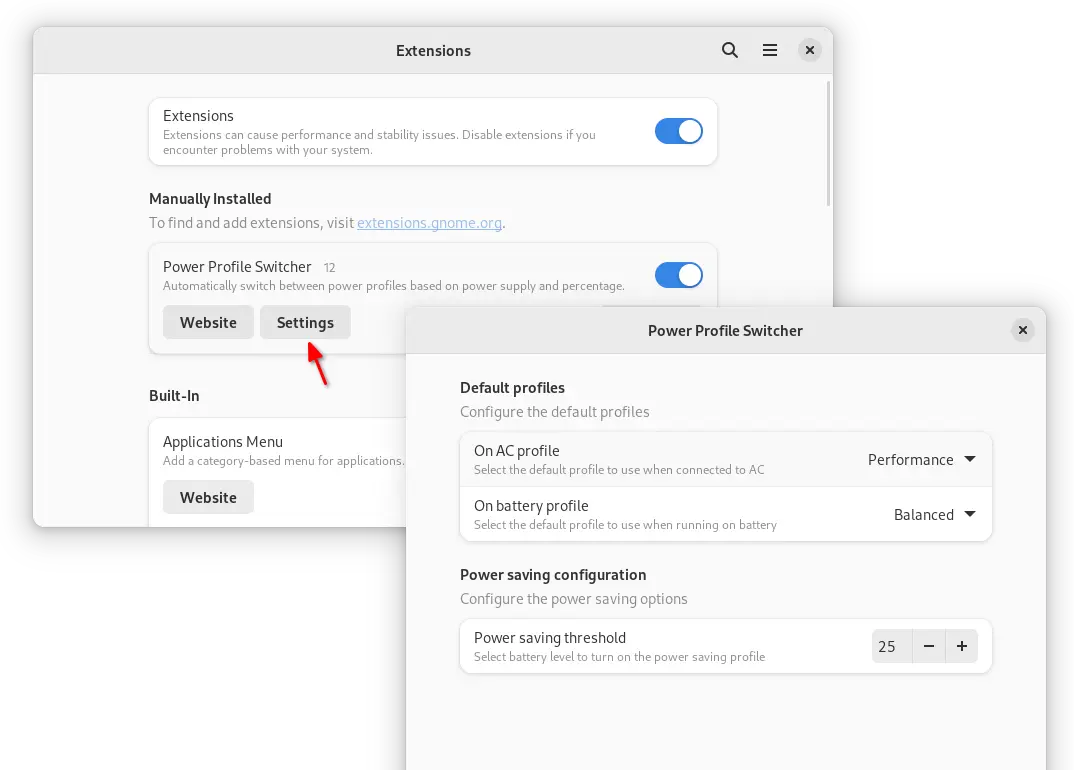
With extension, your CPU will work at ‘Performance‘ mode when on power supply, ‘balanced‘ mode when on battery, and will go ‘Power Saver‘ when battery lower than 25%. Though, you can change the settings as you need.
Install Power Profile Switcher
At the moment of writing, the extension supports GNOME 42, 43 & 44. Meaning, you can install it in Ubuntu 22.04, Ubuntu 23.04, Debian 12, and Fedora 38.
For Ubuntu users, first search for and install “Extension Manager” from Ubuntu Software.
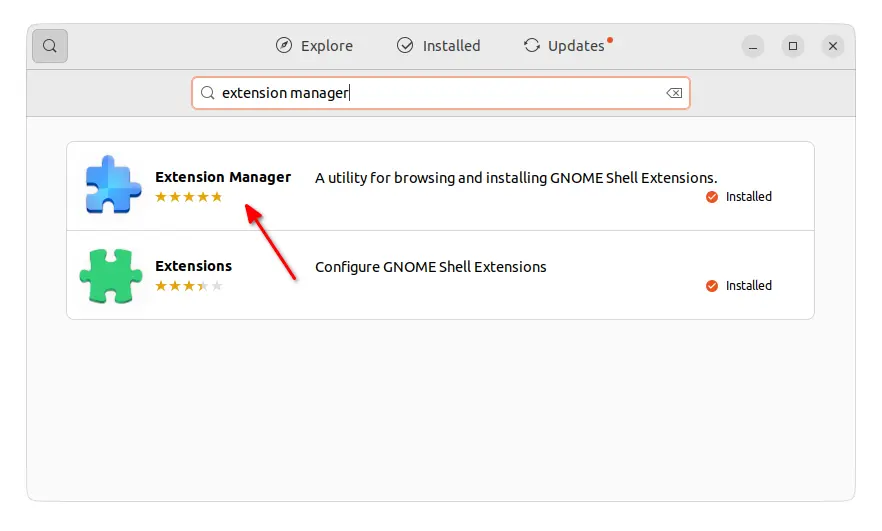
Then, launch “Extension Manager”, navigate to Browse tab, finally search and install the “Power Profile Switcher” extension.

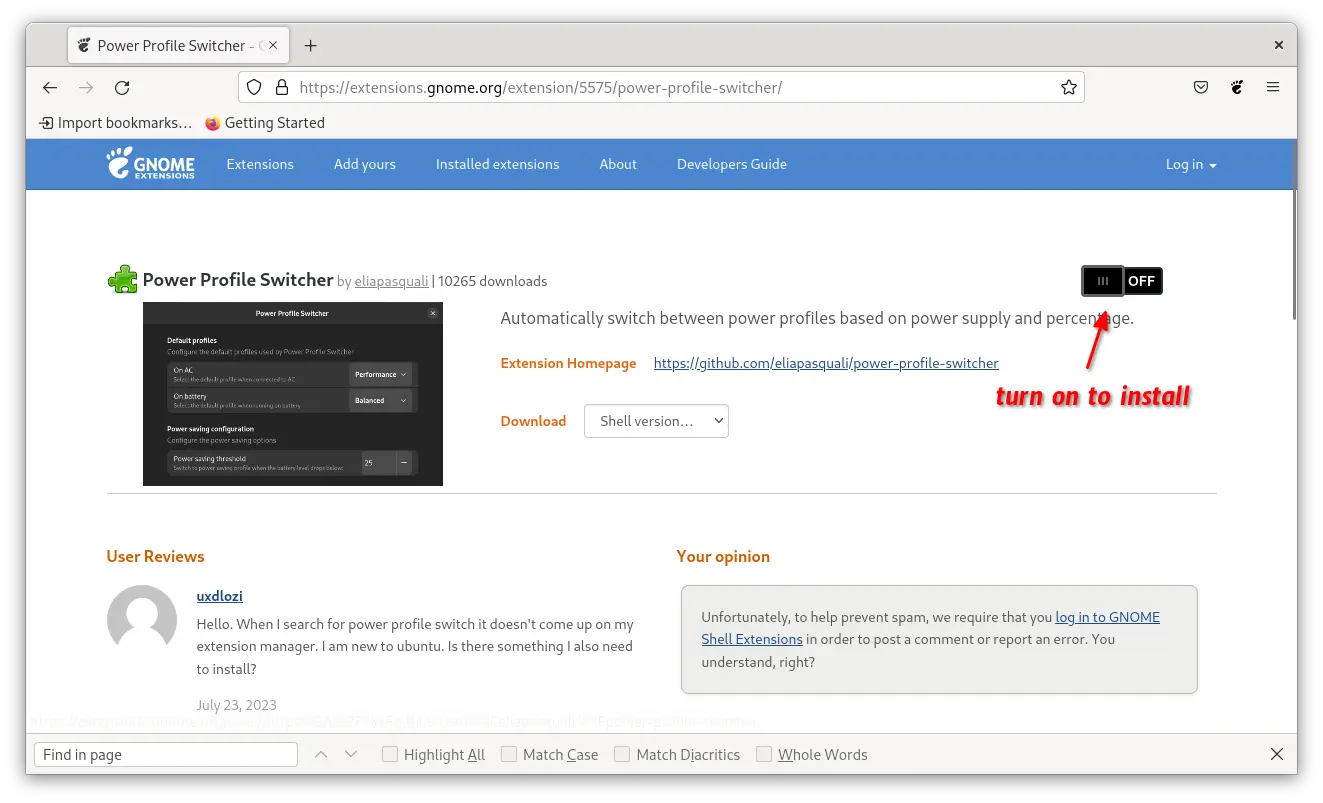
For Fedora, Debian, etc with GNOME, simply open the link below in your web browser:
Then, use ON/OFF switch to install the extension. If you don’t see the toggle switch, install browser extension (via link in that page) and refresh the page.
Configure the extension
After installing, just plug in and plug out the power supply, and see the top-right system status menu if the power mode changes automatically.
To configure the extension, launch either “Extension Manager” or “Gnome Extensions” app (available in Gnome Software), then open the settings for the extension.
Method 2: Use Auto-CPUFreq
For other desktop environments as well as GNOME, there’s a popular free open-source tool ‘auto-cpufreq’ can do the job.
By monitoring your laptop’s battery state, CPU usage, CPU temperature and system load, it automatically switch to “Performance” mode when on power supply, and switch to ‘Power Saver’ when on battery. CPU turbo boost is disabled for saving power, it will be enabled automatically when doing heavy work.
Install auto-cpufreq
Auto-CPUFreq recommends to remove TLP to avoid conflict, unless you know how to use both tools in tandem.
The tool has an installer script to automatically install the tool as well as all its dependencies on your system. First, download the source from the link below:

Then, open Downloads folder and extract the source tarball, right-click on extracted folder and select “Open in Terminal“.

In the pop-up terminal, just run the installer by running the command below:
sudo ./auto-cpufreq-installer
then, answer ‘i’ in the terminal output, to start downloading & installing dependencies as well as the tool.
NOTE: the process may fail due to network or various other issues! You can re-run the script multiple times, if auto-cpufreq is not properly installed. And, Debian/Ubuntu users may run sudo apt update first to refresh system package cache.

Run auto-cpufreq
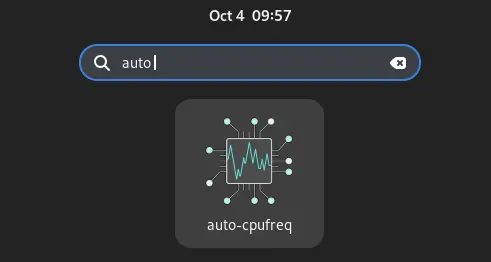
If auto-cpufreq is properly installed, you should be able to launch it from either start/applications menu, or by searching from the overview screen depends on your Desktop environment.
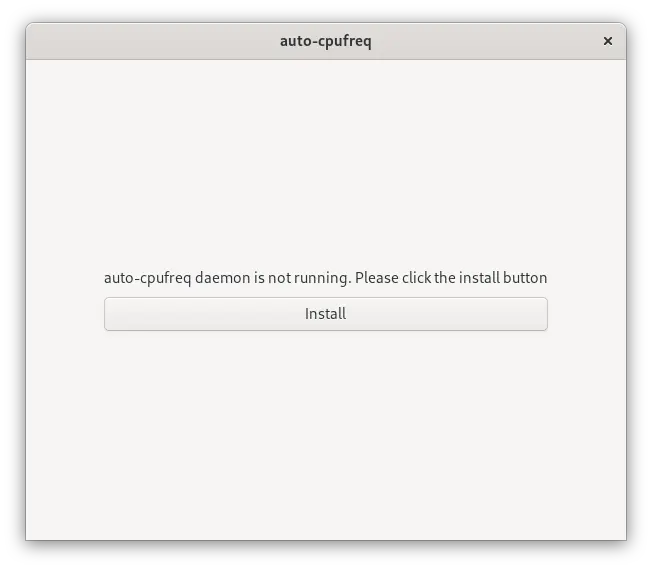
The first launch will prompt that the daemon is not running, you just need to click “Install” button to start it.
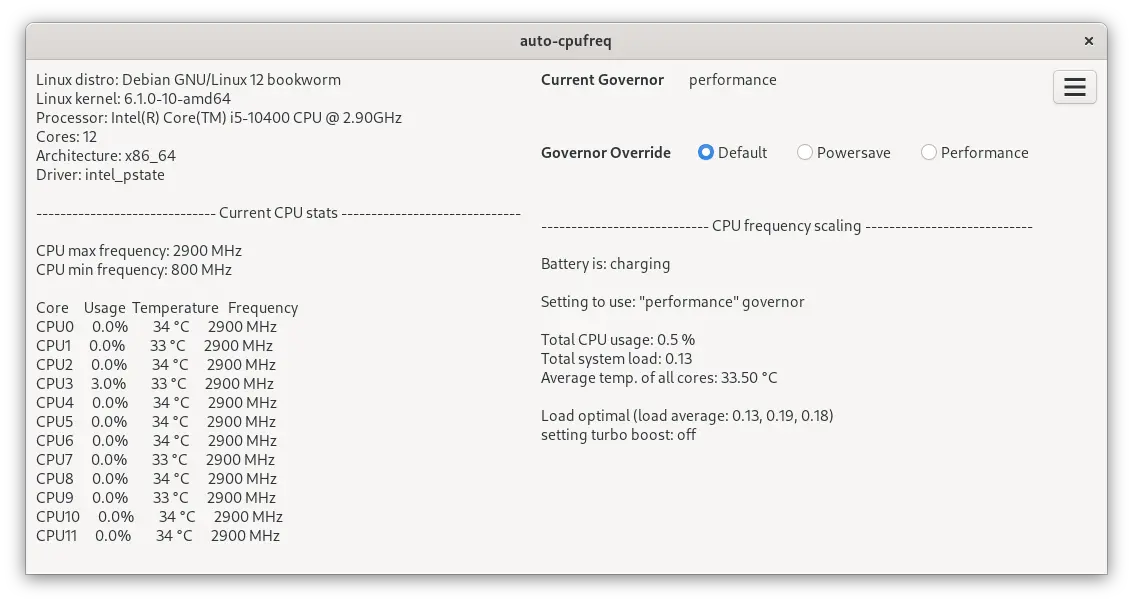
Then, re-launch the tool. The “Default” mode will automatically switch between ‘Performance’ and ‘Power Saver’ depends on whether power supply plugged, though user can manually force to either mode for choice!
auto-cpufreq now is running at background to automatically do the job when in ‘Default’ mode. You can just close the app window, and forget it.
(Optional) Configure minimum, maximum CPU frequency & turbo mode
The default settings are OK for most cases. However, advanced users can set the minimum and maximum CPU speed, as well as whether to enable turbo boost with a config file.
This step is OPTIONAL, only do it for specific requirements.
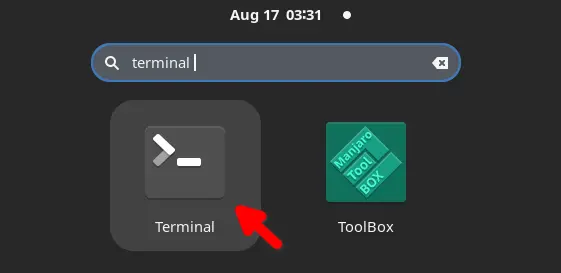
First, launch terminal from start menu or ‘Activities’ overview.
When terminal opens, run command to create & edit the config file via nano command line text editor.
sudo nano /etc/auto-cpufreq.conf
The config file is NOT exist by default, so it should be an empty file. When file opens in terminal, copy and paste following lines:
# settings for when connected to a power source
[charger]
governor = performance
# scaling_min_freq = 800000
# scaling_max_freq = 1000000
turbo = auto

# settings for when using battery power
[battery]
governor = powersave
# scaling_min_freq = 800000
# scaling_max_freq = 1000000
turbo = auto

As you see in the screenshot above, all the lines start with ‘#’ at the beginning are comments do NOT function. Rules under [charger] will work when running on power supply, while [battery] work when running on battery.
The scaling_min_freq means for minimum CPU frequency, while scaling_max_freq limits the maximum CPU frequency. Enable them by removing ‘#’ at the beginning and change the value number in kHz.
And the “turbo” (CPU turbo boost) value can be set to auto (only enabled when on heavy system load), always and never.
After editing the content, press Ctrl+X, then type y and hit Enter to save changes. And, the config file will be in use after restarting the daemon by running the command below in terminal:
systemctl restart auto-cpufreq.service