

This is a step by step screenshots guide shows beginners how to install the Solus OS (4.5 Updated) Linux Distribution in your machine!
NOTE: Solus 4.5 does not use Grub as its boot-loader. For multi-boot OSes, user need to use either UEFI or BIOS settings to boot them.
Requirements
To follow this tutorial, you need to prepare the following thing first:
- USB stick with 4 GB+ space.
- PC/laptop with Linux, Windows, or MacOS for burning .iso into USB.
- Internet connection for downloading the .iso image.
Step 1: Download Solus 4.5
Firstly, download the .iso image from its website via the link below.
Depends on your favorite desktop environment, select between Budgie, GNOME, XFCE, and KDE Plasma.
Step 2: Verify ISO file integrity
After downloading the .iso file, also click the “SHA256SUMS: File” in the download page to see the hash code.
Then, you can run one of commands below to check the hash code of the local file that you just downloaded:
- If you downloaded the file in a Linux system, run command:
sha256sum ~/Downloads/Solus-4.5*.iso
- If you got it in a Windows PC, open ‘cmd’ and run command:
cd Downloads && certutil -hashfile Solus-4.5-Budgie.iso SHA256
- For MacOS, check the hash code of downloaded file by running command:
shasum -a 256 ~/Downloads/Solus-4.5*.iso
NOTE: In the commands above, replace file-name to yours! And replace ‘Downloads’ if you saved it in another location.
Once you got the hash code for local .iso file, compare it with the one in the download web page. They must be same before continuing the following steps!
Step 3: Burn .iso file into USB as boot-able installer
There are quite a few tools for burning .iso file into USB, and I’ve written a tutorial about it. For USB stick with large storage, I’d recommend to use Ventoy.
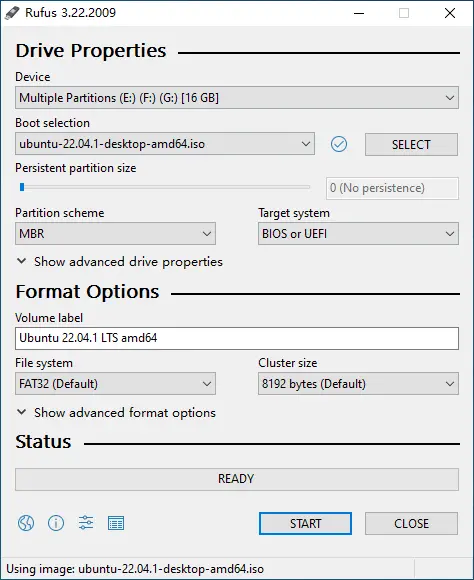
For Windows, just download and use Rufus:
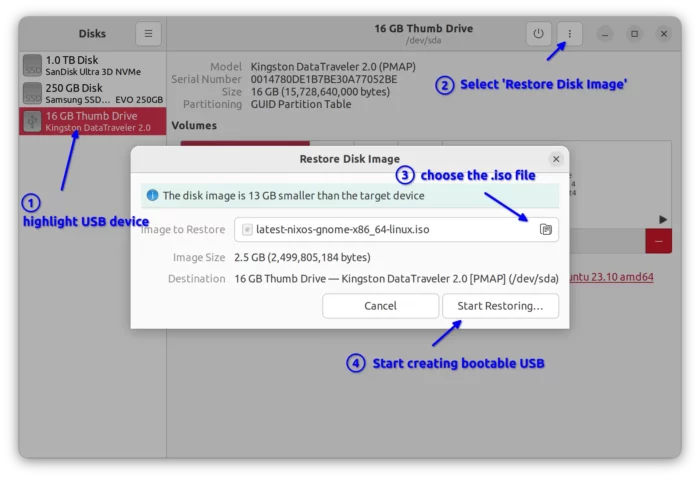
For Ubuntu, Fedora, and other Linux with GNOME, search for and open “GNOME Disks”. When it opens, highlight the USB device, and go to “⋮ -> Restore Disk Image”. Finally, choose the .iso file in pop-up dialog and click “Start Restoring”.
The screenshot was taken for NixOS, though it works for Solus 4.5 in my test!
Step 4: Boot from the USB stick
Once you created the boot-able USB installer for Solus, plug it into the destination computer/laptop. And boot it!
Depends on your machine, you have to press ‘Esc’, ‘Del’, etc shortcut key while booting. So to get into UEFI menu or BIOS to choose which device to boot!
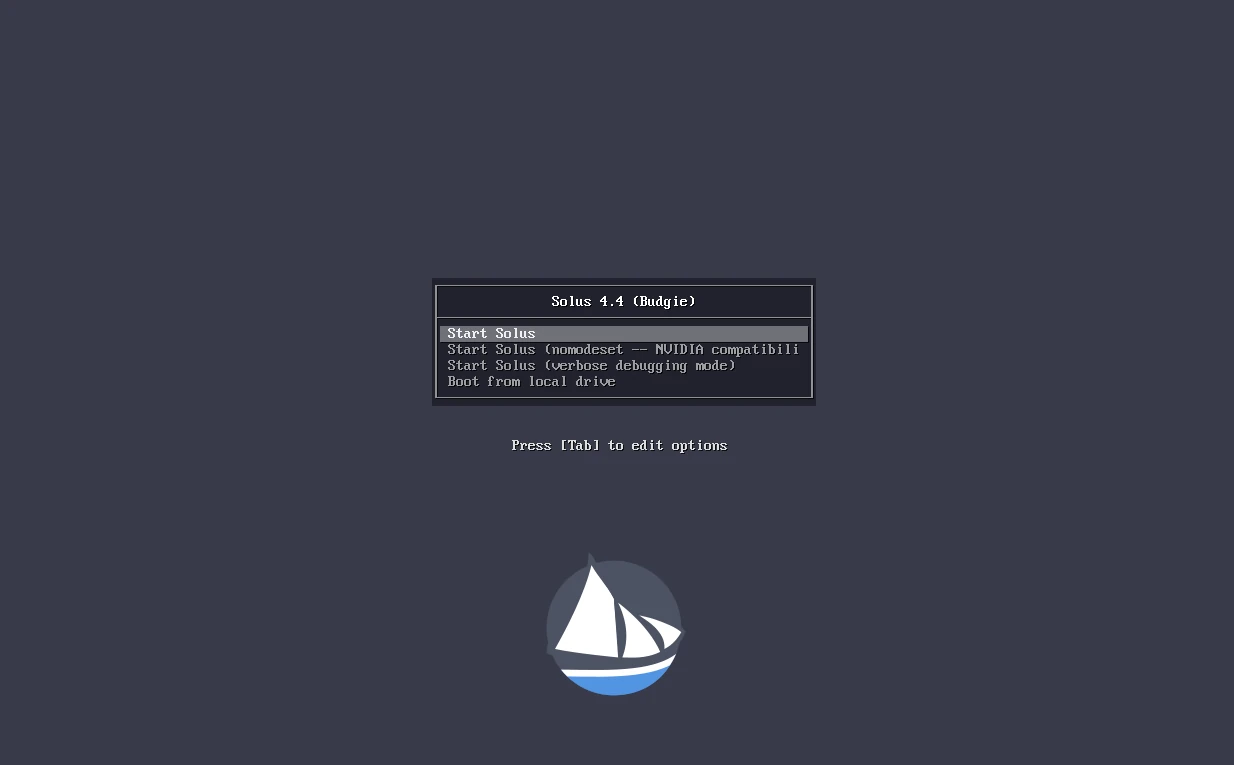
Once you successfully boot the USB, you’ll get into the menu looks like below:
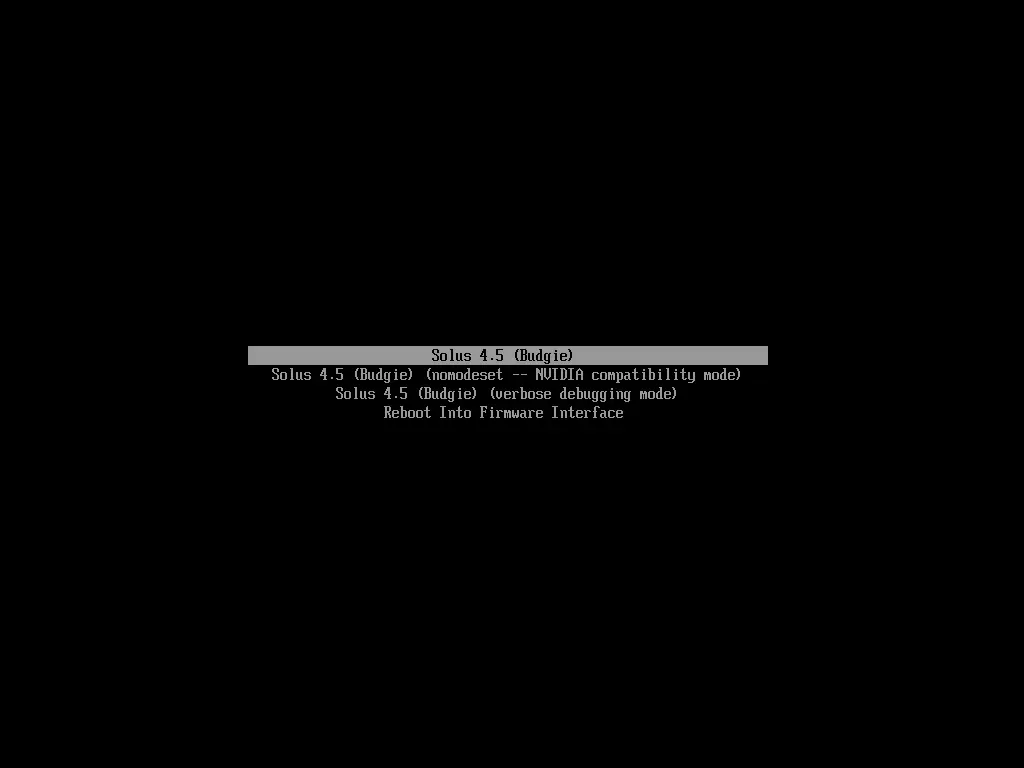
Just choose the first 2 option depends on your hardware, and hit Enter to boot into the live system.
Step 5: Start installing Solus 4.5
Once you boot into the live system, click “Install System” icon on the desktop to start the installer wizard.
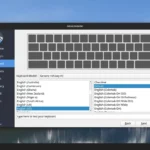
When the installer starts, choose language, your location, and keyboard layout in the first few pages:


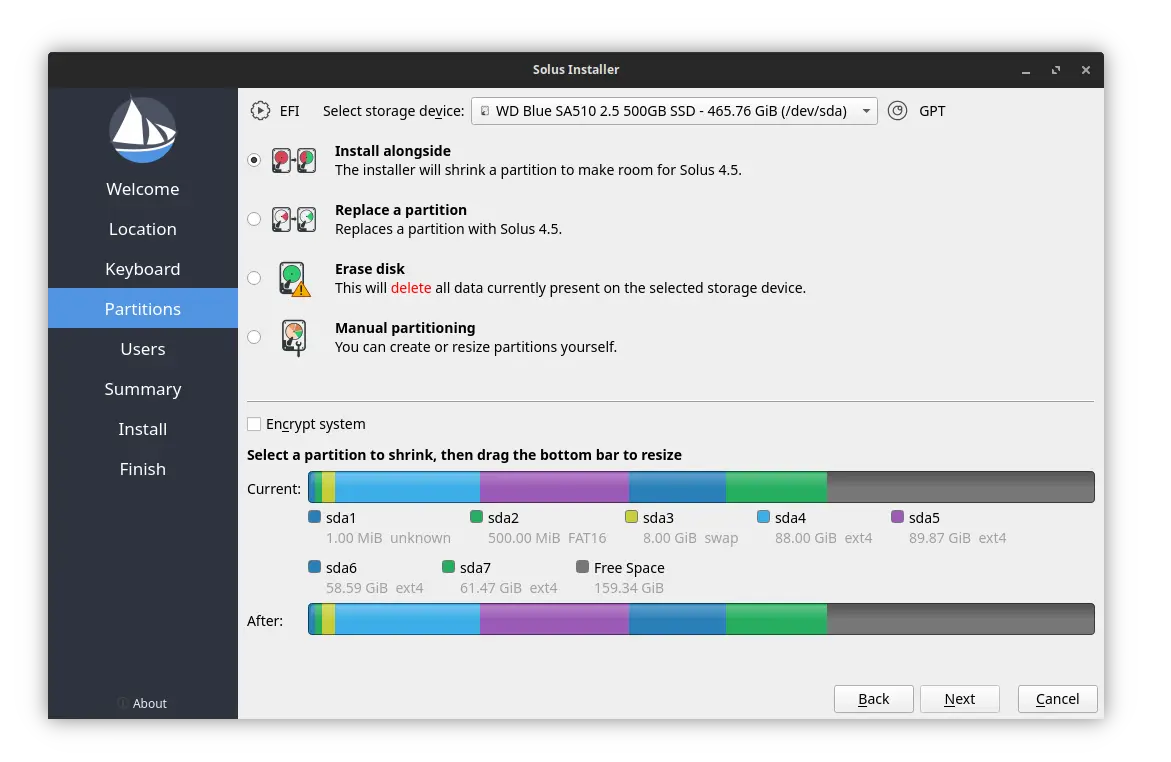
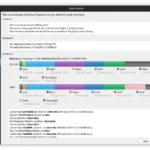
1. Installation Type
Next, when going to “Partitions” tab, choose your destination disk on top. Then, it will provide following options depends on disk status:
- Install alongside – select a partition on the colorful bar, after “Current”, then either shrink that partition for use for Solus, or use the whole free (un-allocated) space.
- Replace a partition – select a partition on the colorful bar, after “Current”, and replace it with Solus.
- Erase Disk – Clear all data on the disk, and install Solus on it.
- Manual Partitioning – Go next page, to manually allocate disk partition for installing Solus.
2. Manual Partitioning
If you selected the last “Manual Partitioning” option, then it goes into partition table for your selected disk. For new disk with un-formatted space, click “Next Partition Table” and select GPT to create one.
If NO enough free space (11 GB at least), then you have to delete existing partitions. Do it CAREFULLY, data on deleted partitions will be lost.
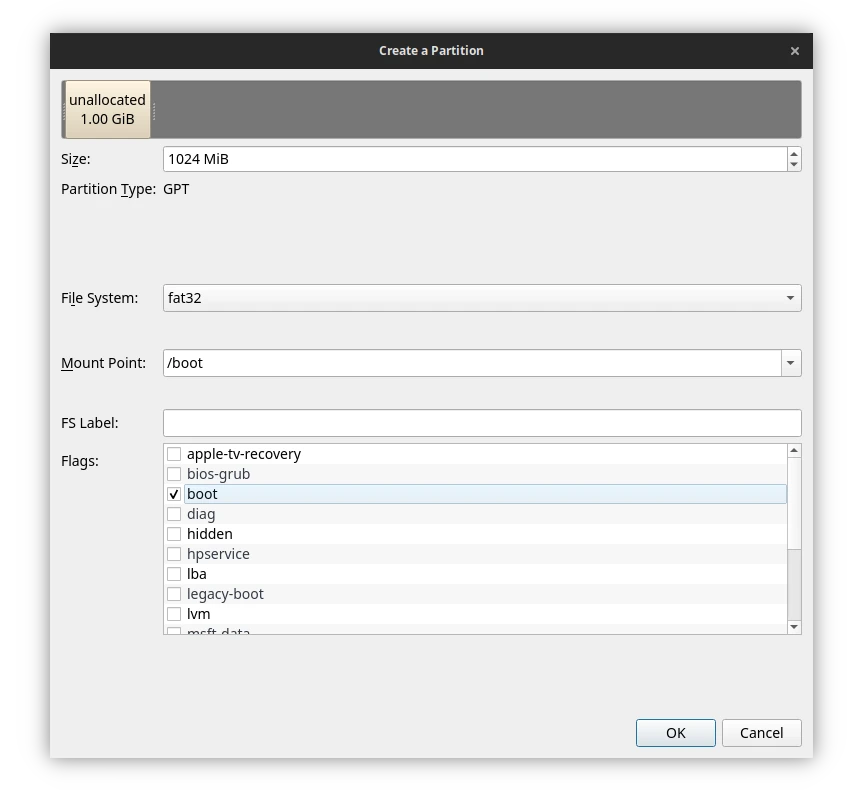
For installing Solus OS, you need to select Free Space and click create following 3 partitions:
1. EFI – with 1024 MB size, fat32 file-system, mount on /boot, with boot flag.
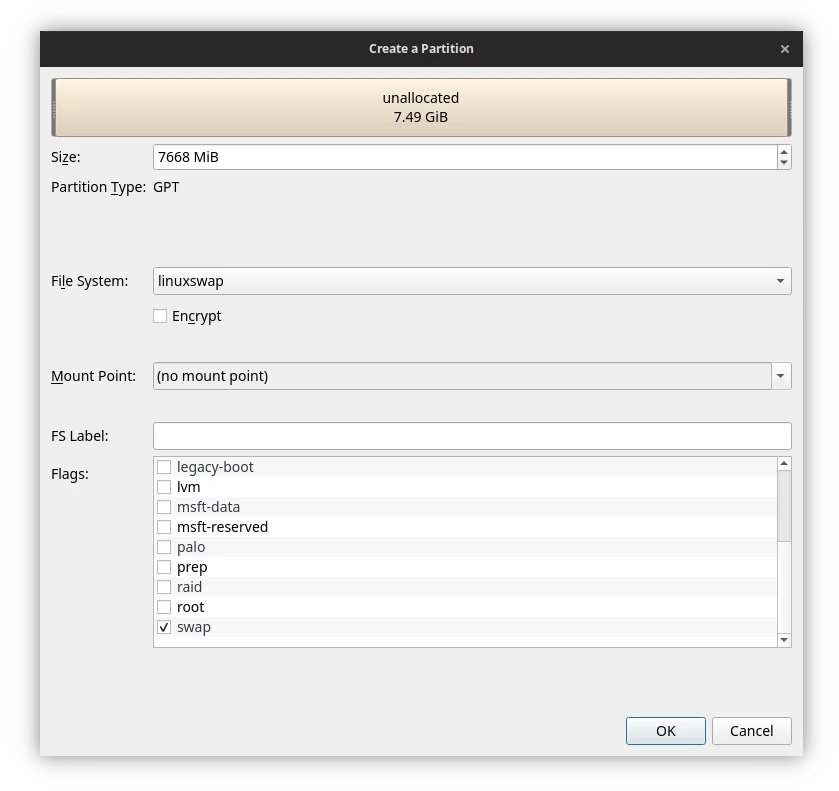
2. Swap (optional) – for hibernation, sleep to disk, or low RAM. Create linuxswap area, as large as RAM, with swap flag.
3. Root – finally, create a partition for Solus file-system, ext4 or LUKS (encrypted), mounted on /, root flag, and as large as possible (10 GB at least) for long time use.

When done creating partitions, you’ll have at least a root partition mounted on /, a fat32 partition mounted on /boot, and optional swap area.

3. Start Installing
Finally, click “Next” and input your desired user-name, password, computer name. Then, confirm in the ‘Summary’ page, and finally click start installing the Solus OS:


If the installation is done successfully, then it will prompt “All Done, Solus 4.5 Resilience has been installed on your computer”.
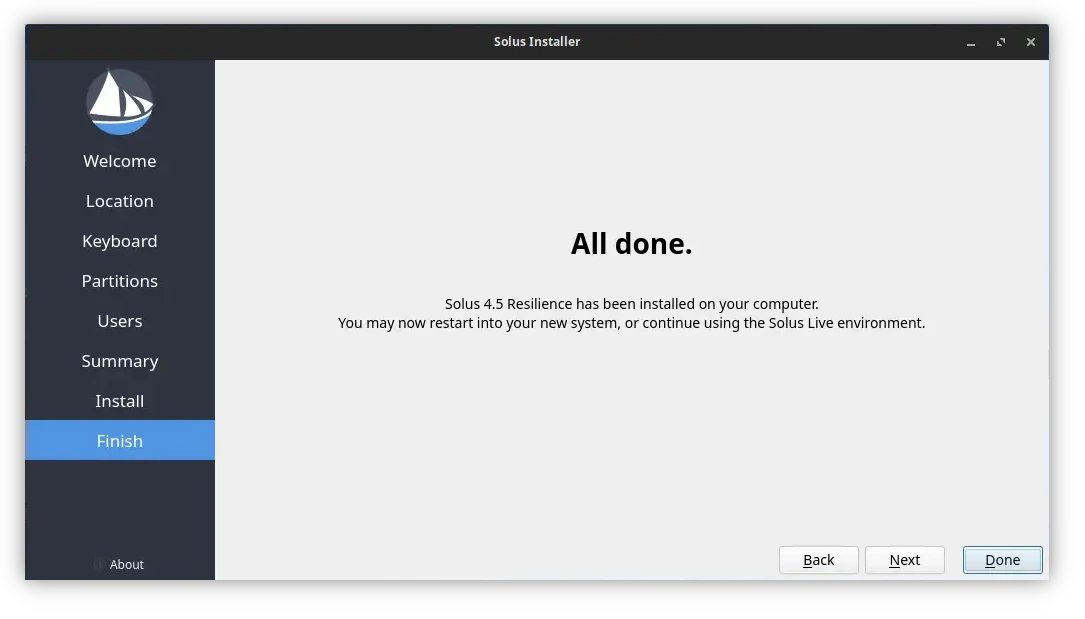
You can close the wizard and continue testing the live system, or restart to boot the OS from your disk.