

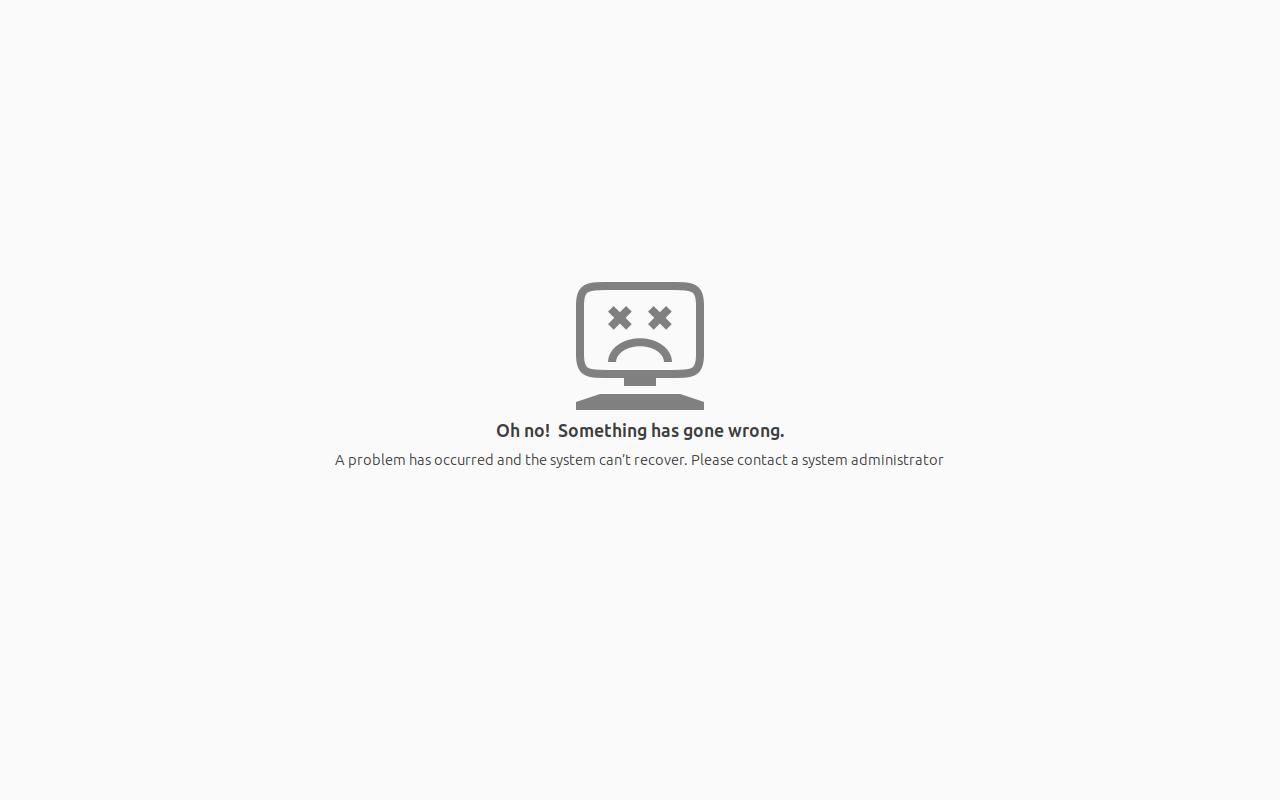
Got a white screen with “Oh no! Something has gone wrong” at login screen in your Ubuntu? This tutorial may help to fix the issue.
After upgrading Ubuntu to a new Distro release, or trying to configure the login screen background, gdm3 may be broken and show you an error:
Oh no! Something has gone wrong
A problem has occurred and the system can’t recover. Please contact a system administrator.
The issue usually has something to do with the gdm3 display manager. So, just fix the package, its configuration or even replace it will fix the issue in most cases.
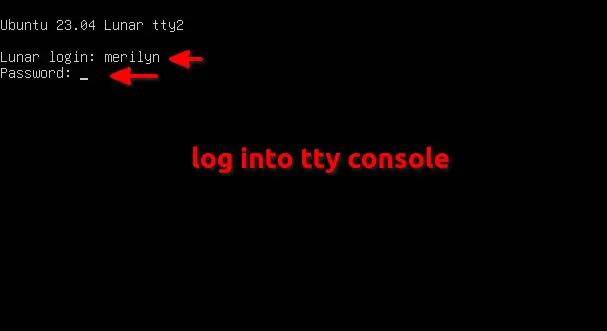
Step 1: Switch to command console.
Once you boot into the error screen, press Ctrl+Alt+F2 (or F3,F4,F5,F6) to switch to TTY command console.
For Ubuntu runs in VirtualBox VM, press right Ctrl + F2 (F3, F4, ...) instead to switch to TTY.
Then, type your username, hit Enter, then type password to login.
Step 2: Install All Available Package Updates
Once you get into the TTY command console, run the 2 commands below to check updates and install all available package updates.
This can be useful when you run into issue after upgrading Ubuntu to newer version. To do the job, run commands:
sudo apt update
sudo apt upgrade
Step 3: Try to fix broken packages
There may be un-configured or broken package in your system before the last time your shutdown the computer.
In the case, try running command to fix all unpacked but un-configured packages are configured.
sudo dpkg --configure -a
And, try command to fix broken package if any:
sudo apt --fix-broken install
Step 4: Re-install Ubuntu Desktop package
This error usually occurs in my case after trying to change the login screen background image, either by script or GDM Settings tool.
In the case, re-install the Ubuntu Desktop package as well as gdm3 and gnome-shell may help. To do the job:
- First, run command to remove ubuntu-session and gnome-shell:
sudo apt remove ubuntu-session gnome-shell
- Then, run command below to reinstall them back (as dependencies):
sudo apt install ubuntu-desktop
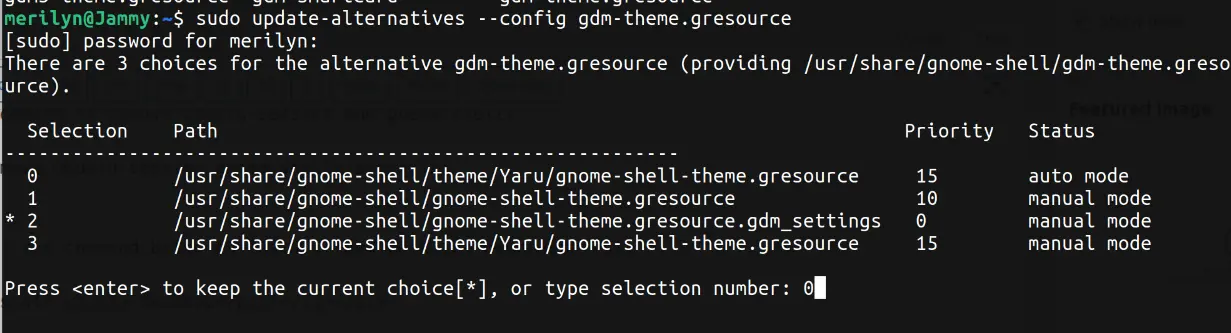
Step 5: Re-configure GDM Theme
It seems that using GDM Settings tool in Ubuntu will switch the GDM theme to another one. Even reset settings won’t restore the theme in my case in Ubuntu 23.04.
So, you may also try running the command below:
sudo update-alternatives --config gdm-theme.gresource
If it shows something as the screenshot shows you, type 0 and hit Enter to select and apply the first theme.
When done, run reboot command to restart your computer!
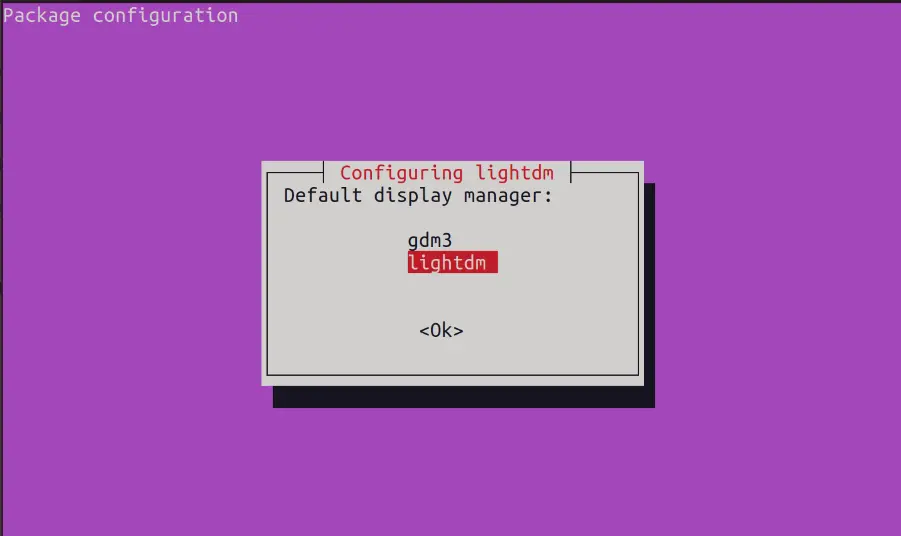
(Alternative Method) Switch to LightDM
In case none of the previous steps work for you, try switching to LightDM. It should 100% work if successfully installed.
To do so, also switch to TTY console (Ctrl+Alt+F2/F3/F4), log in and run command:
sudo apt install lightdm
during the installing process, it should prompt to select which display server to use. In the case, choose “lightdm“, then hit ‘Tab’ to highlight OK and hit Enter.
Finally, restart computer to see if it works.
Once you found out the solution to fix GDM3, run command to re-launch the configure screen and choose back gdm3 as display server.
sudo dpkg-reconfigure lightdm