


Want to try out the XFCE desktop environment without downloading & installing the ISO image? Well, you can install it directly and turn your Ubuntu into XUbuntu.
XFCE is a lightweight desktop environment aims to be fast and low on system resources. As an official Ubuntu flavor, XUbuntu ships with XFCE desktop by default.
XFCE is good for old machines with limited system resources. The minimum system requirements for XUbuntu include:
- Intel or AMD 64-bit processor with at least 512 MB memory.
- 8 GB disk space for system installation.
- And 32-bit processor needs to support PAE to run 32-bit Xubuntu 18.04.
However, 1.5Ghz Dual Core processor with 2 GB memory and 20 GB free disk space are recommended to get a smooth experience.
Supported Systems:
This tutorial works on all current Ubuntu releases, including Ubuntu 16.04, Ubuntu 18.04, Ubuntu 20.04, Ubuntu 20.10, and Ubuntu 21.04. However, the uninstall part may not work if you’re running on Ubuntu 16.04 and earlier.
How to Install XFCE / XUbuntu Desktop:
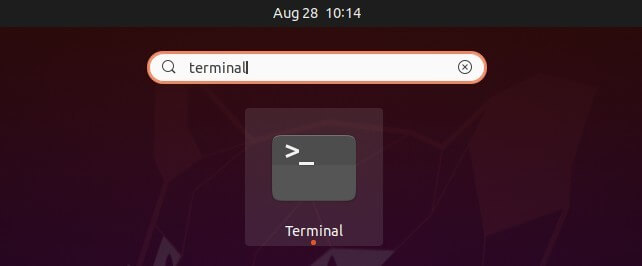
1. Firstly, open terminal either from system app launcher or by pressing Ctrl+Alt+T on keyboard.
2. When terminal opens, run command:
sudo apt install xubuntu-desktop
Type user password when it asks and answer y to confirm installation.
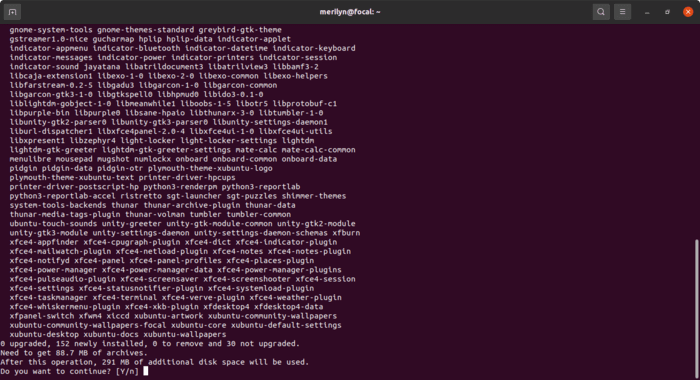
It’s a large lists of installations. For me, it will get about 88 MB downloads and take 290 MB disk space.
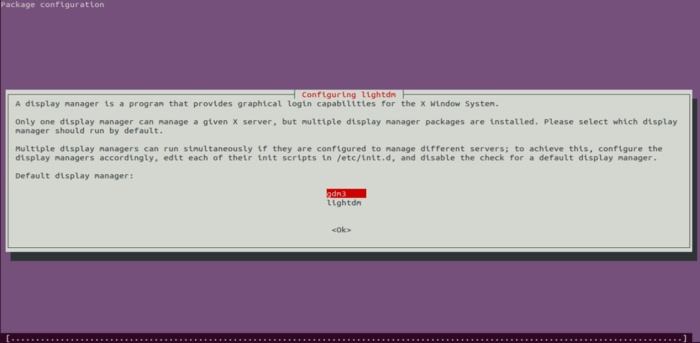
3. To get XUbuntu style login screen, you have to select lightdm to handle the login screen while configuring it.
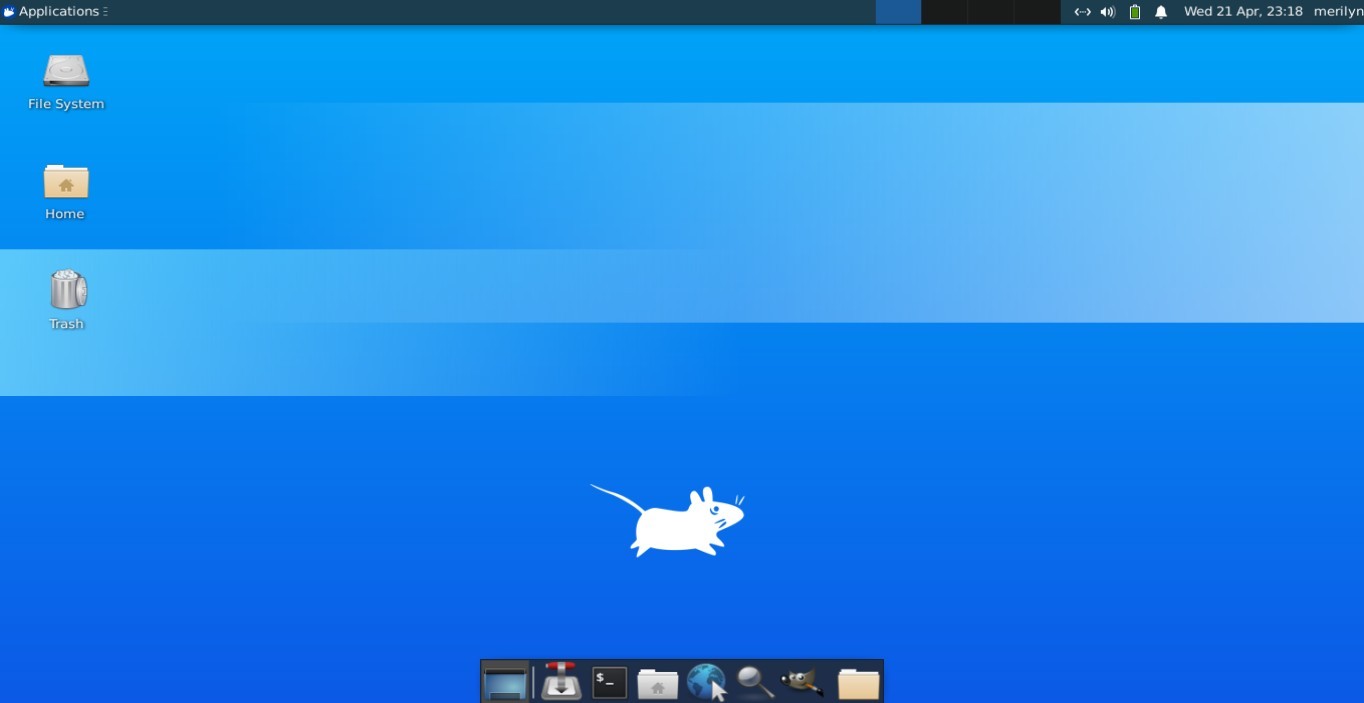
When everything’s done successfully. Restart your machine, and choose “XFCE” or “XUbuntu” to login.

And finally enjoy the XFCE desktop:
How to Completely Remove XFCE / XUbuntu Desktop:
If you decided to remove the desktop, firstly make sure to switch back gdm3 login manager by running command:
sudo dpkg-reconfigure lightdm
Then you can remove XUbuntu packages as well as the splash screen via command:
sudo apt remove --autoremove '~nxfce4-*' '~nxubuntu*' atril-common tumbler-common brltty-x11
For Ubuntu 18.04, use this command instead:
sudo apt remove --autoremove xfce4-* xubuntu* atril-common tumbler-common brltty-x11