


This is a step by step guide shows how to install Ruby programming language in Debian 12 Bookworm, Linux Mint 21, Ubuntu, and other Linux based on them.
Ruby is an interpreted object-oriented programming language often used for web development. It also offers many scripting features to process plain text and serialized files, or manage system tasks. It is simple, straightforward, and extensible.
There are a few ways to install Ruby in your Debian based Linux system. They include .deb package from system repository, using a third-party manager, and building from source tarball.
Method 1: Install from system repository
The easiest way to get Ruby is using the package in system repository. So far Debian 12 include Ruby 3.1.2, and Linux Mint 21 has Ruby 3.0 in system repository.
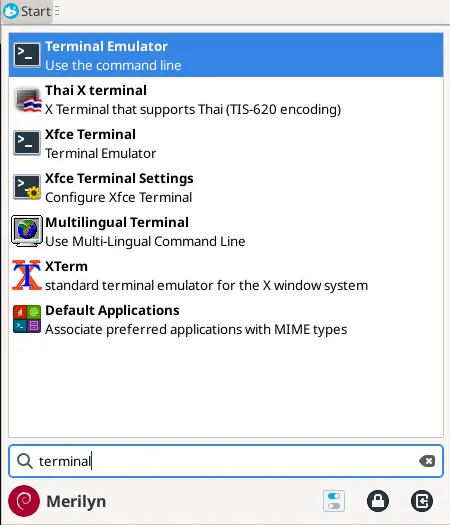
First, launch terminal from start menu or ‘Activities’ overview depends on your desktop environment.
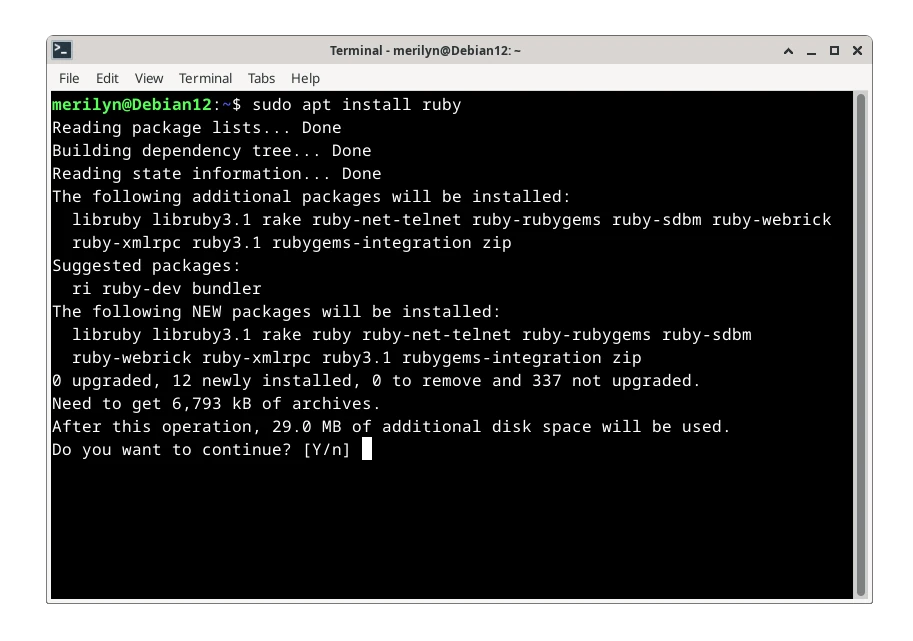
When terminal opens, run command to install ruby:
sudo apt install ruby
For choice, you can replace or also install jruby, the Java implementation of the ruby, or mruby, a lightweight implementation of ruby.
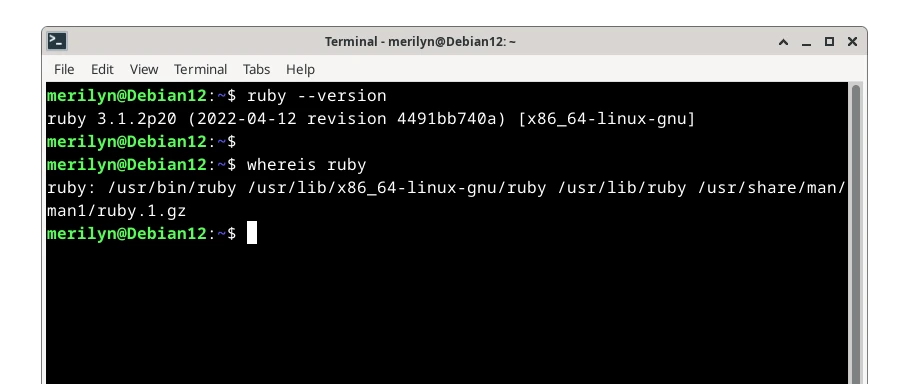
After installation, verify your ruby installation by running command:
ruby --version
Method 2: Install Ruby using rbenv
There are a few popular third-party managers, allow to install multiple versions of Ruby and switch between them on same machine.
rbenv is one of them that Ruby website referring to.
1. First, launch terminal from start menu.
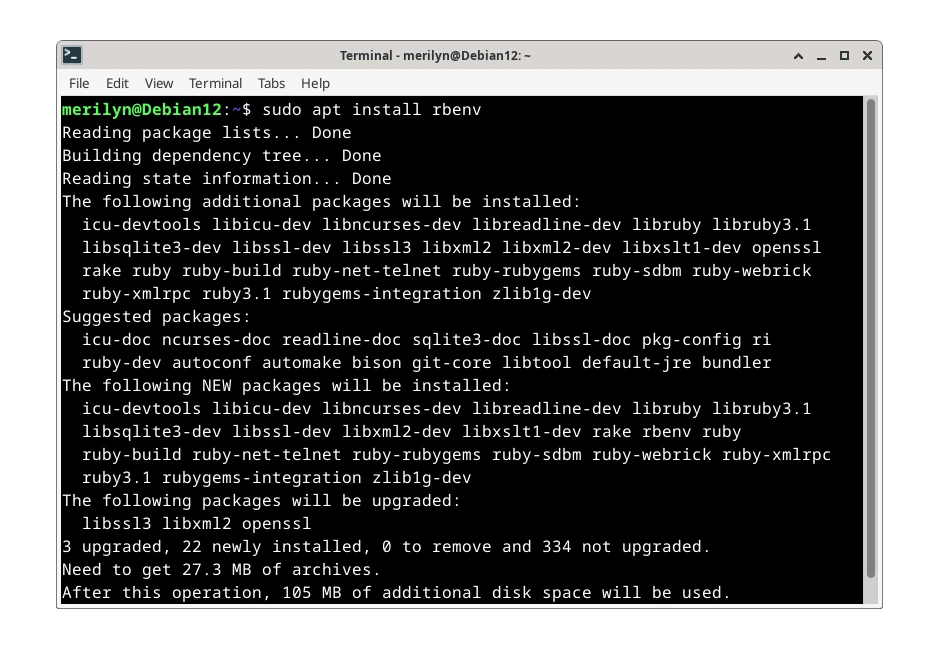
2. Then, run command to install rbenv from system repository:
sudo apt install rbenv
3. The ruby-build package in system repository is outdated. To install Ruby 3.2.x and 3.3.x, you have to first update it for rbenv.
- First, run command to remove the old
ruby-buildpackage:sudo apt remove ruby-build
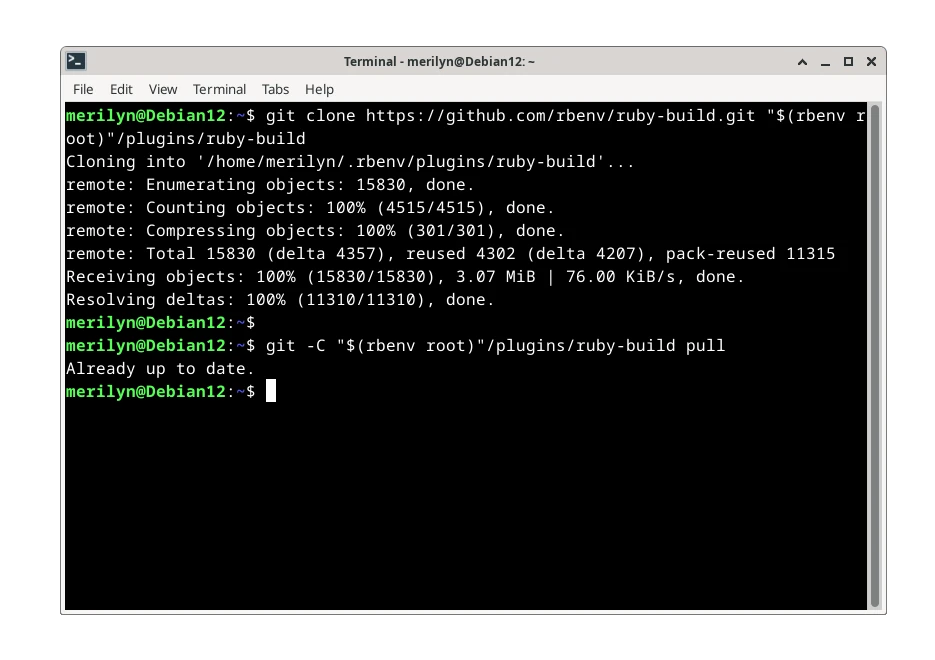
- Then, grab the latest from rbenv repository:
git clone https://github.com/rbenv/ruby-build.git "$(rbenv root)"/plugins/ruby-build
Install git via
sudo apt install gitif command not found. - Finally, upgrade the ruby-build plugin:
git -C "$(rbenv root)"/plugins/ruby-build pull
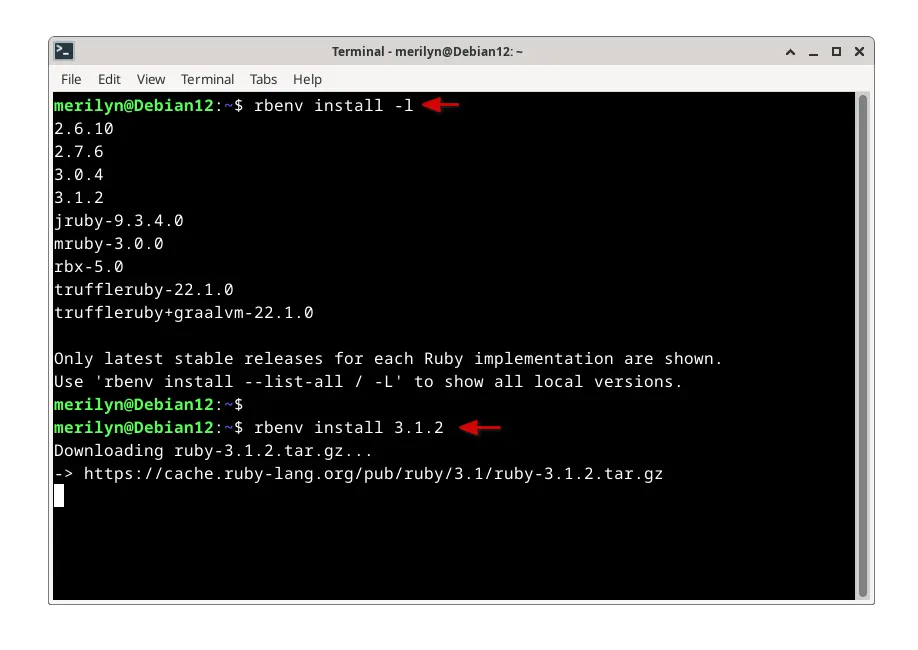
4. Now, you can run command to list all stable Ruby versions via command:
rbenv install -l
or use rbenv install -L to list even the old and dev versions.
And, finally select install Ruby version (3.3.0 for example) via command:
rbenv install 3.3.0
In screenshot below, I didn’t upgrade the ruby-build plugin. So it can only install ruby up-to v3.1.2
5. You can install multiple versions of Ruby lang via the last step. To switch between them, do:
either set default Ruby (3.3.0 for example) for machine globally:
rbenv global 3.3.0
or set Ruby version (3.3.0 for example) for current folder:
cd app_folder && rbenv local 3.3.0
For more about rbenv, see it in Github project page.
Method 3: Install Ruby using rvm
RVM is another popular command line to manage your app’s Ruby environment. Similar to rbenv, it supports installing multiple versions of Ruby and switch between them in single system.
1. RVM is not available in Debian system repository, but you can launch terminal and run commands below one by one to get it:
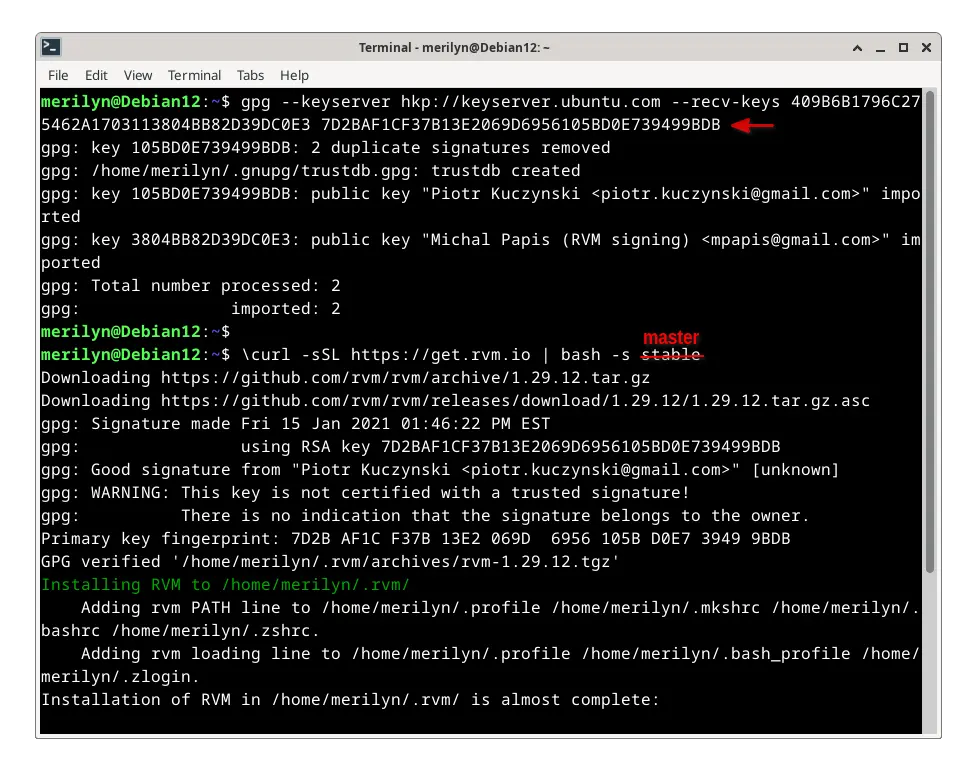
- First, run the command below to import the keys:
gpg --keyserver keyserver.ubuntu.com --recv-keys 409B6B1796C275462A1703113804BB82D39DC0E3 7D2BAF1CF37B13E2069D6956105BD0E739499BDB
- Then, install rvm by downloading and running the script from its website:
\curl -sSL https://get.rvm.io | bash -s master
NOTE: the stable branch is kinda outdated for the latest Ruby 3.3.0, so this command is trying to get the master branch.
2. After installing RVM manager, you need to log out and back in to apply path environment variable for rvm executable.
Then, run command to list all available Ruby versions:
rvm list known
Finally, select download & install one (3.3.0 for example) via command:
rvm install ruby-3.3.0
Or skip INTERPRETER, and just use version number: rvm install 3.3.0.
3. To switch between ruby versions (3.3.0 for example), just run command in working directory:
rvm use ruby-3.3.0
Or, use rvm default ruby-3.3.0 to set default Ruby for system wide.
For more, see rvm in Github Project page.
Method 4: Compile Ruby from source tarball
For specific features, you may also build Ruby from the source tarball.
First, select download the source tarball from its website via the link below:
Then, extract the tarball in file manager, right-click on new generated folder and select “Open in Terminal“.
In pop-up terminal window do:
- Run command to install the dependencies:
sudo apt install build-essential libyaml-dev openssl zlib1g-dev libffi-dev libgmp-dev rustc
- Then run
configurewith desired options, for example:./configure --enable-mathn --disable-pie
Run
./configure --helpfirst to tell all available configure options. - Finally build and install:
make -j4 && sudo make install
-j4will start 4 threads in parallel, change the number according to your CPU. And, if you set--prefixto install Ruby into local folder, then just skipsudo.
For more about how to compile Ruby, see the official guide.
Summary
In this tutorial, I taught how to install Ruby in Debian/Linux Mint in 4 different ways.
Install the ruby, mruby, or jruby from system repository is the most easy way! However, using a Ruby Manager such as rbenv and rvm is a good choice to install & manage multiple versions of Ruby environments. For specific features, user can also build from the source tarball.