

Make DNS change regularly and want to flush DNS cache in Ubuntu? Well, this simple tutorial is going to show you how to do it in Ubuntu 20.04, Linux Mint 20, Ubuntu 21.10 via systemd.
Option 1: for Ubuntu 20.04 and older
1. First open terminal from system application menu or get into command console for your remote Ubuntu Server.
Then run command:
sudo systemd-resolve --flush-caches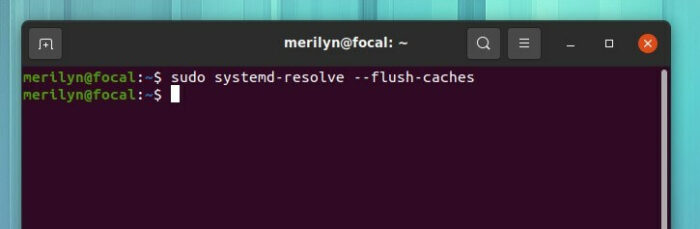
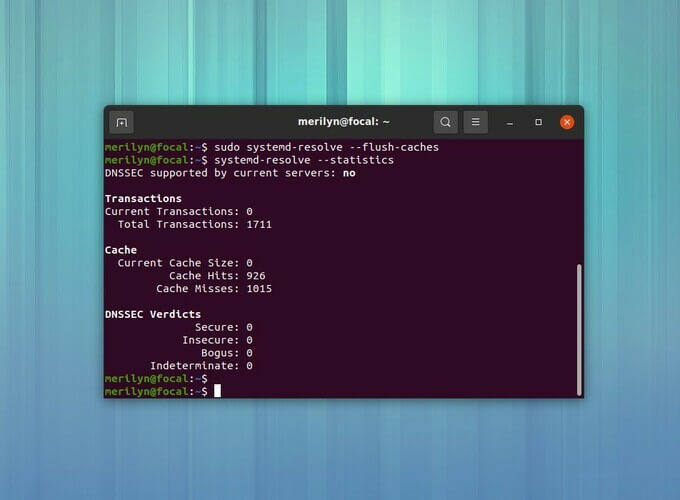
You can then run command to verify that the caches have been emptied:
systemd-resolve --statisticsAnd you’ll see something that says “Current Cache Size: 0”:
DNSSEC supported by current servers: no

Transactions
Current Transactions: 0
  Total Transactions: 2900

Cache
  Current Cache Size: 0
          Cache Hits: 1526
        Cache Misses: 1653

DNSSEC Verdicts
              Secure: 0
            Insecure: 0
               Bogus: 0
       Indeterminate: 0
2. If you’re running dnsmasq, just run command to restart the service which will also clear the DNS cache:
sudo systemctl restart dnsmasq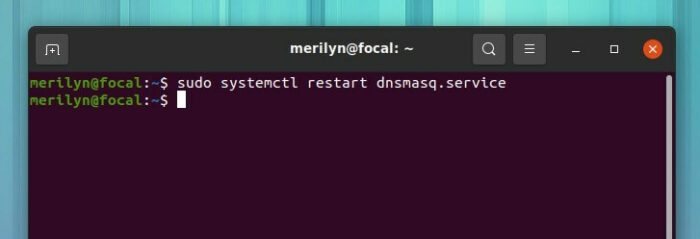
And if you want to check out the statistics, run command to dump to system log:
sudo pkill -USR1 dnsmasqThen consult the system logs via command:
sudo tail /var/log/syslog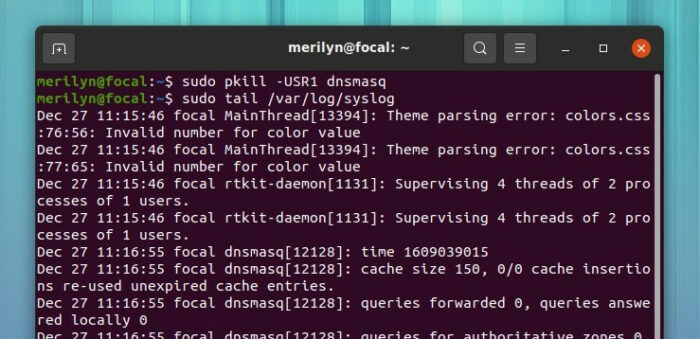
Option 2: for Ubuntu 22.04 +
The previous command does not longer work in Ubuntu 22.04 LTS. User may now run the command below in terminal (Ctrl+Alt+T) to do the trick:
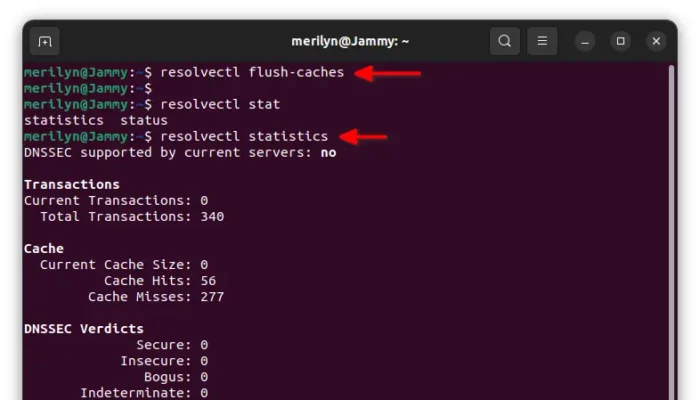
resolvectl flush-caches
And verify by checking the statistics:
resolvectl statistics
That’s it. Enjoy!