

To protect privacy, laptop users may want to disable the built-in webcam. Here’s how to do the trick in Linux!
NOTE: this tutorial is tested and works on Ubuntu 20.04, Ubuntu 22.04, & Debian 11. Though, it should work on all Linux since it does the job in Kernel level.
Gnome Privacy settings:
You know, GNOME has the toggle options for Camera and Microphone available via either ‘Privacy’ settings or the keys under ‘org.gnome.desktop.privacy‘.
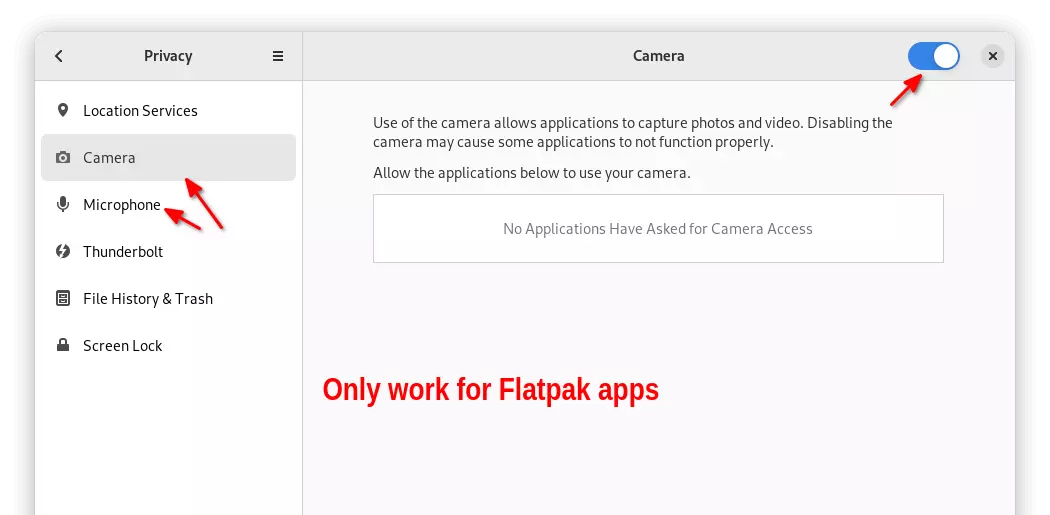
However, the options are only work for Flatpak apps. To not confuse its users, Ubuntu has removed the options from settings dialog.
Disable Webcam by blocking the Kernel driver:
So far, the most efficient method to stop apps from using webcam is blocking the driver module. Here’s how to do the job step by step.
1. Find Webcam driver module.
Most recent webcams are UVC (USB Video Class) compliant and supported by the generic uvcvideo kernel driver module.
To verify it, open terminal (either from start menu or by pressing Ctrl+Alt+T) and run command:
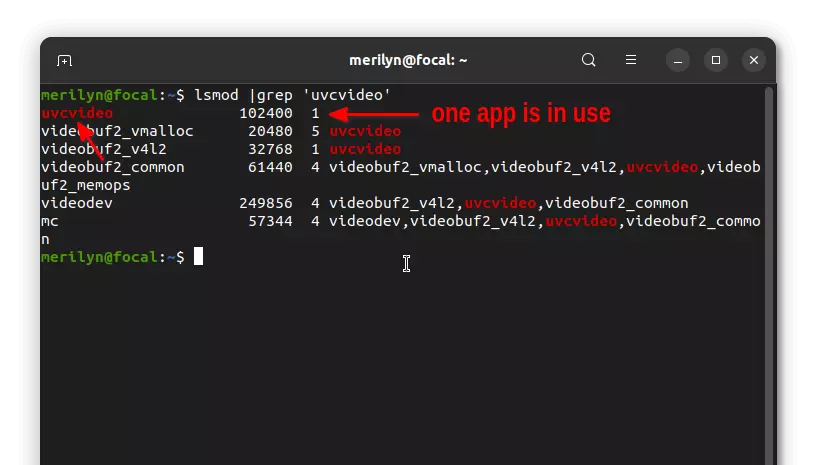
lsmod | grep 'uvcvideo'
lsmod list kernel module status, while grep filter via the keyword following it.
Open an app (e.g., Cheese) and run the previous command. If it outputs something like the picture shows, then uvcvideo drive is in use!
No ‘uvcvideo’ in output? Your webcam may be using another driver! There are a list of other drivers:
- gspca devices
- other specific drivers.
Run lsmod command and check the output line by line. And, see if a driver is in use which is also available in the previous link pages.
2. Block webcam driver until reboot.
You may temporarily stop the webcam usage by removing the driver module from Kernel.
To do so, open terminal and run command:
sudo modprobe -r uvcvideo
replace uvcvideo if another driver is in use (See step 1).
And, if you change your mind, re-enable the driver at any time by running command:
sudo modprobe uvcvideo
3. Block webcam driver permanently.
You may block a driver permanently by writing a new line ‘blacklist DRIVE_NAME‘ into the configuration file.
In the case, edit the ‘/etc/modprobe.d/blacklist.conf‘ file and write the new line blacklist uvcvideo in the end.
Or, simply open terminal and run the single command to do the trick (replace uvcvideo accordingly):
echo 'blacklist uvcvideo' | sudo tee -a /etc/modprobe.d/blacklist.conf
And it will apply the change in next boot.
In addition, you may block the Microphone driver via the same method. However, there’ll be no sound output anymore, because both microphone and sound speaker use the same driver.