

Want to add an Ubuntu PPA in Linux Mint? Here’s a step by step beginner’s guide shows you how!
PPA, Personal Package Archive, usually means the package sources in launchpad.net. It’s a Canonical (company behind Ubuntu) powered platform that hosts a large list of software packages.
Either software developers, e.g., Inkscape and Kodi, or community maintain PPAs in launchpad.net with packages for Ubuntu based systems.
Linux Mint is based on Ubuntu LTS. Without struggling with Linux commands, it offers an easy-to-use tool to manager PPA.
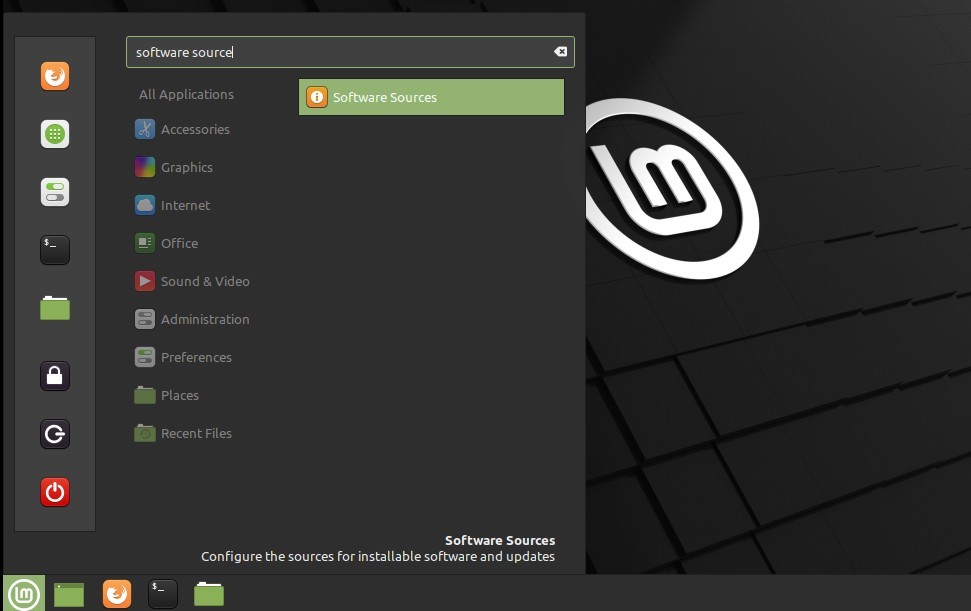
1.) Firstly search for and open “Software Sources” (without quotes) from the start menu.
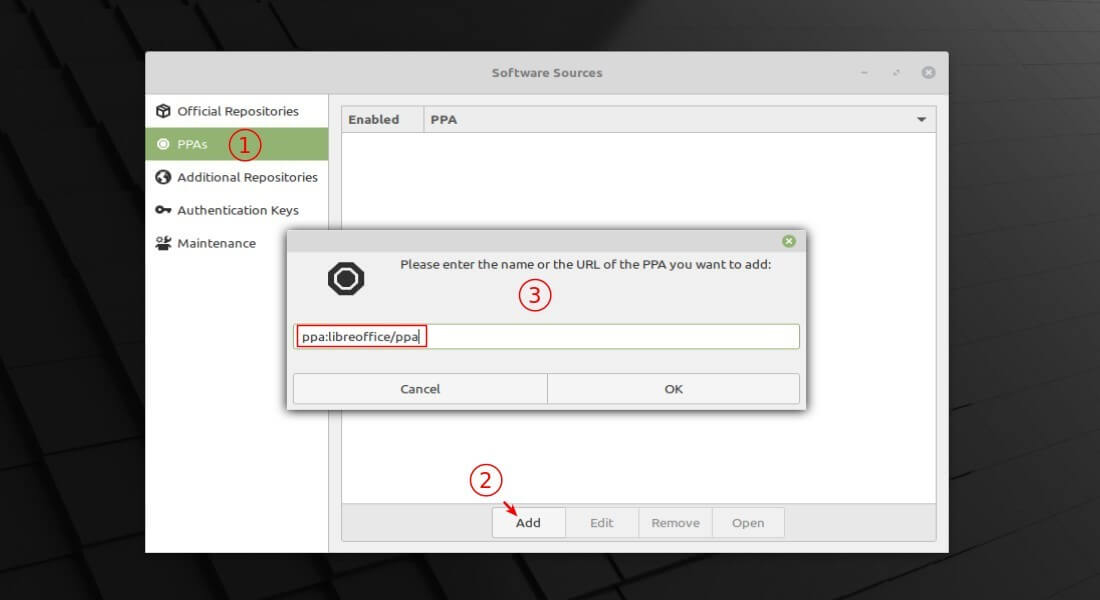
2.) When it opens, navigate to PPAs in left panel, then click Add and type or paste PPA full-name in pop-up dialog, and finally click OK.
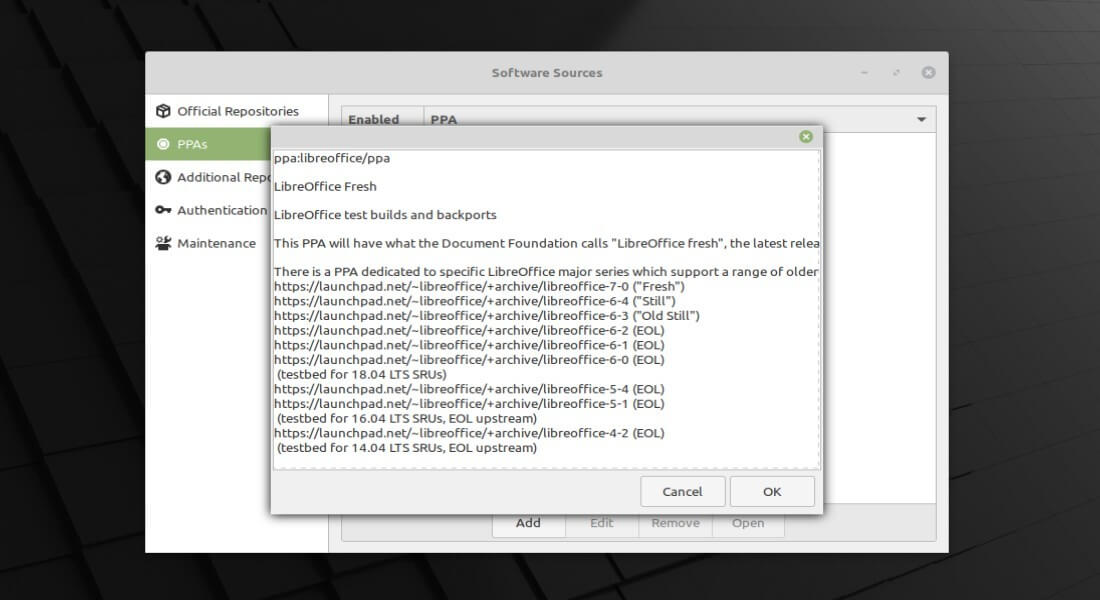
In the case, it’s ppa:libreoffice/ppa, the LibreOffice Fresh PPA.
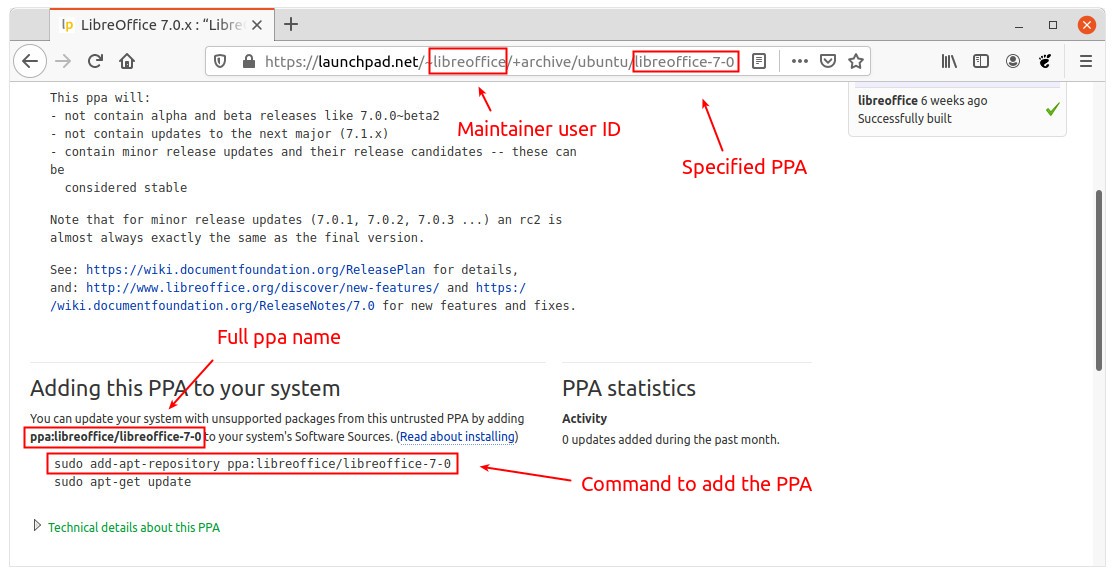
So what’s the PPA name? It’s usually “ppa:maintainer-id/specific-ppa“. You can get the full name either from its web-page or via the URL.
3.) After that, a dialog pops-up with the PPA description. Just click OK again to confirm.
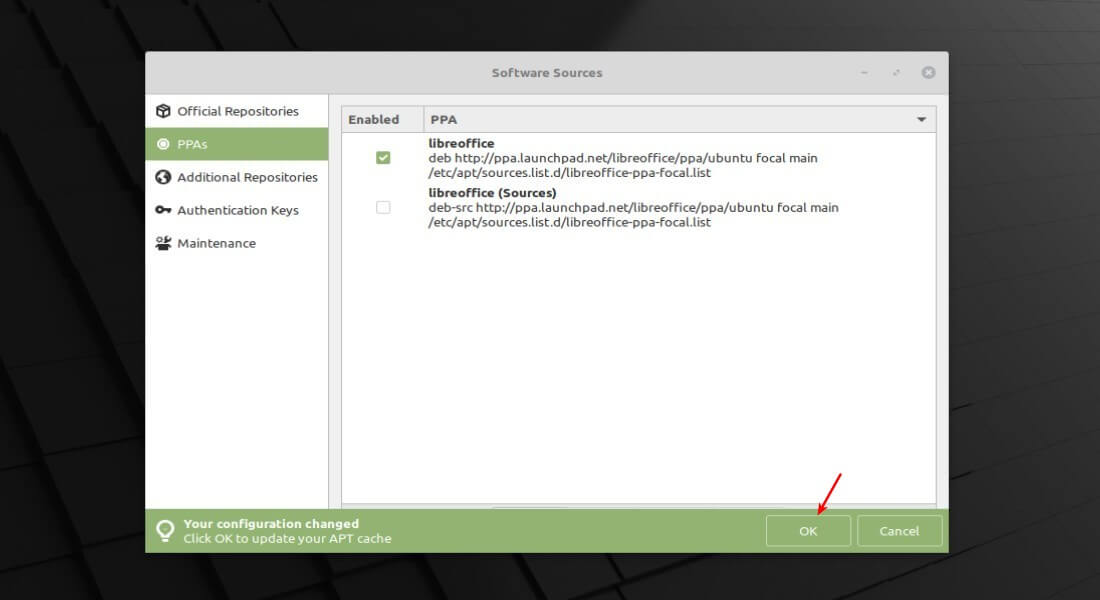
4.) After added PPA, it will prompt you to update the package cache with bottom buttons to start.
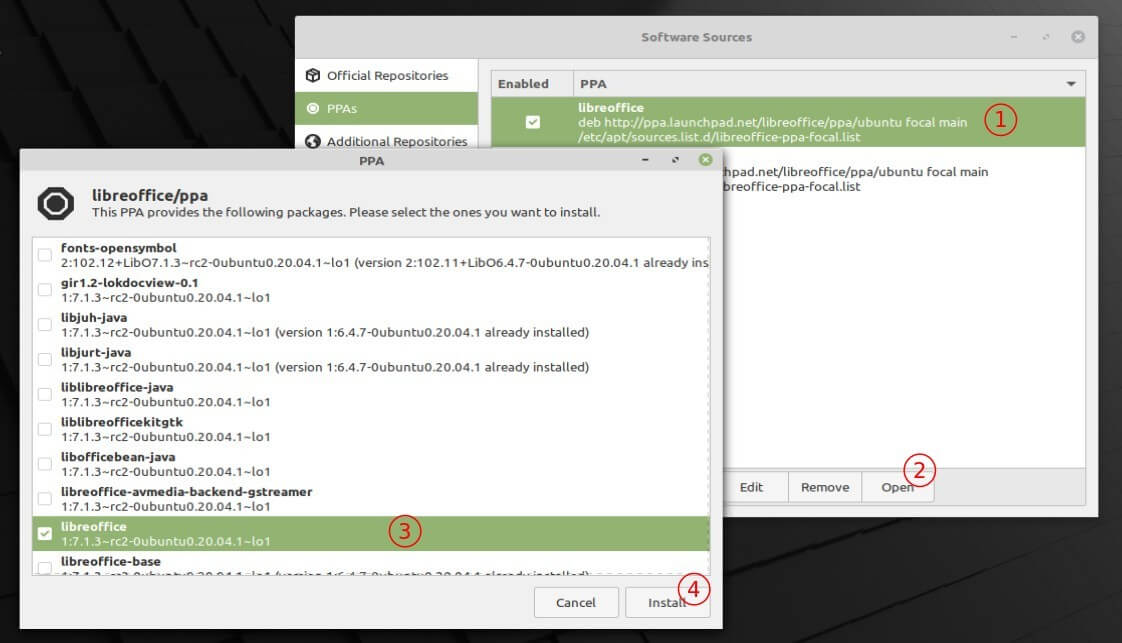
5.) Finally, highlight the PPA line, and click on Open button. It will bring up a dialog lists all available packages from the PPA.
And you can choose a package and click install. However, it may not work if dependency packages available in the list and not selected. So I’d recommend to use Synaptic Package Manager or Software Manager instead.
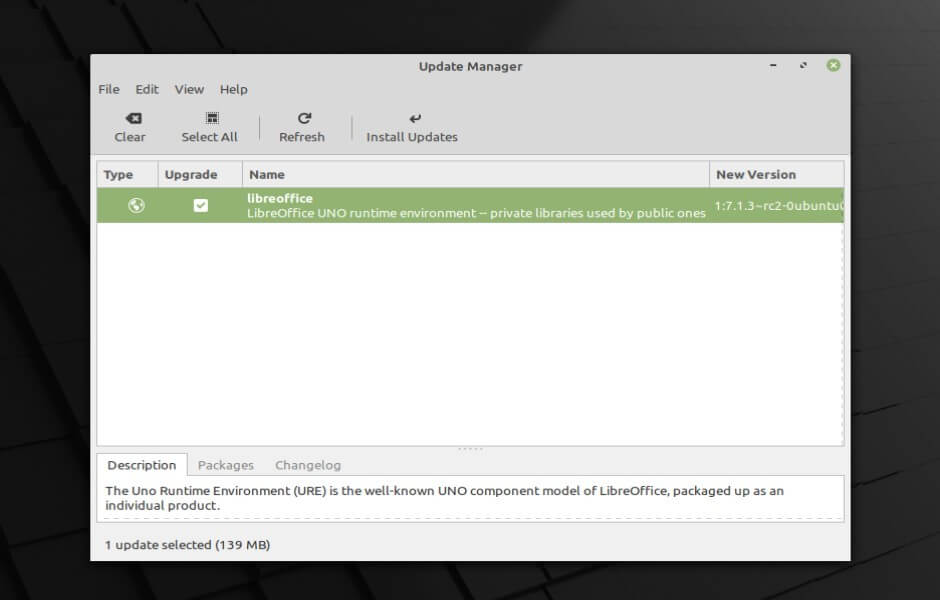
6.) If you’re going to upgrade an app using Ubuntu PPA, LibreOffice for instance, just launch Update Manager, tick the packages and click install updates.
All done. Enjoy!