


Want to update the Linux Kernel to get new features or new hardware support in Linux Mint? Here’s how to install the most recent Kernels from Ubuntu repositories
Kernel in Linux Mint is always lag behind. Mint seems to be inclined to avoid kernel updates to avoid stability issues, but at the expense of security.
As you may know, Ubuntu keeps publishing security kernel updates to its users. It also provides newer Kernel version in point releases to enable new hardware support. As a Ubuntu based system, Mint users can get these Kernel updates as easy as a few clicks!
NOTE: This tutorial will install the latest Kernel updates from Ubuntu. They are stable enough for production use in Ubuntu, but may not well tested in Mint.
Option 1: Install the Generic Kernel 5.19 in Linux Mint 21
Linux Mint 21 so far is powered by Linux Kernel 5.15 LTS. It’s however quite easy to get the Ubuntu 22.04’s generic kernel (so far 5.19).
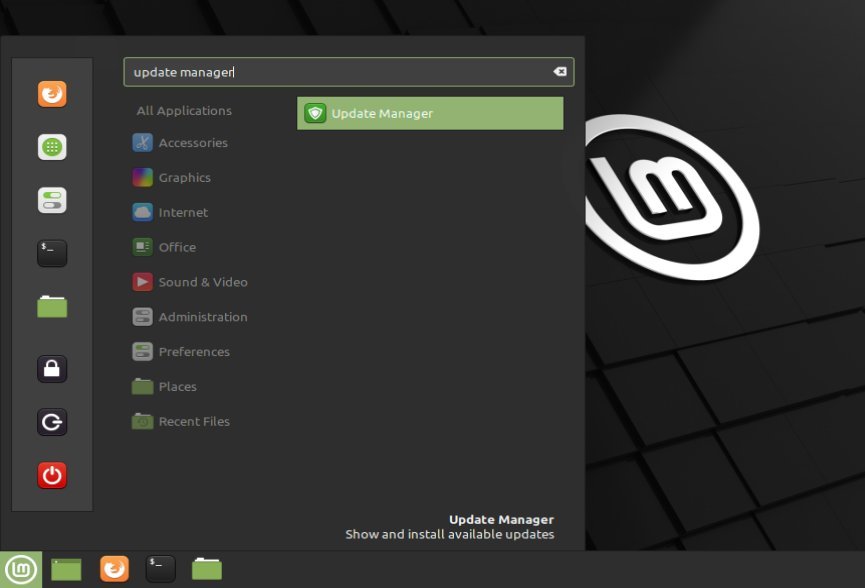
1.) Firstly go to start menu, search for and open “Update Manager“.
2.) When it opens, click OK under welcome message, and click ‘Apply the Update‘ if a newer version of the utility is available.
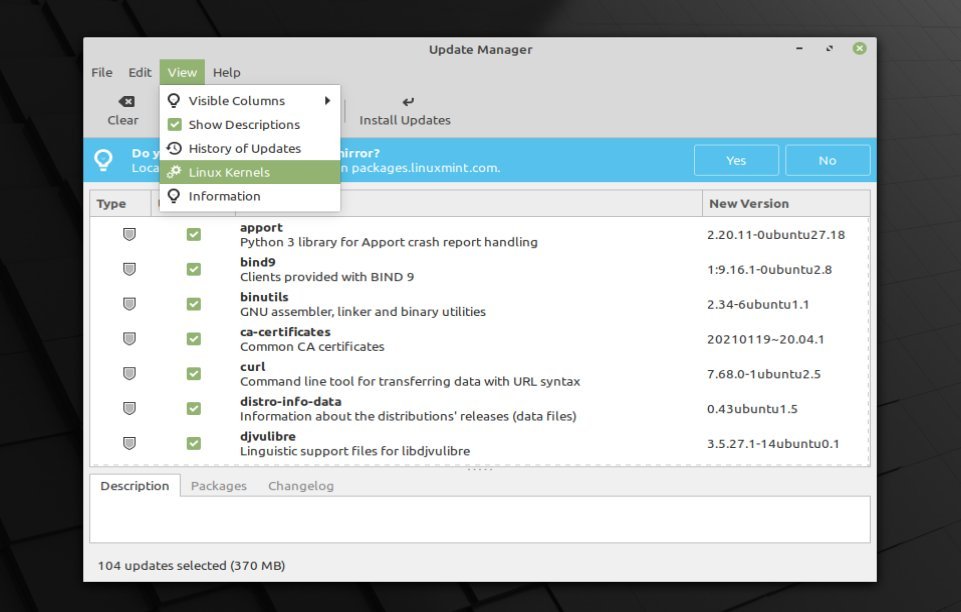
Next go to menu “View -> Linux Kernels” in the Update Manager.
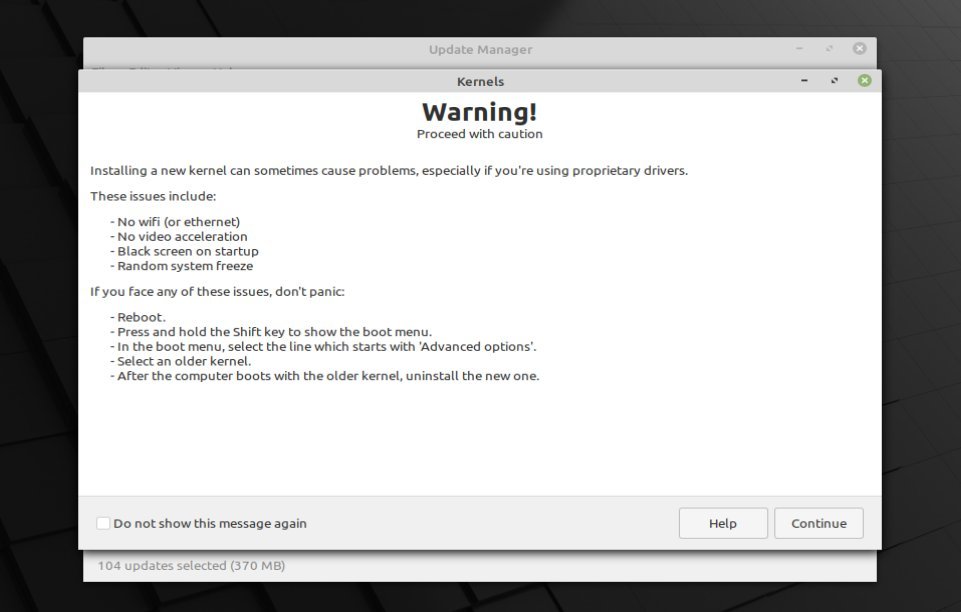
3.) Read the warnings and click on ‘Continue‘ button.
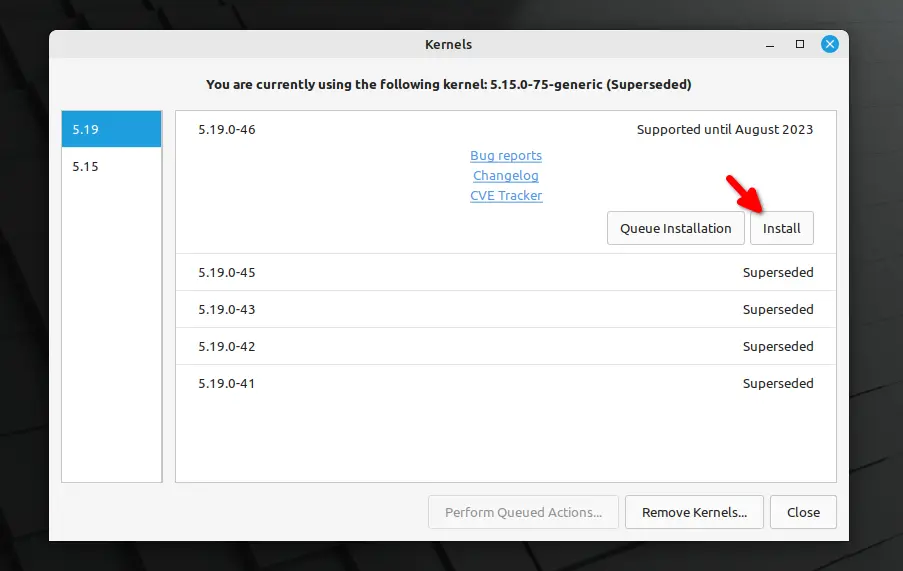
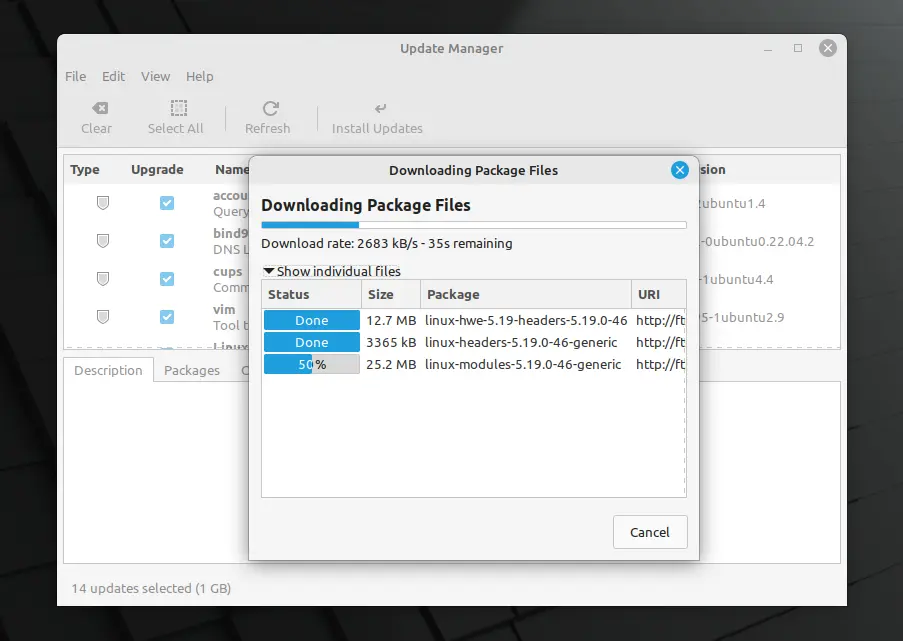
4.) Next you’ll see a list of available Kernels. Select the latest version from the list and click expand and select ‘Install‘.
NOTE: Ubuntu updates the generic Kernel every 3 weeks! So, you may need to do the steps regularly to update it!
5.) Type user password if it asks and wait until the installing process done! The new kernel will be default in the boot menu in next boot!
If you dual or multi-boot Mint with other Linux, boot the first menu entry (if it's not Linux Mint) and update grub manually.
Option 2: Install the OEM Kernel in Linux Mint
Ubuntu also provides OEM kernels in the official system repositories. The latest so far is Kernel 6.1 with new features and newer hardware support than current generic kernel. Ubuntu described that:
Although the OEM kernel is targeted for OEM projects and thus OEM enabled/certified machines, it is not a private kernel at all. The kernel package is publicly available in the Ubuntu archive and anyone can install and run it.
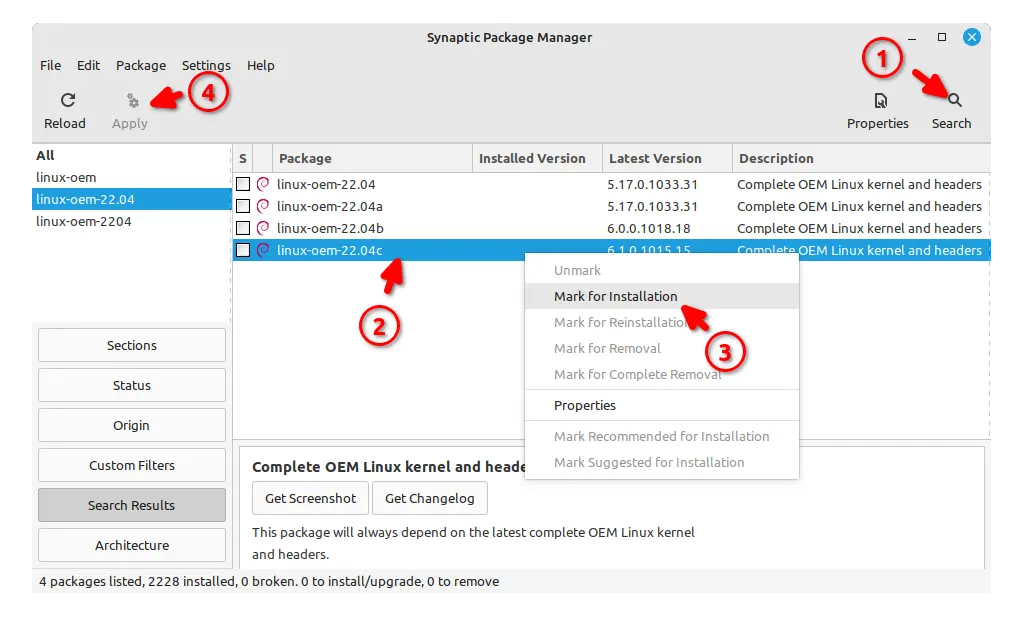
To install the OEM Kernel, first search for and launch ‘Synaptic Package Manager’. When it opens, do:
- Use ‘search’ toolbar icon to search ‘
linux-oem-22.04‘. - Then, right-click on the latest package, so far its ‘
linux-oem-22.04c‘ and select ‘Mark for Installation’. - Finally, click on ‘Apply’ button to install the Kernel.
Option 3: Install the latest Kernel via Mainline PPA (Testing Only)
For the bleeding latest Kernel, Ubuntu has a mainline Kernel PPA building the packages for testing purpose!
User can get the packages from the link below:
Select the latest or your desired version, amd64 build for modern PC and laptops. Then, click install them in following order (kernel 6.4 for example):
- linux-headers-6.4.0-060400-xxxxxx_all.deb
- linux-headers-6.4.0-060400-generic_xxx_amd64.deb
- linux-modules-6.4.0-060400-generic_xxx_amd64.deb
- linux-image-unsigned-6.4.0-060400-generic_xxx_amd64.deb
Verify:
After installing a new Kernel packages, restart your computer.
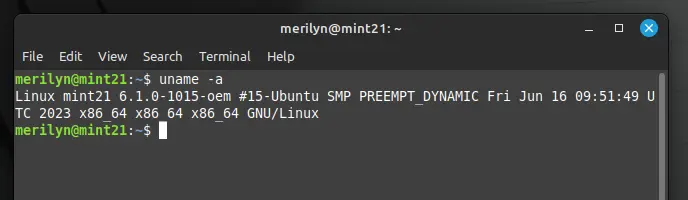
Then, press Ctrl+Alt+T on keyboard to open terminal and run command to verify which Kernel is in use:
uname -a
How to Restore the stock Kernel:
If something go wrong with new kernel, re-boot your computer and press/hold ‘Esc‘ to show the Grub boot-menu.
In boot-menu, select the previous kernel under sub-menu of “Advanced options for Linux Mint …“, and boot.
After booting with the old kernel, either use ‘Synaptic Package Manager‘ to search and remove the Kernel packages you just installed. Or, open ‘Update Manager -> View -> Linux Kernels‘ again and use remove button to uninstall the generic kernel.