

Want to share a folder over local network and allow access with create and delete files permission? Here’s the step by step picture guide shows how to do the trick in Ubuntu (Updated for Ubuntu 23.10 Mantic Minotaur)
It’s quite easy to share your files over LAN or even outside home network either via a temporary http / ftp server, or third party file transfer tool (such as Dukto).
If you however need to setup a share folder for long time use, then samba file and print service can be a good choice.
1. Install the nautilus-share.
In previous Ubuntu 22.04 and earlier, there’s a ‘Local Network Share‘ option when you right-clicking on a folder. With it, user can easily install and setup a shared folder via a few mouse clicks.
The option is no longer available in Ubuntu since 22.10. However, it’s still easy to setup network share via an extension for Nautilus (the default file manager).
- First, press Ctrl+Alt+T key combination on keyboard to open a terminal window.
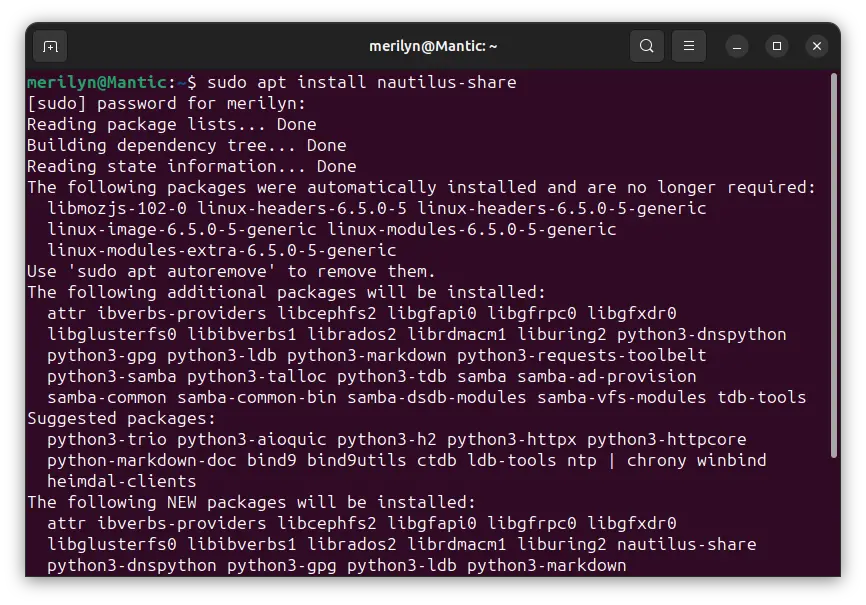
- When terminal opens, paste the command below and hit run to install the nautilus-share package, which install the samba service and setup file browser integration.
sudo apt install nautilus-share
After installation, also run command nautilus -q to quit Nautilus to apply the extension.
2. Start sharing a folder
Now, right-click on any folder that you want to share over local network. There should be a “Sharing Options” option in pop-up menu.
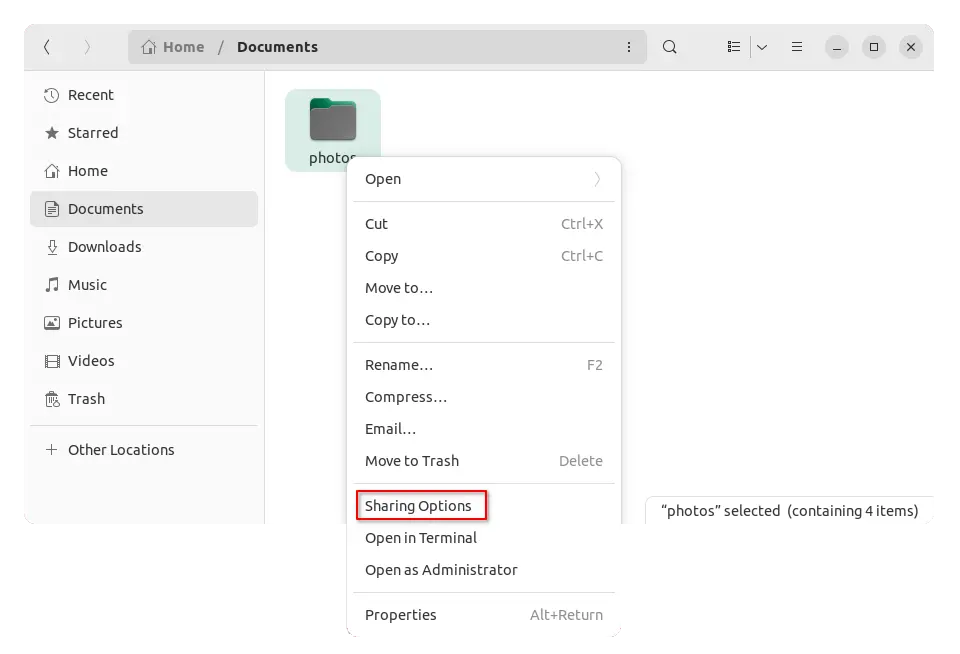
Just click on this option will open the dialog, which is just the similar one in the previous Ubuntu releases. Then, do:
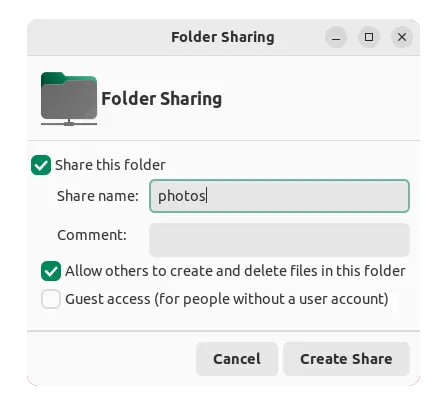
- Enable the checkbox for ‘Share this folder’.
- Set the folder name to whatever that you want, or just leave it with default.
- Enable write permission for choice (create and delete files).
- Enable guest access so anyone can access without authentication, or leave it disabled so user need to type username & password when trying to open this folder.
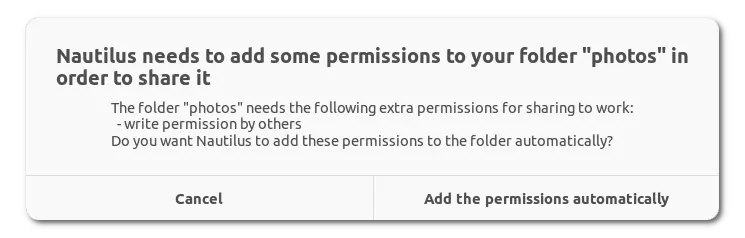
Once you clicked “Create Share” button, it will ask to confirm in next pop-up dialog for adding create and delete files permission. Just click ‘Add Permission Automatically’ to confirm.
Fix “Error 255” permission denied error!
When click sharing a folder in Nautilus, it may output an error says:
‘net usershare’ return error 255: net usershare: cannot open usershare directory /var/lib/samba/usershares. Error Permission denied.

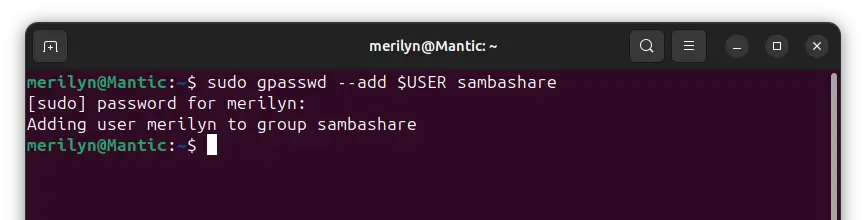
To fix the issue, just add your current user into sambashare group! And, this can be done by opening terminal (Ctrl+Alt+T) and run command:
sudo gpasswd --add $USER sambashare
Then, restart computer to apply changes.
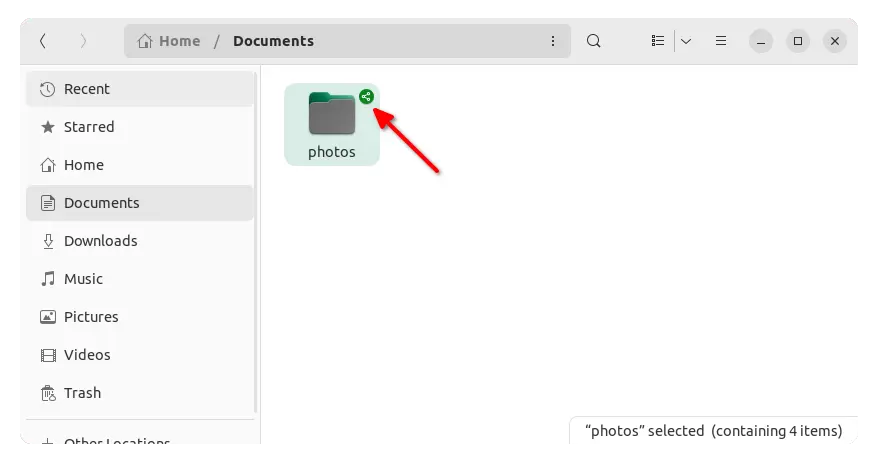
Finally, re-do the previous step to create a share folder. When done, your folder icon will change with a little symbol in up-right.
3. Setup a password for authentication
If you didn’t enable ‘Guest access’, then you also need to set a password for access.
- First, press Ctrl+Alt+T on keyboard to open terminal.
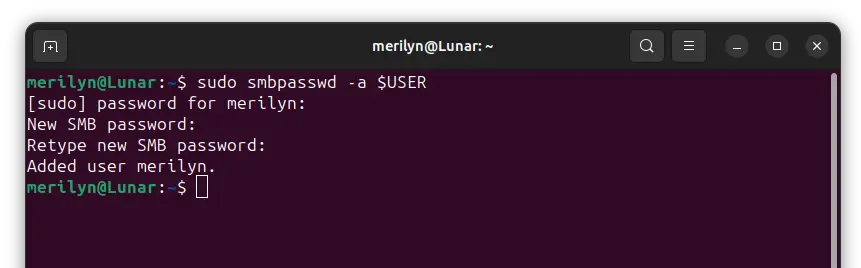
- Then, run command to set a smb password:
sudo smbpasswd -a $USER
- Finally, restart samba service via
sudo systemctl restart smbdcommand.
Finally, you can access this shared folder remotely via the username for current login user in Ubuntu system, but with another password you just set specially for network share.
- Account: user-name for logging into the Ubuntu system (run
whoamito tell). - Password: the password you just set.
4. How to access the shared folder
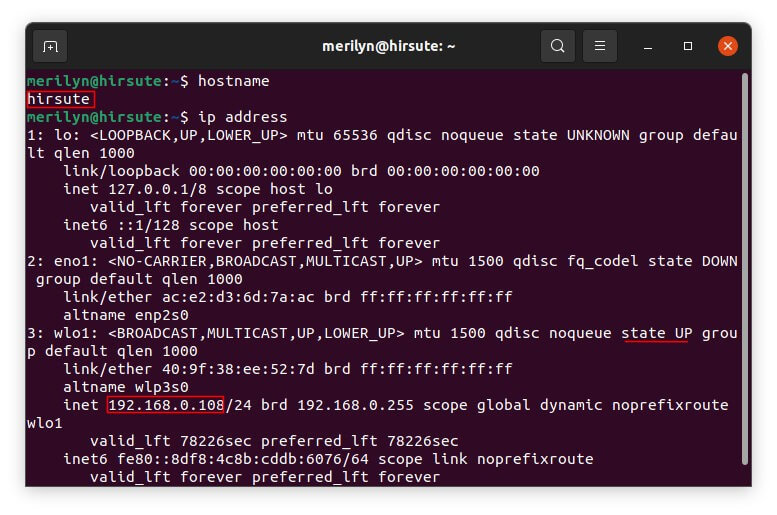
Firstly, you need to get either the hostname of local IP address for the Ubuntu machine. To do so, either go to Wifi/Network Settings, or run command in terminal:
- To get hostname, run:
hostname
- To get the IP address, run:
ip address
To access the shared folder in different system:
replace host_name_here with the hostname, and replace ip_here with the IP address. They are hirsute and 192.168.0.108 in the previous picture.
- For Windows, go to “Start Menu -> Run” (or press Windows logo key + R) and then type either
\\host_name_hereor\\ip_hereand hit Enter. - For Linux, it depends on your system. For Gnome Desktop, open file manager and go to “Other Locations”, under bottom “Connect to Server” box type
smb://host_name_hereorsmb://ip_hereand hit Enter. - For Mac OS, press “command + K” on keyboard to open Connect to Server dialog, type in
smb://host_name_hereorsmb://ip_hereand hit Enter.