This is a beginner’s guide shows you how to install and setup the Dropbox file hosting service in Ubuntu 20.04, Ubuntu 20.10, Ubuntu MATE 20.04, 20.10, and Linux Mint MATE.
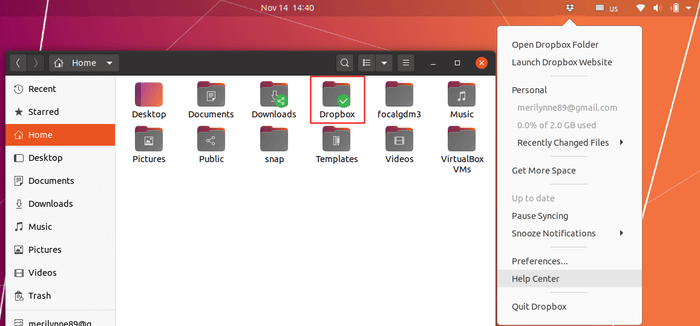
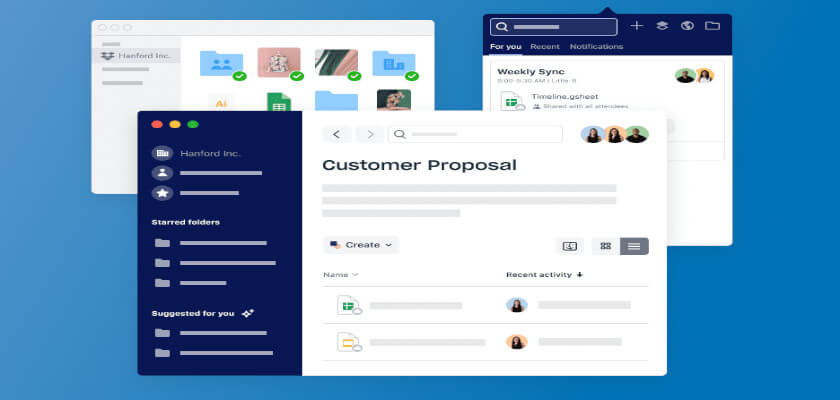
Dropbox is available in Ubuntu, Debian, Linux Mint via file browser extension. It creates a folder and gets your image files syncing between this local folder and your personal Dropbox account folder. And there’s a system tray indicator menu to
- Open local folder.
- Open Dropbox account.
- Pause syncing.
- Toggle notifications, proxy settings, change sync folder, etc.
How to Install Dropbox:
For all Ubuntu releases with default Gnome Desktop, simply open terminal and run command:
sudo apt install nautilus-dropbox
For Ubuntu or Linux Mint with MATE desktop, run command:
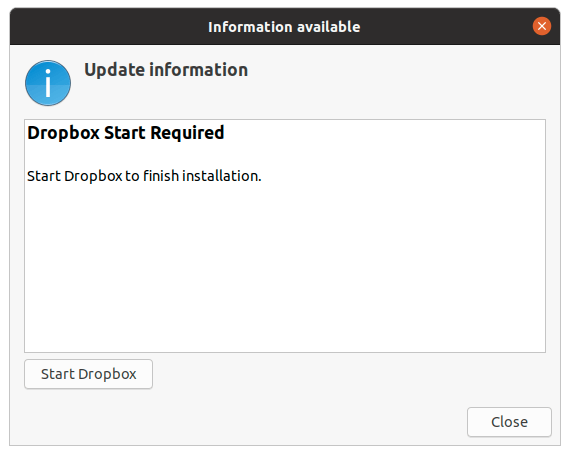
sudo apt install caja-dropboxOnce you installed the package, it will open a dialog window prompts you to “Start Dropbox”.
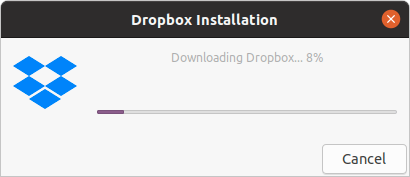
After clicked on the ‘Start Dropbox’ box, you’ll see ‘Dropbox Installation’ window that prompts you it will download the proprietary daemon.

Just click OK. It will download and install the daemon automatically on your system.
Setup Dropbox:
When the installation process done. It will automatically open Dropbox website in your web browser. Just login (or create an account) and confirm the synchronization between your Dropbox account and the local machine.
Then you’ll see:
- An indicator applet in system tray area.
- A Dropbox local folder in user home.
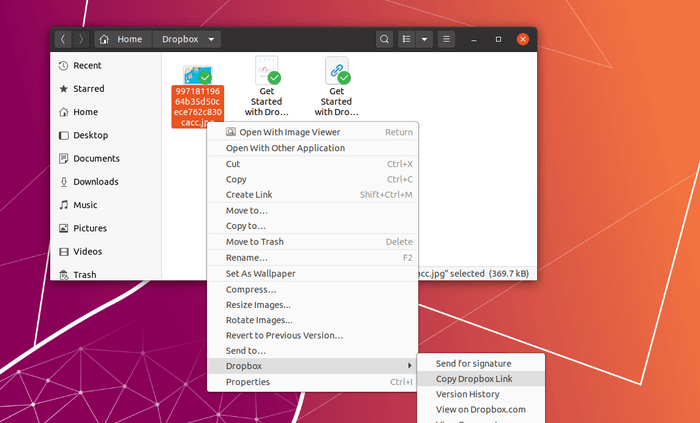
- Move any file / folder to Dropbox via context (right-click) menu.
- Copy the Dropbox link via context (right-click) menu.
- You can toggle the auto-start, bandwidth etc in Preferences
Uninstall Dropbox in Ubuntu:
To remove the software, simply open terminal and run command:
sudo apt remove --auto-remove nautilus-dropboxFor MATE Desktop, run this command instead:
sudo apt remove --auto-remove caja-dropbox 








Recent Comments