

This is a step by step beginner’s guide shows how to install Bodhi Linux 7.0 by using an USB stick!
Bodhi Linux is a lightweight and elegant Linux distro. It features Moksha, an Enlightenment-17 based desktop environment. The latest version so far is Bodhi 7.0 that was released on Aug 21, 2023.
The 32-bit edition requires at least 500MHz (Non-PAE) processor, 512MB RAM, and 5GB disk space. And the 64-bit recommends 1.0GHz processor, 768MB RAM, and 10GB disk space.
Step 1. Download Bodhi Linux
The latest version so far is Bodhi Linux 7.0.0, which is based on Ubuntu 22.04 LTS. The disco images are available to download via the link below:
Step 2: Verify ISO file integrity
After downloading the .iso file, also click the “sha256” link in the download page to see the hash code.
Then, you can run one of commands below to check the hash code of the local file that you just downloaded:
- If you downloaded the file in a Linux system, run command:
sha256sum ~/Downloads/bodhi-7.0.0*.iso
- If you got it in a Windows PC, open ‘cmd’ and run command (replace file-name depends on which edition you downloaded!):
cd Downloads && certutil -hashfile bodhi-7.0.0-64.iso SHA256
- For MacOS, check the hash code of downloaded file by running command:
shasum -a 256 ~/Downloads/bodhi-7.0.0*.iso
NOTE: In the commands above, replace file-name to yours! And replace ‘Downloads’ if you saved it in another location.
Once you got the hash code for local .iso file, compare it with the one in the download web page. They must be same before continuing the following steps!
Step 3. Burn the .iso image into USB
There are various tools in the web for creating bootable USB installer, e.g., Rufus for Windows and Etcher for cross-platform. And, there are some more here.
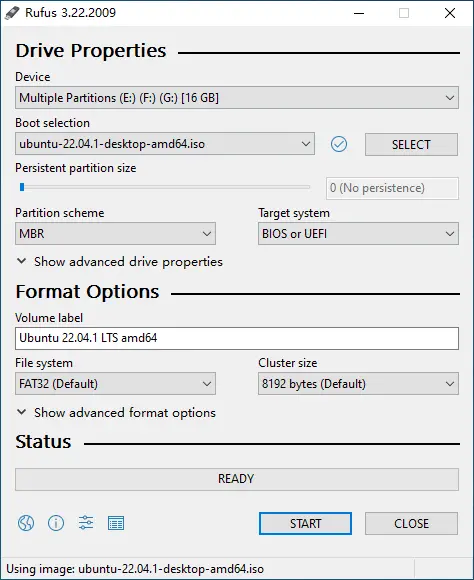
For Windows, just download and use Rufus:
The screenshot was taken for Ubuntu 22.04, though it works for Bodhi Linux 7.0!
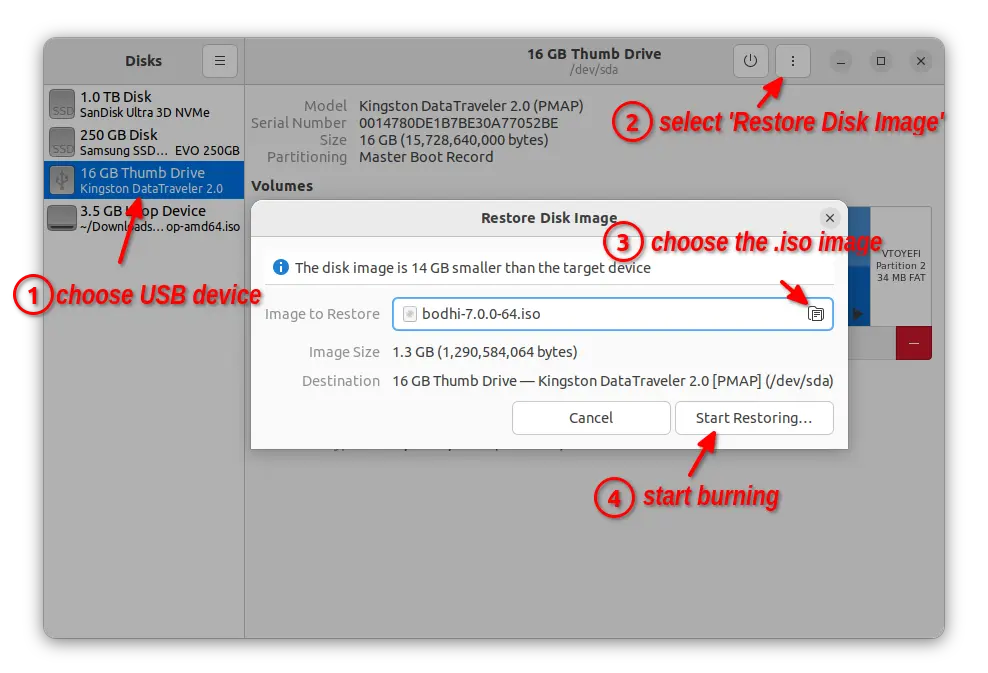
For Ubuntu, Fedora, and other Linux with GNOME, search for and open “GNOME Disks”. When it opens, highlight the USB device, and go to “⋮ -> Restore Disk Image”. Finally, choose the .iso file in pop-up dialog and click “Start Restoring”.
Step 4. Boot the USB in your machine:
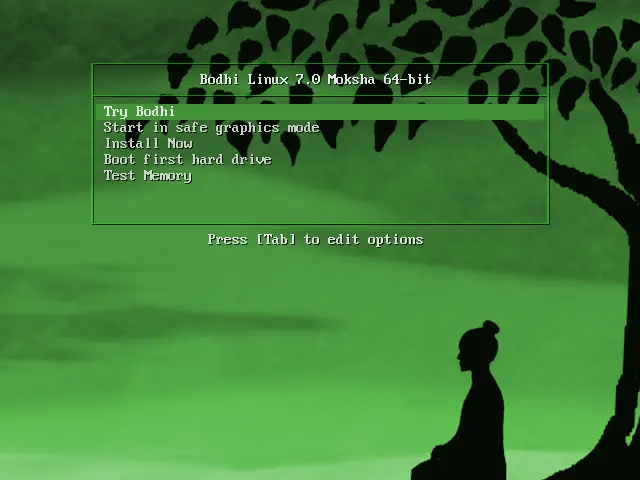
After creating the USB installer, boot it in your machine. Depends on your machine, you can press Esc, F2, Del, or other key to get into BIOS and select boot with USB.
Once you get into the boot menu, just hit Enter to boot the first menu entry.
Before logging into the desktop, it will show you the screen to choose “Language” and “Keyboard layout” for this live system!
Step 5: Start the Installer Wizard
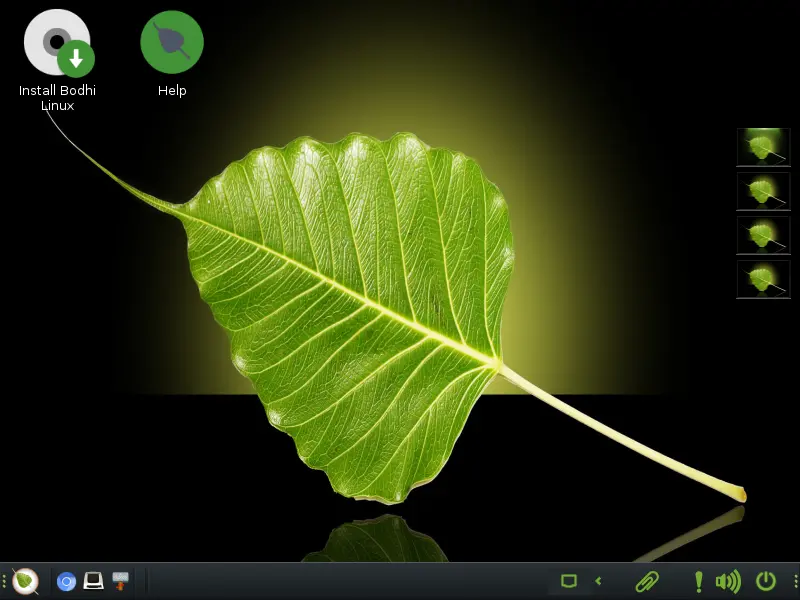
In the desktop, you’ll see a shortcut icon “Install Bodhi Linux“. By clicking on it will the launch the wizard to start installing the OS to your disk!
When the wizard starts, choose the “Language“, “Keyboard Layout“, “Network” (not required), and whether to install updates, 3rd media codecs accordingly! For English user with common-used QWERTY keyboard, the default options are OK.

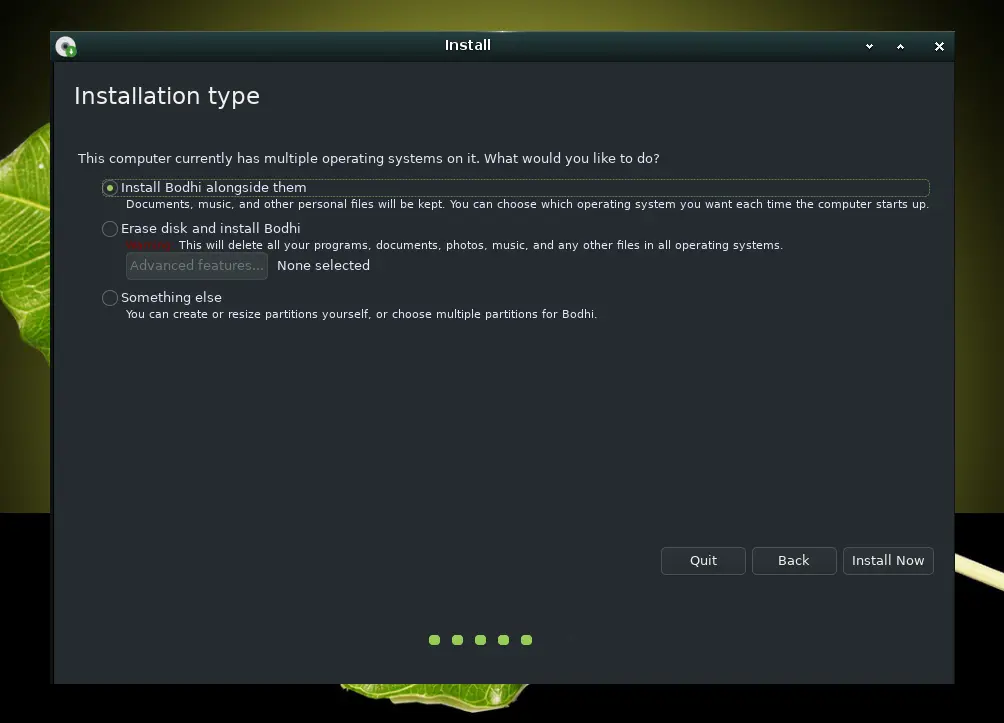
Step 6. Choose Installation Type
In next screen, it will prompt to choose “Installation Type“.
Depends on your disk status, there are usually 3 choices:
- “Install Bodhi alongside them” – if there’s enough un-allocated disk space, and you want to use it for Bodhi.
- “Erase disk and install Bodhi” – use the whole disk for Bodhi Linux only. You data on disk will be lost!
- “Something else” – manually allocate disk space for Bodhi Linux.
If you don’t know which one to choose, the last option is always good choice.
Step 7. Manually Allocate Disk space for Bodhi Linux
If you selected one of the first 2 choices, then you can just go directly to Step 8.
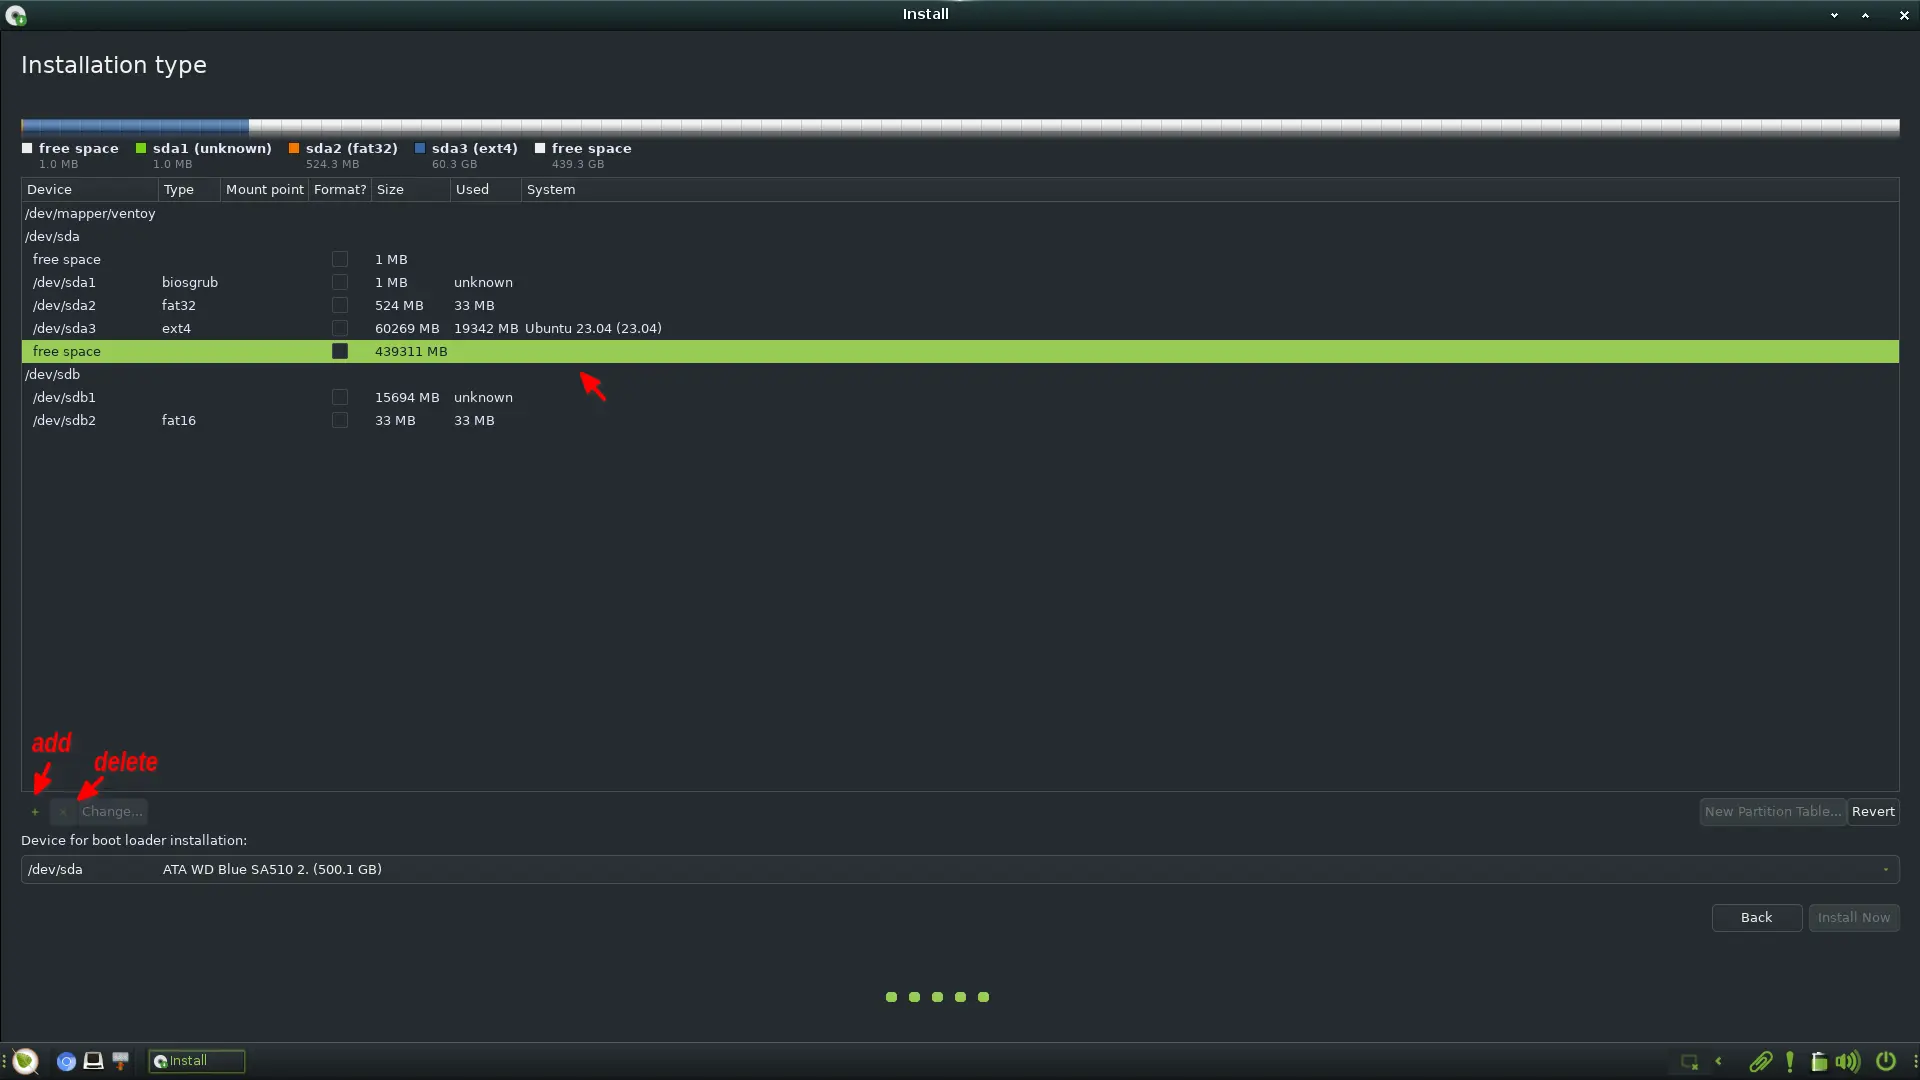
If you selected “Something else” in the last screen, then it will go to your disks’ partition table. There you need to first:
- Delete un-used partitions, if NO enough free space! (DO IT CAREFULLY and Back Up Important Date on partition you’re going to remove)
- Highlight free space and create following partitions!
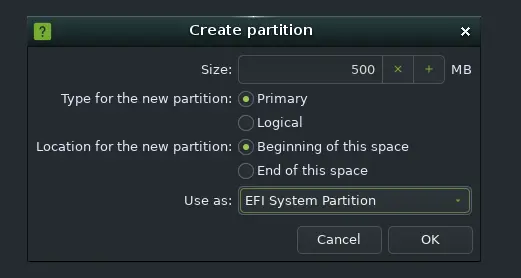
And here are the 3 partitions to create for Bodhi Linux:
- 500 MB, EFI system partition. (For old legacy machine without UEFI, create 8 MB ‘Reserved BIOS boot area’ instead)
- Swap area as large as RAM (Optional)
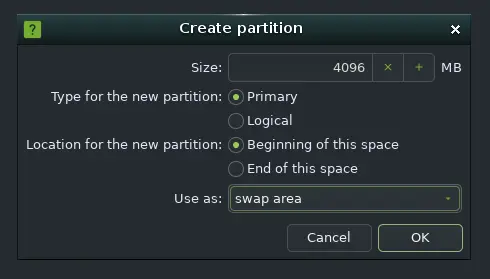
swap as large as RAM - Ext4 file system, mount at “/”, with at least 5 GB disk space. But, as large as possible for long time use.
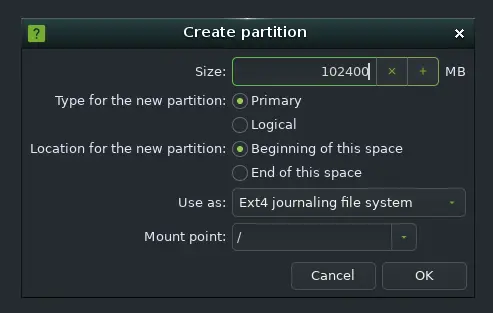
Ext4 file system, mount at /, as large as possible,
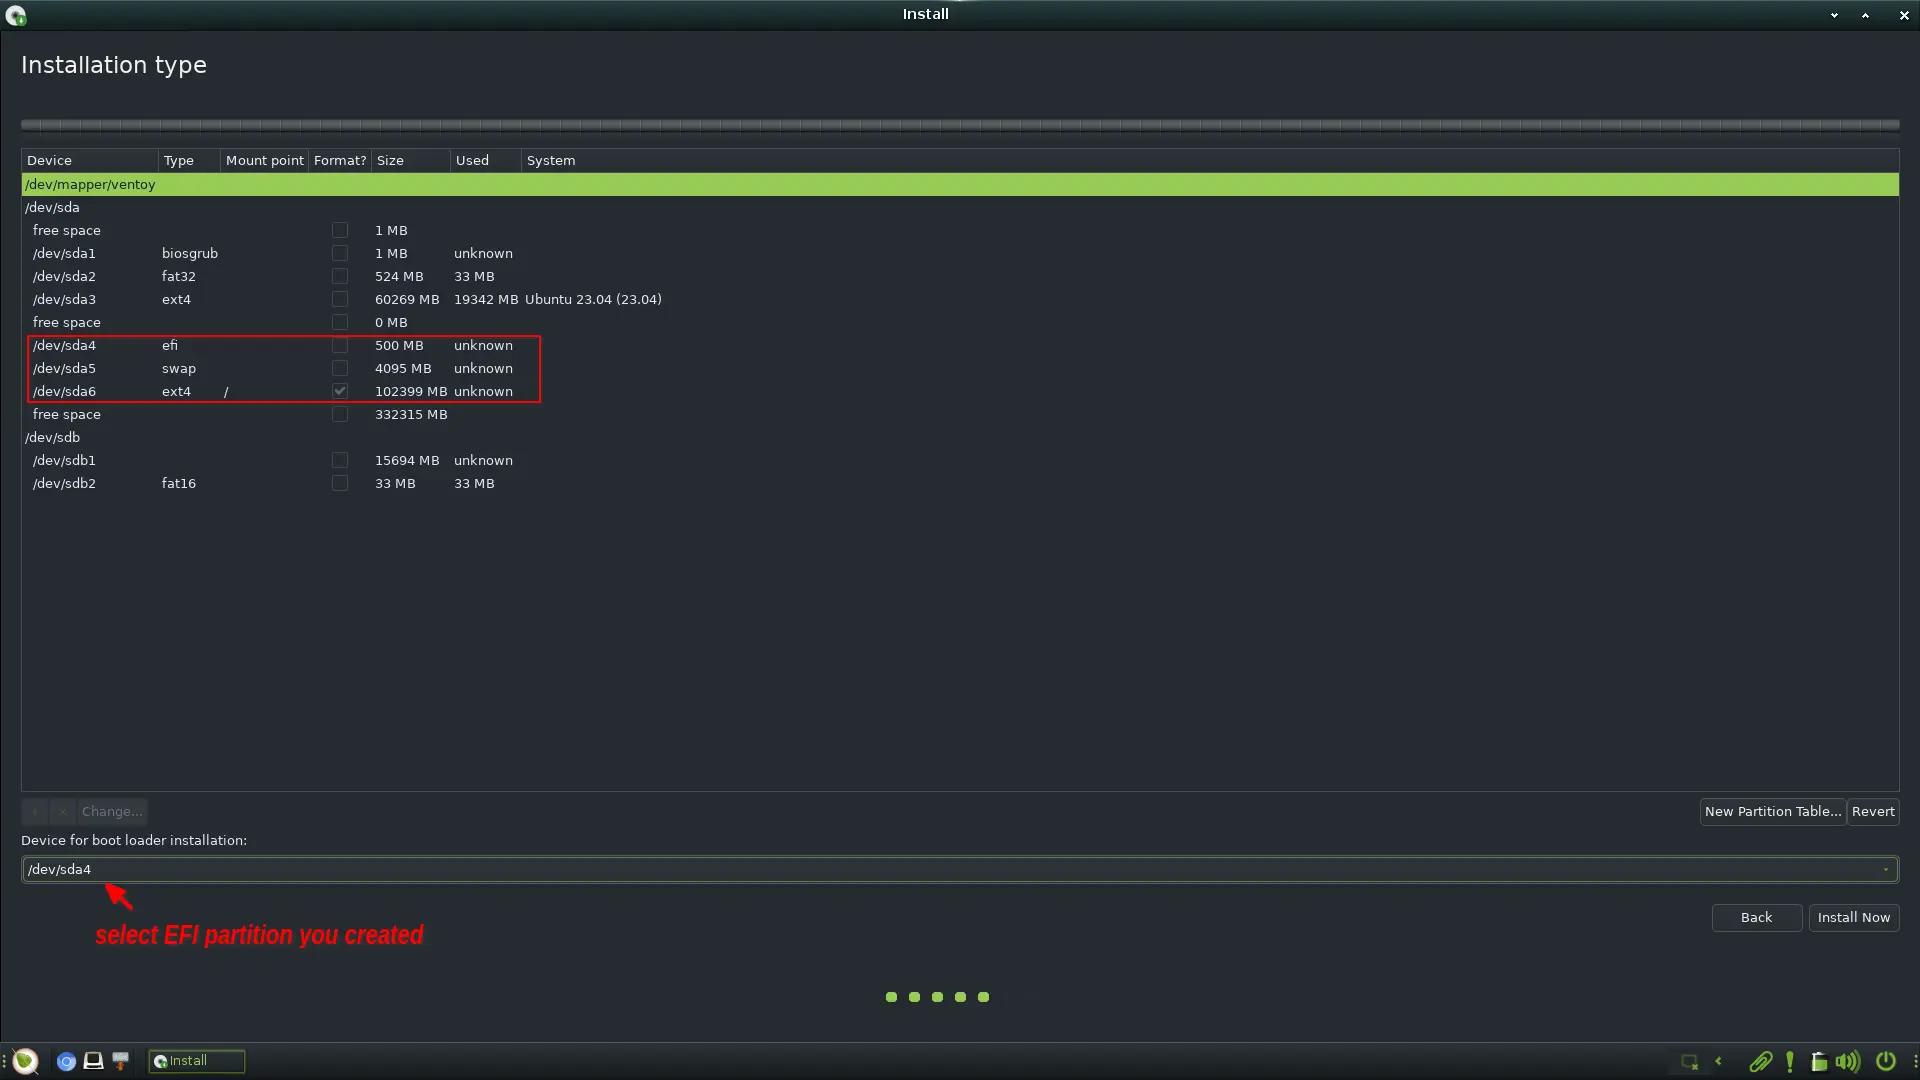
And, this is my disk partition table after allocating spaces for Bodhi Linux, to dual boot with Ubuntu. You need to also select the “EFI” partition as device to install boot-loader to.
Step 8: Set timezone, create user account & start installing
After allocating disk spaces, click “Install Now” and confirm in the pop-up dialog.
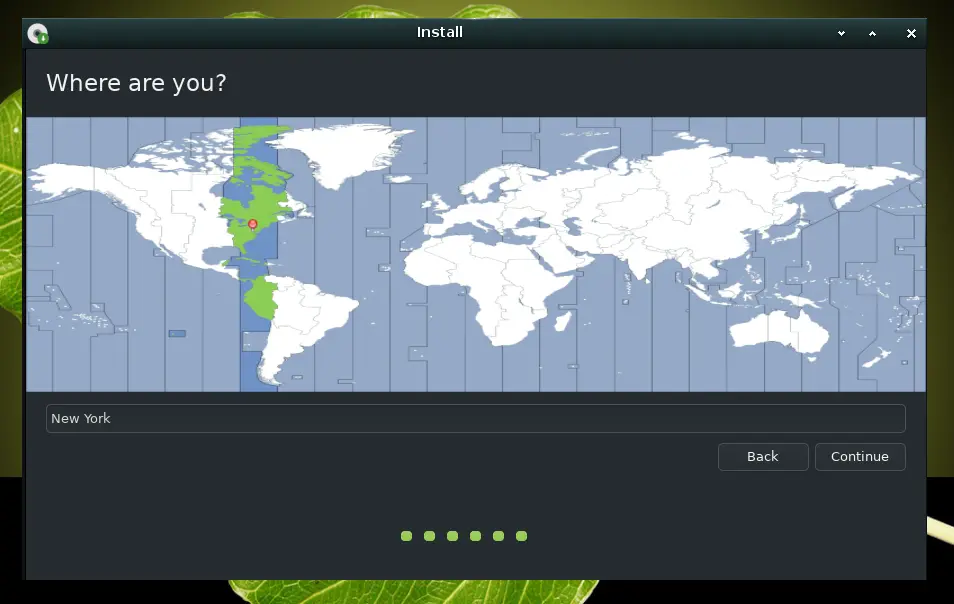
Next, it will prompt to choose the time-zone and create user account.
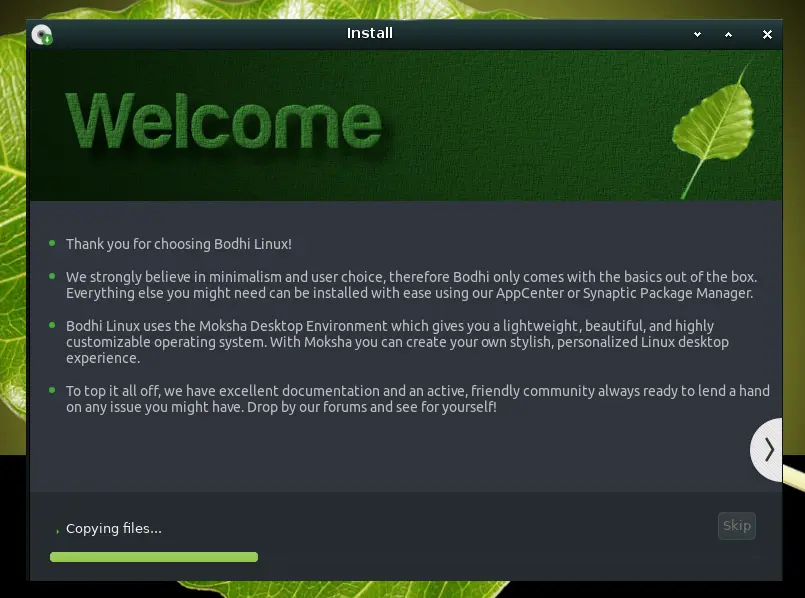
Then, just wait until the installing process done.
Finally, either keep trying out the live system, or restart to enjoy the new Linux OS on your disk.
Conclusion:
If you’re an Ubuntu user, you may feel familiar with the installer wizard. The installing process is quite similar to Ubuntu. Ever after restart, it shows “Ubuntu” instead of “Bodhi Linux” in the grub boot menu.