


This is a step by step beginner’s guide shows how to create an image with single solid color in Linux.
A single solid color image can be useful for background or other use. It’s super easy to create one by yourself with a free open-source image editor, in case you don’t want to download one from trustless online sources. So, here’s the quick tip to show you how!
Method 1: Single Linux command to create single solid color image
The powerful imagemagick tool has a convert command that can create an image with single solid color.
I frequently use the command to convert photo images to .web format for smaller file size. I never thought it can also generate image, until @leagris pointing it out in comment.
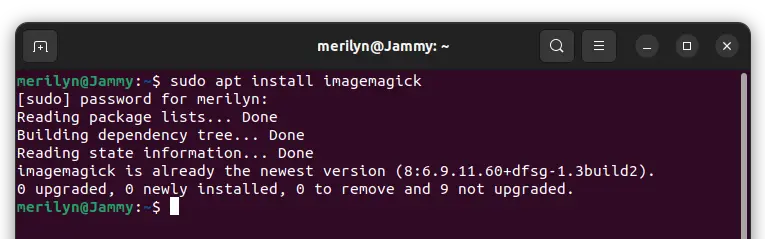
- Firstly, open terminal or command console from start menu or ‘Activities’ overview.

- Install
imagemagickin Ubuntu & Debian based systems via command:sudo apt install imagemagick
For Fedora, REHL, CentOS, etc, replace apt with
dnfin command above. And Arch Linux based systems can install it viasudo pacman -S imagemagickcommand.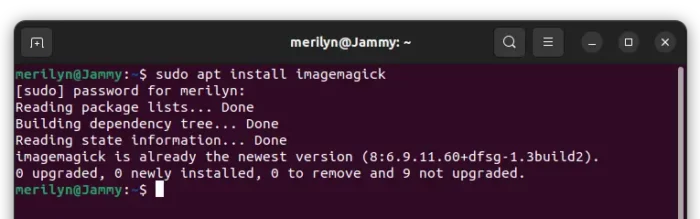
- Then, you can run the command below at any time to create an image with solid color:
convert -size 3840x2160 xc:black my-image.png
In command replace 3840×2160 to change image size. And use green, white, khaki, etc to replace color black. For choice, you may use color value (e.g., #ffff00) in command via:
convert -size 3840x2160 canvas:#ffff00 my-image.jpg
When done, you’ll see the new image in current working directory of terminal window. It’s usually user’s HOME folder, if you didn’t do any navigation.
Method 2: Use GIMP, graphical application
NOTE: This method will work in Ubuntu, Debian, Linux Mint, Fedora, CentOS, and most other Linux. With GIMP image editor, this tutorial even works in Microsoft Windows and macOS.
Step 1: Install GIMP
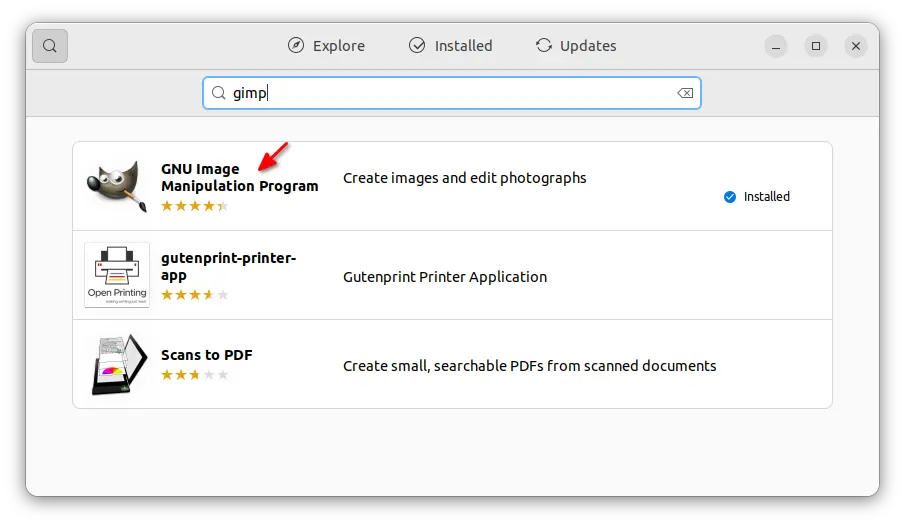
The free and open-source GIMP image editor is so popular that almost every Linux system has the package in system repositories.
Just open system package manager (e.g., Ubuntu Software, App Store, Gnome Software) in your Linux, then search for and install the GIMP package.
For macOS and Windows, select download the installer package from its official website:
Step 2: Create single solid color image via GIMP
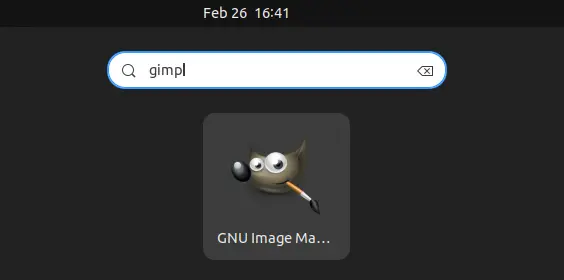
After installing the tool, search for and open it from your system start menu or ‘Activities’ overview depends on your desktop environment.
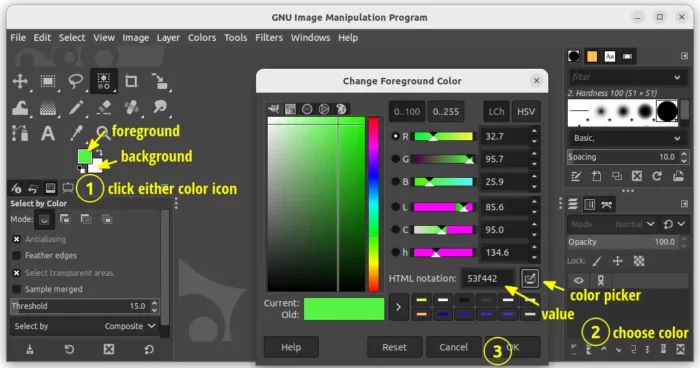
When it opens, click on the little color icon (either background or foreground). Then choose your desired color in the pop-up dialog.
As you see in the screenshot below, you can either use color picker to select any color in your screen, or manually type color value (e.g., 000000 for black, ffffff for white, FF0000 for red, 00FF00 for green). And, click OK once you got the color that you want.
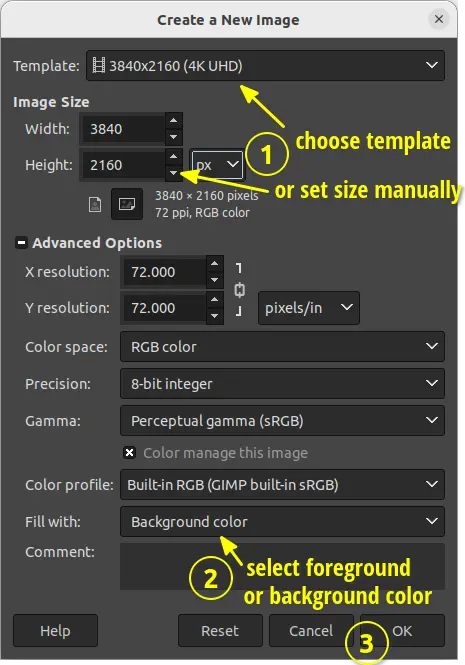
Finally, either go menu “File -> New” or press Ctrl+N on keyboard to open create new image dialog. And do:
- Select template or manually type image width and height in px.
- Click expand “Advanced Options”.
- Select ‘Fill with’ either Background color or Foreground color, depends on which you set in previous step.
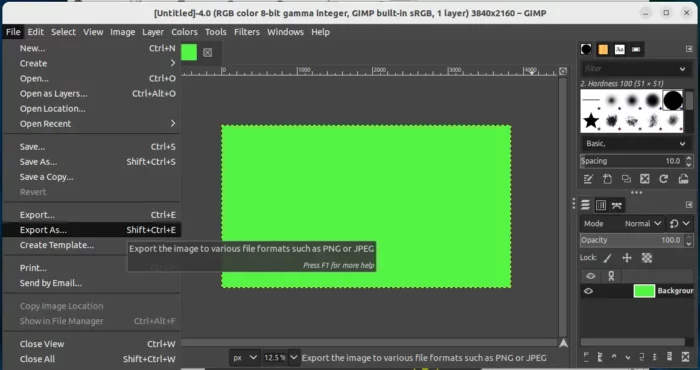
After clicking OK, you should see the single solid color image preview in center of GIMP image editor.
Finally, either go menu “File -> Export As…” or press Ctrl+Shift+E to open export file dialog. Select a folder for storing the image, type a name and click “Export”!
TIP: In ‘Export Image’ dialog, you can directly set file extension (e.g., myimage.png, myimage.jpg, myimage.webp) to export image into your favorite file format.

That’s all. You can now right-click on the image in file manager and select set as wallpaper.