Want to sync your local folder with a cloud storage? A brand new modern GTK4 application is under development now!
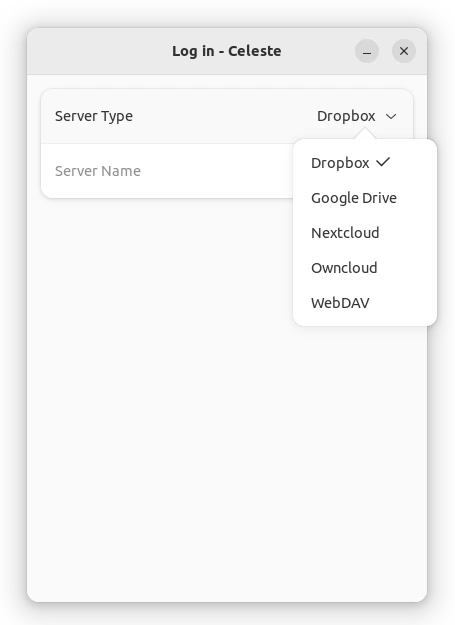
It’s ‘Celeste‘, a free and open-source graphical application aims to sync any cloud provider. The app uses rclone as backend to support 2-way sync. And so far it supports for adding sync for the following services:
- Google Drive.
- Dropbox.
- Nextcloud.
- Owncloud.
- WebDAV.
Most Linux today support mounting Google Drive, see this tutorial for details.
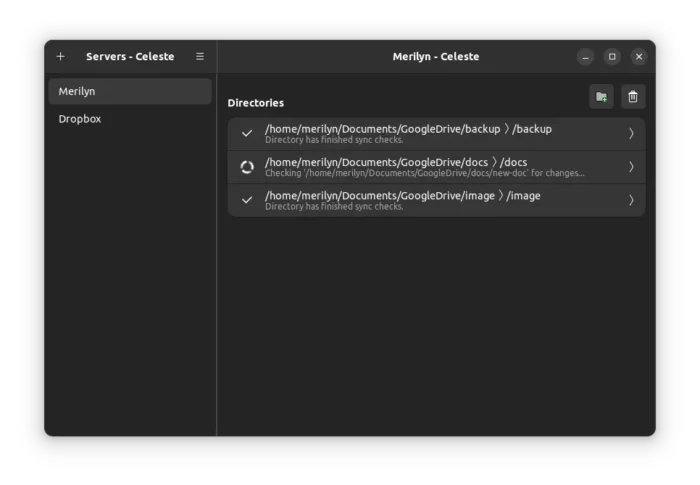
By using GTK4 and LibAdwaita toolkit, it has a modern look and feel in Ubuntu, Fedora, and other Linux with GNOME desktop. And, it switches UI color (light/dark) automatically depends on system-wide color scheme.
The app supports adding multiple cloud providers at the same time in a single window. As well, it has an indicator applet in system tray to do quick actions for app window and file synchronization.
After setting up the local folder and cloud folder synchronization via this application window, user can finally write and access remote files easily from in file manager.
How to Install Celeste in your Linux
NOTE: This app is still in early development stage! It may have bugs. Use it at your own risk!
Celeste is available to install in most Linux through 3 package formats so far: Flatpak, Snap, and Deb.
Option 1: Snap package
For Ubuntu 20.04, Ubuntu 22.04 and higher users, the app is easy to install by directly searching from Ubuntu Software. Though, it’s a snap package runs in sandbox.
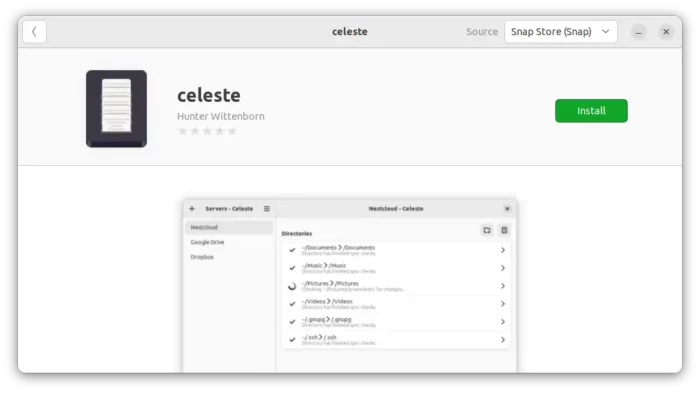
Other Linux can get the snap by going to this web page.
Option 2: Flatpak package
Flatpak is another universal Linux package runs in sandbox. Most Linux can install the app as Flatpak by following the steps below one by one. And, Linux Mint 21 user can even install the package directly from Software Manager.
- Install Flatpak daemon. For Ubuntu, press Ctrl+Alt+T on keyboard to open terminal. When it opens, run command to enable Flatpak:
sudo apt install flatpak
Other Linux can follow this setup guide to enable Flatpak support.

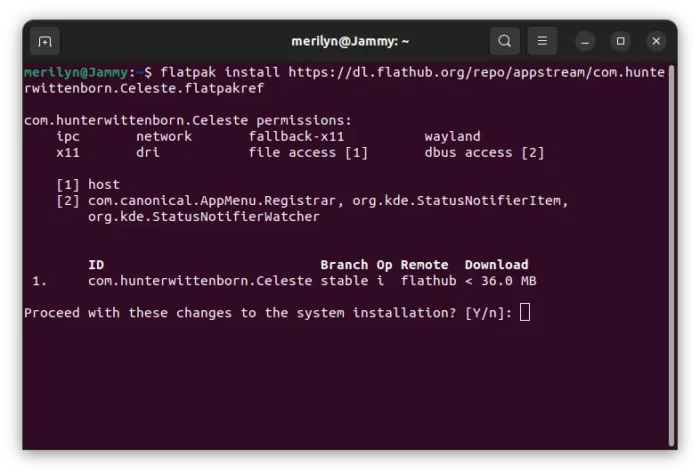
Enable Flatpak support in Ubuntu - After enabling Flatpak, most Linux can run this single command in a terminal window to install Celeste:
flatpak install https://dl.flathub.org/repo/appstream/com.hunterwittenborn.Celeste.flatpakref
Option 3: Classic .deb package
For Ubuntu user prefer the classic .deb package format, there’s also an official apt repository available. Though, it supports only Ubuntu 22.10 and higher.
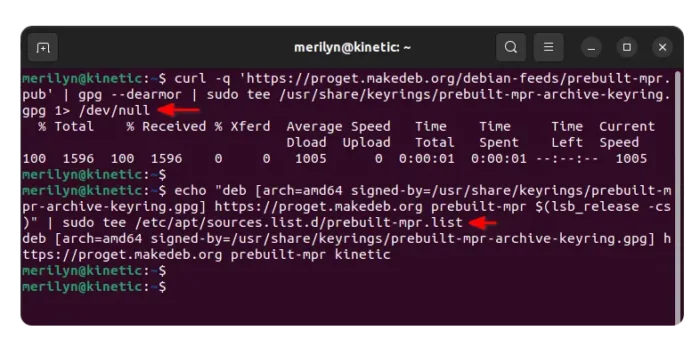
- Firstly, press Ctrl+Alt+T on keyboard to open a terminal window. Then run command to install the keyring:
curl -q 'https://proget.makedeb.org/debian-feeds/prebuilt-mpr.pub' | gpg --dearmor | sudo tee /usr/share/keyrings/prebuilt-mpr-archive-keyring.gpg 1> /dev/nullRun
sudo apt install curlif command ‘curl’ does not exist. And, if the command stuck at blinking cursor, type user password and hit Enter to continue. - Then, add the repository to your system by running command:
echo "deb [arch=amd64 signed-by=/usr/share/keyrings/prebuilt-mpr-archive-keyring.gpg] https://proget.makedeb.org prebuilt-mpr $(lsb_release -cs)" | sudo tee /etc/apt/sources.list.d/prebuilt-mpr.listNOTE: here
$(lsb_release -cs)returns system codename. For Ubuntu based systems, you need to replace it withkinetc(22.10’s codename) orlunar(23.04’s codename) depends on which Ubuntu edition your system is based on.
- And update the system package index via command:
sudo apt update - Finally, install the Celeste package as native .deb package:
sudo apt install celeste
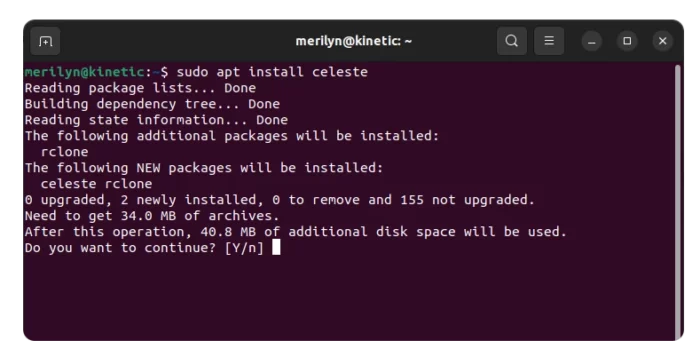
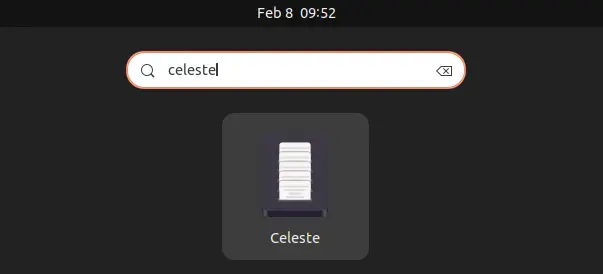
When everything is done successfully, search for and open the cloud file synchronization tool from application launcher and enjoy!
Uninstall Celeste
Depends on which package you installed for this application, choose running one of the commands below.
For snap package, either use Ubuntu Software or open terminal and run command:
snap remove --purge celeste
For Flatpak package, open terminal and run command:
flatpak uninstall --delete-data com.hunterwittenborn.Celeste
And for the classic .deb package, use the command below to remove it:
sudo apt remove --autoremove celeste
Also remove the apt repository source file via command:
sudo rm /etc/apt/sources.list.d/prebuilt-mpr.list
And remove the keyring file via:
sudo rm /usr/share/keyrings/prebuilt-mpr-archive-keyring.gpg
That’s all. Enjoy!










Recent Comments