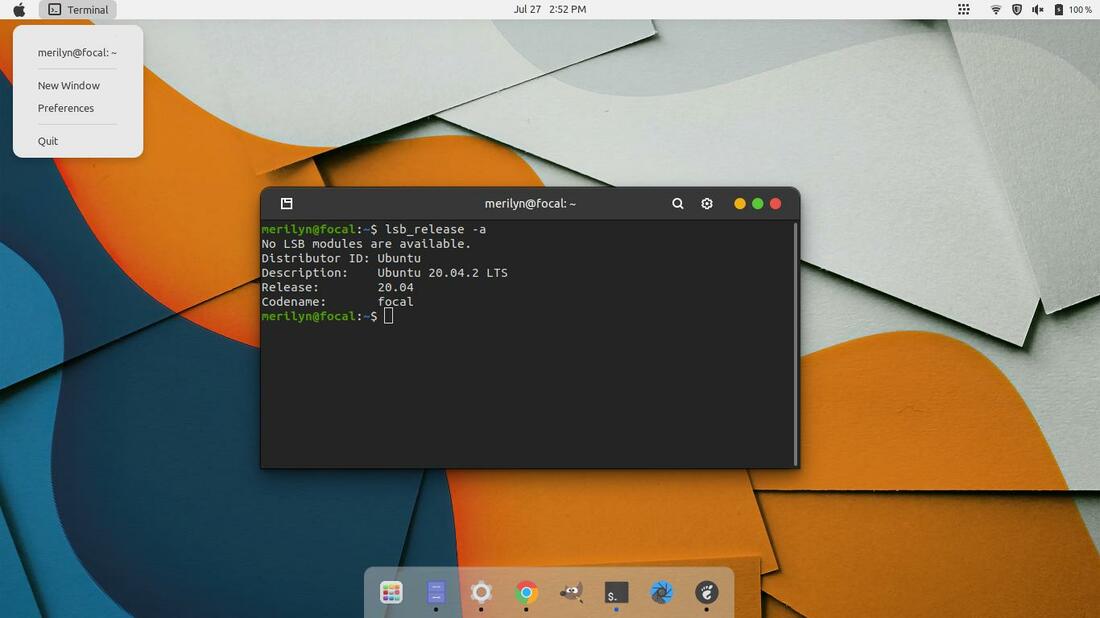
Boring with system default look and feel? Let’s make your desktop shine again with different themes and icons!
Without trying out another Linux Distribution or desktop environment, you can change desktop appearance by applying new icons & app themes. With different themes, you can:
- Change the icons for app shortcut, system menu, and some apps’ internal buttons.
- Get different app window borders, color scheme.
- Change system menu, panel, desktop layout.
There are tons of themes on the web! Some of them provide installer scripts and/or descriptions, but some may not. If you get a theme but it does not tell you how to install, then this tutorial may help!
Where to find themes for Linux:
There are tons of free and open-source themes on the web. Generally, I’ll find one from:
- gnome-look.org for GTK and Gnome Shell themes and icons.
- store.kde.org/ for KDE themes.
- Or searching ‘GTK Theme’, ‘Linux icons’, etc on github.com.
You can even copy themes from a different Linux Distribution, and install them on your system. They are usually located in /usr/share/themes and /usr/share/icons.
Install Icons and App Themes in Summary:
Popular themes are mostly provide either installer scripts or how to install guide. They are however exceptions.
So to install an app or icon theme manually, download the source tarball from the web. Then simply extract and put the theme folder to the right place. Linux will recognize the theme, and allow you to apply it from settings, e.g, Gnome Tweaks in Ubuntu/Fedora.
So Where’s right place for installing themes to:
There are generally two ways to manually install a theme in Linux:
- Locally – install theme for current user only.
- Globally – to make it available for all users in system.
1. Install Theme for single use only:
For current user only, you can install icons and themes by putting your theme folders into following locations:
- .themes or .local/share/themes for app themes and/or Gnome Shell themes.
- .icons or .local/share/icons for icons.
You see, these directories have ‘.‘ at the beginning of the names. Which means they are hidden file folders, that not display by default in file manager. To show them, you need to either go to menu or press Ctrl+H on keyboard.
Don’t worry if you cannot find them even after displayed hidden folders. They are NOT EXIST out-of-the-box. Just create them as you need.
2. Install themes for all users:
For system wide, so other users in the system can also apply the themes. You can put downloaded themes into:
- /usr/share/themes or /usr/local/share/themes for app and Gnome Shell theme.
- /usr/share/icons or /usr/local/share/icons for icons.
The “themes” and “icons” folders under /usr/share/ directory are the system DEFAULT locations. All the pre-installed themes and icons can be found there. And the folders under /usr/local/share/ are NOT exist out-of-the-box, but can be created for choice.
To do copy, paste, or move actions under these folders you need ROOT user privilege. You can either use “Open as Administrator” menu option, or run command in terminal to open file manager (nautilus for example) via root:
sudo nautilus
When file manager opens, either navigate to your desired directory or just start typing where you want to go.
How to Change / Apply Theme in Ubuntu/Fedora:
Since each desktop has a different theme setting tool, here I’m going to show how to apply a theme in Gnome Desktop, which is default for Ubuntu, Fedora, Debian.
After you put your themes in the correct directory, .themes folder for example. It will look like:
NOTE: some themes has child-themes (e.g., in blue, dark, gray, etc.) stored in sub-folders. Move them out and place in .themes, or you can find them in settings.
Finally, install Gnome Tweaks from Software Store. And you can select the installed themes from drop-down boxes for application, icons, and Shell under “Appearance” tab.
That’s all. Enjoy!
