


Want to install Linux Mint using an USB drive? Well, here’s the step by step beginner’s guide shows you how to create the bootable USB installer from other Linux, Windows, or Mac OS.
Linux Mint is a popular community-driven Linux distribution based on Ubuntu. At the moment of writing, the latest release is Linux Mint 20.x based on Ubuntu 20.04 LTS. And it features 3 desktop editions:
- Cinnamon – Gnome 3 fork.
- XFCE – Lightweight desktop edition.
- MATE – Gnome 2 fork.
Supported Systems:
The tutorial also works for creating bootable USB installer for Ubuntu, Fedora, Debian, Manjaro, Arch Linux, and almost all Linux distros, though the title says for Linux Mint.
Preparation:
Before getting started, you need:
- An USB stick with more than 4 GB memory.
- Computer running Windows, Linux, or Mac OS.
- And download Linux Mint ISO image.
NOTE there are quite a few USB creating tools in the web! However, some of them may sometimes not work or not perfect (e.g., Ventoy does not install in my case). So I choose USB-creator-GTK and USBImager among all the tools I've tested.
Option 1: Create USB installer from an Ubuntu machine.
If you have a PC or laptop running with Ubuntu, then this option is for you as it has an built-in USB creator app. For all other Linux, Windows, and Mac OS, just go option 2.
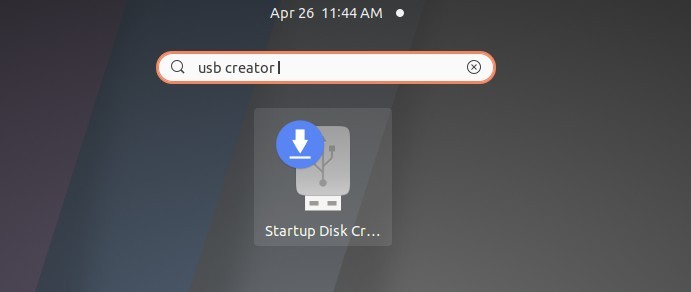
1. Firstly search for and open USB Creator GTK from system app launcher.

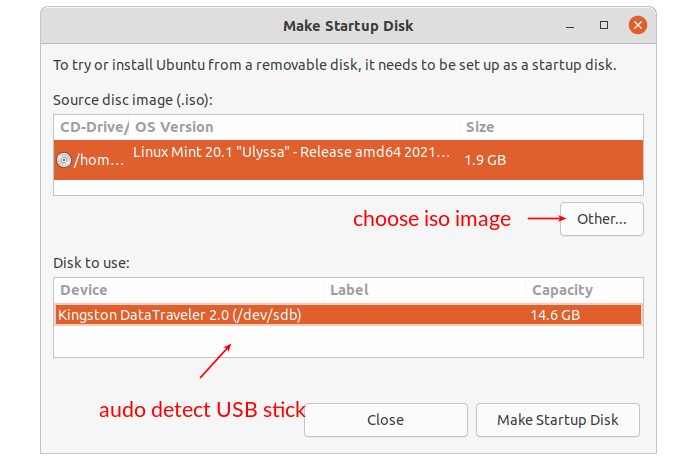
2. Click on “Other …” button and choose the Linux Mint ISO image. And plug-in your USB stick. Finally click on “Make Startup Disk” to start the process.

3. A confirm dialog will pop-up prompts you that ‘All data in the USB drive be lost’.
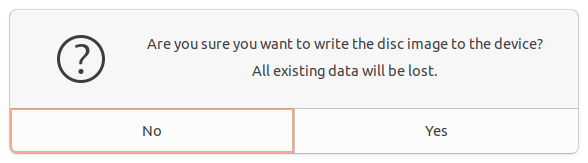

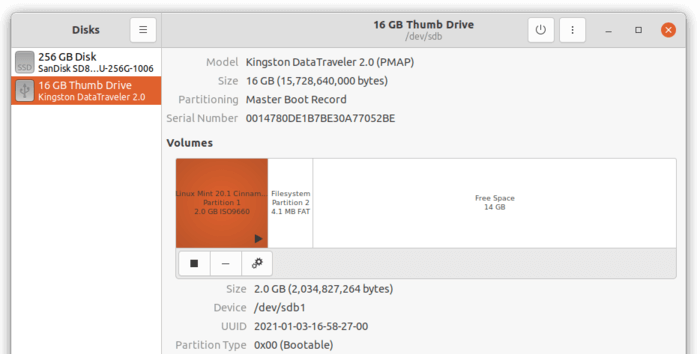
Same to USBImager in Option 2: It creates two partitions in the USB stick: one for Linux Mint system files (about 2 GB) and anther for boot-loader (about 4 MB). And leave all other free space unallocated.
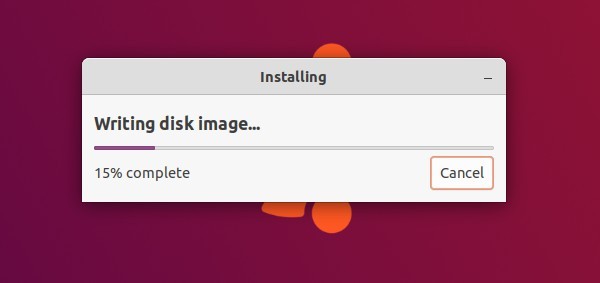
4. Click ‘Yes’ and it becomes the installing dialog with process bar.

5. If everything’s done successfully. You’ll see the ‘Installation Complete’ dialog.
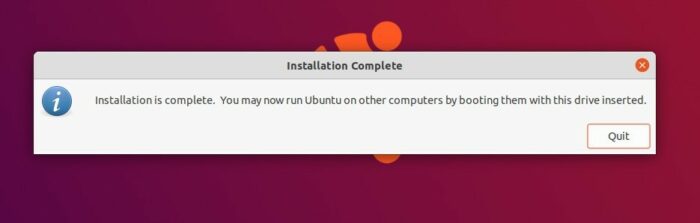

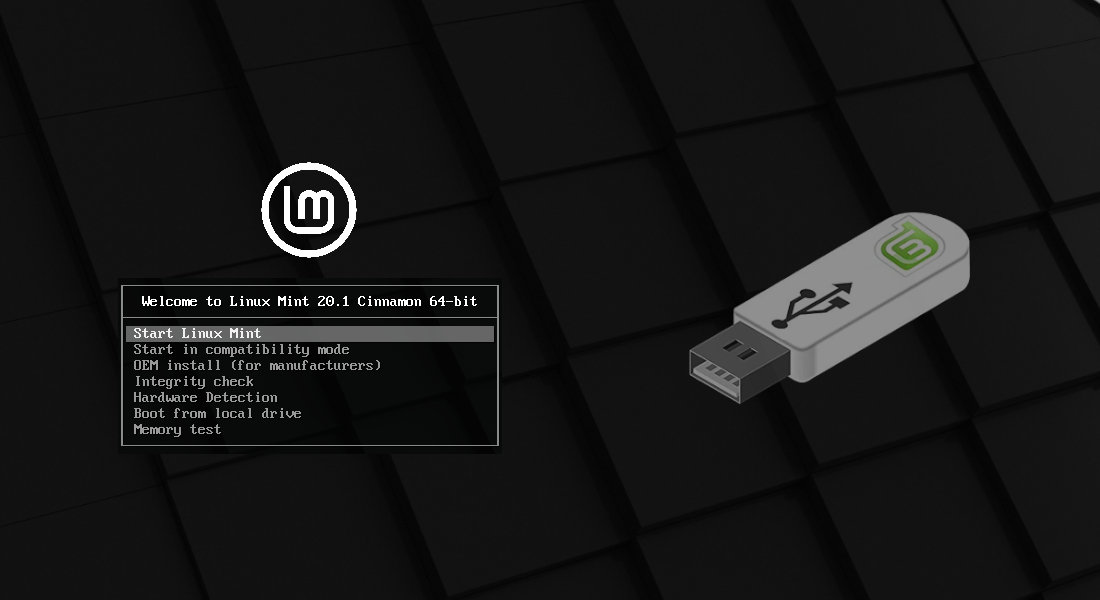
After that, you can boot the USB stick and start installing Linux Mint.
Option 2: Create bootable USB from Windows, Mac OS, or other Linux.
USBImager is a free and open-source tool that works on Windows XP +, Mac OS 10.13 +, Arch, Manjaro, other Linux, and even Raspberry Pi OS.
This is a tiny tool with less than 200 KB package size. And it just works!
NOTE: if you has already created an USB installed via USBImager. And want to try another Linux Distro via USB. FORMAT the whole USB stick before getting started to avoid an error, or use another tool instead!
1. Firstly download & install the tool from its project page:
2. Insert USB stick into your machine.
3. Open USBImager, choose the ISO image, select the USB drive, and finally click the Write button.
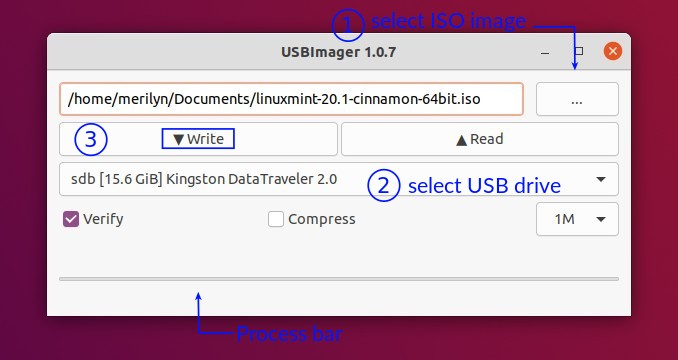

4. And just wait, the bottom bar will prompt the installation process.
Conclusion:
There are quite a few tools for creating bootable USB installer. Due to lack of time, I can’t test them one by one.
In this tutorial, USBImager is recommended because it’s free and open source tool with tiny package size. And it runs on most desktop systems. However, after turns your USB stick into OS installer, you can’t use it for other data transfer. The free space is left unallocated, and you can not even create partition on it due to “too many primary partitions” error.