Most operating systems today support for grouping app windows in different virtual desktops. Linux also has the feature, which is called “workspaces”.
Unlike Ubuntu, there’s no visible option out-of-the-box in Linux Mint (Cinnamon specifically) to use workspaces. But, you may easily add or use keyboard shortcuts, panel applet, hot corner action, and even touchpad gestures to add, remove, and switch between workspaces.
Use workspaces via Keyboard shortcuts in Linux Mint
Linux Mint by default has 4 workspaces. User may simply press Ctrl + Alt + Left/Right on keyboard to switch between them.
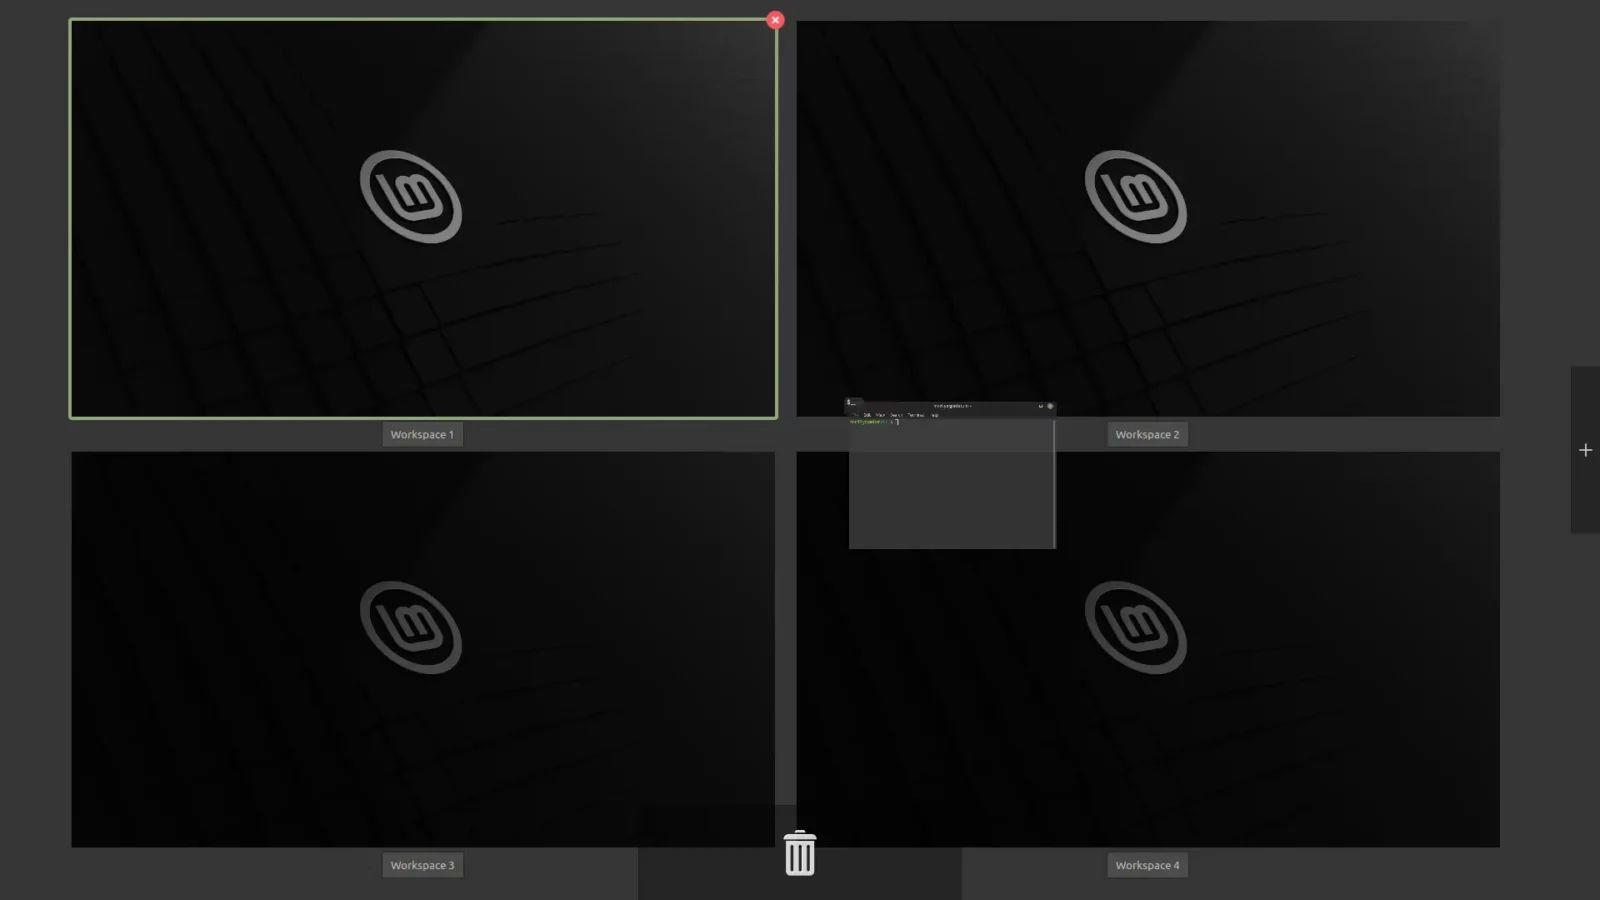
Also, user may press Ctrl + Alt + Up (or Alt + F1) shortcut key to trigger the overview of all virtual desktops.
There it provides a ‘+‘ in the right screen edge to add more workspaces. By moving mouse cursor over a workspace, there will be a little fork mark present to delete it. With the overview screen, user may also close any opened app windows, or drag moving a window to any other desktop.
If you don’t like the default keyboard shortcuts, just go to Start Menu -> System Settings -> Keyboard -> Shortcuts. There you can find the shortcut settings under ‘General’ and ‘Workspaces’. Just click on them and assign another key combinations as you want.
Use hot corner to trigger workspace overview
Move mouse cursor and hit one of the 4 screen edges (top-left, top-right. bottom-left, bottom-right) can do specific actions in your Linux.
In this case, open “System Settings” and go to “Hot Corners” under Preferences. Then, use the ON/OFF switch to enable any corner you want to use. Select “Show all workspace” action in the drop-down box, and set a activation delay if you want.
After that, move mouse cursor to hit the screen edge that you set and see the magic.
Add panel indicator applet for switching workspace
For choice, there’s also indicate applet available to easily switch workspace. First, right-click on blank area of the bottom panel, then select “Applets”.
In the pop-up dialog, find out and select “Workspace switcher“, and finally click on bottom ‘+’ icon to enable the applet.
After that, you’ll see workspace thumbnails in system tray area. By clicking on any thumbnail will switch to that virtual desktop. The applet also has configuration options to make the thumbnails to be simple buttons with workspace number.
If you would like to use panel applet to trigger the workspace overview screen, just find out and enable “Expo” applet.
Touchpad gesture & other workspace settings
For laptop or desktop PC with an external touchpad device, it’s possible to set multi-touch gestures to switch workspaces and trigger the overview screen. However, Linux Mint so far does not have that configure options, instead, you may follow this tutorial (Method 2) to bind the shortcut keys.
As you can see, System Settings also has a “Workspaces” settings page. With the options, you can do:
- Toggle on-screen display (OSD) notification when switching workspaces via keyboard shortcut.
- Allow cycling through workspaces via shortcut key.
- Display workspaces in grid or straight line in the overview.
- Use workspace on primary monitor.
Summary
This beginner’s guide has shown you all the ways to add, remove, and switch virtual desktops (workspaces) in Linux Mint.
In short, user can press Ctrl+Alt+Left/Right on keyboard to switch workspaces, or Ctrl+Alt+Up to see all workspaces in overview, with add/remove buttons. By right-clicking on taskbar, user may also add a thumbnail switcher applet to panel. And, there’s ‘hot corner’ in settings to use mouse moving action to trigger overview. For laptop users, a third-party tool is also available to use workspaces via multi-touch gestures.
