Have 2 or more computers connected with only one external monitor? Here’s how to switch input source (VGA, DVI, HDMI, DP) using keyboard shortcut in Linux!
In my case, I have 2 machines but only one monitor on my desk. One is running Ubuntu, and another is running Windows 10. For Windows, there’s a ControlMyMonitor utility can do the job switching input source.
For Linux, there’s a ddcutil tool can do the job either using Linux command or by adding a custom keyboard shortcut. And, here’s how to do it in Debian, Ubuntu, Fedora, Arch, and their based systems.
Step 1: Install ddcutil
First of all, search for and open a terminal window either from start menu or ‘Activities’ overview depends on your system.
When terminal opens, run one of the command below to install the ddcutil tool:
- For Debian, Ubuntu, Linux Mint based systems, run command:
sudo apt install ddcutil
- For Fedora, use command:
sudo dnf install ddcutil
- Arch and its based system can install the tool via command:
sudo pacman -S ddcutil
- And openSUSE can install it via command:
sudo zypper install ddcutil
Step 2: Grant user permissions
Most external monitors support DDC/CI protocol. And, it should have this option enabled out-of-the-box! Just in case, you may use your monitor’s physical buttons to enable DDC/CI option (usually under ‘Others’ section).
Also, open terminal and run command to add your user to i2c group to avoid permission issue.
sudo gpasswd --add $USER i2c
Step 3: Switch input source via Linux command:
1. If you have more than one monitors connected to your Linux machine, first run command:
ddcutil detect
In the output, you need to find out the display number (number 1 in the case in screenshot).
TIP: for the default display 1, you may skip --display 1 in all commands below.
2. Now, find out feature code and all possible values.
ddcutil --display 1 capabilities
In command output, scroll down and find out the feature code number for “Input Source” (60 in my case). By checking my monitor, there are 2 HDMI ports connected. So, here are all required information for me:
- 60 – feature code to control input source.
- 11 (0x11 in hexadecimal) – value for HDMI-1 port.
- 12 (0x12 in hexadecimal) – value for the HDMI-2 port.
NOTE: You have different code numbers depend on your monitor!
In case you don’t know the type of display port, here are some common used with screenshots:
- DP cable
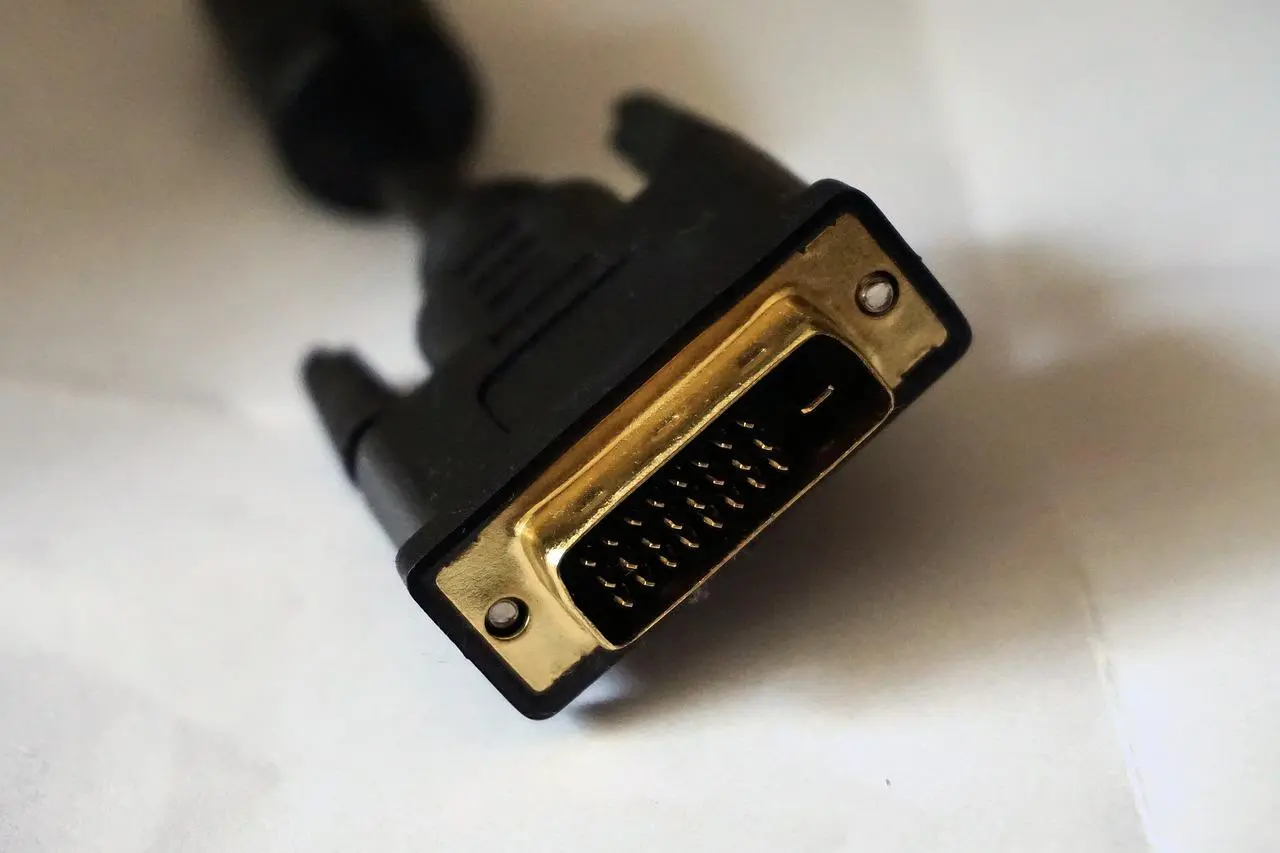
- DVI port
- HDMI cables, from left to right: Type D (Micro), Type C (Mini), Type A (Standard)
- VGA cable
3. Tell which port for current input source by running command:
ddcutil --display 1 getvcp 60
4. Finally, run command to switch to another input source:
ddcutil --display 1 setvcp 60 0x11
Here:
--display 1– specify which monitor to control, skip it if only one connected.60– means to control the input source.0x11– means to switch to HDMI-1.
If you’ve done everything correctly, your monitor should now display the screen for another connected machine, or just blank screen if not connected.
You can use physical button to switch back, and follow the next step to setup a custom keyboard shortcut.
Step 4: Set keyboard shortcut to switch input source
Linux has quite a few desktop environments. Each has a different settings page for custom shortcut, though usually under “Keyboard” settings page.
For GNOME Desktop, that is the default in Ubuntu, Fedora Workstation, and optional in many other Linux, do the steps below one by one to add the shortcut.
- First, open ‘Settings‘ from top-right corner system menu.
- When ‘Settings’ opens, navigate to ‘Keyboard‘ in the left. In right, scroll down and click on ‘View and Custom Shortcuts‘
Custom Shortcuts for GNOME 40+ - In pop-up dialog, scroll down and click “Custom Shortcuts” to create a shortcut key to increase brightness:
- Type a name in “Name” section.
- Input command:
ddcutil --display 1 setvcp 60 0x11(You have to change display number 1, feature code 60, and port value 0x11 accordingly!) - Finally set your desired keyboard shortcut.
When done, you can try to press the shortcut key your just set to switch input source and enjoy!
