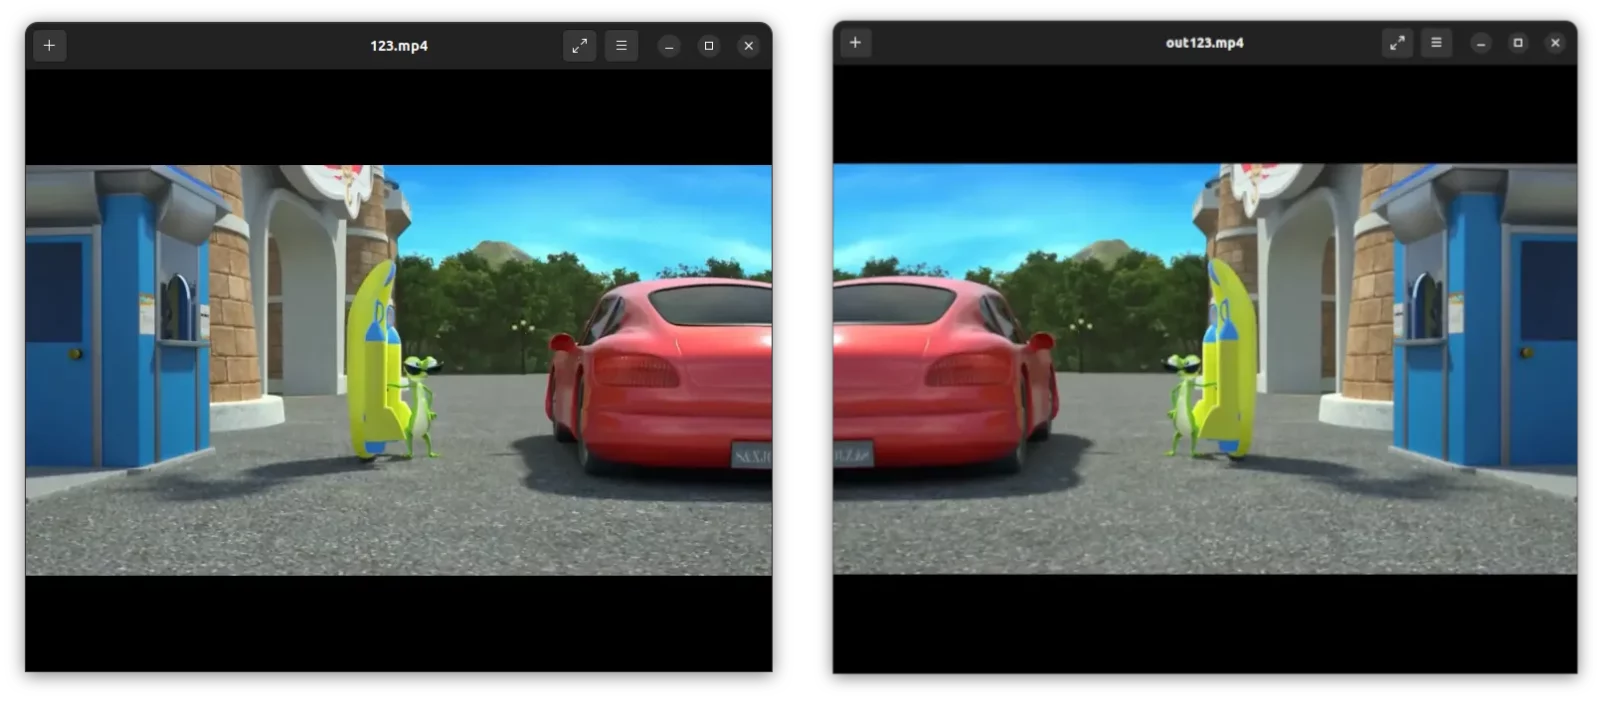
This simple tutorial shows how to mirror you video file by flipping horizontally in Ubuntu or other Linux, using a single command or graphical editor.
Single command to mirror video in Linux
There’s a free and open-source FFmpeg media library can do the job by running a single command.
Firstly, search for and open a terminal window from start menu or ‘Activities’ overview depends on your desktop environment. Then run one of the commands below to install FFmpeg:
- For Debian, Ubuntu, Linux Mint, etc, install FFmpeg via command:
sudo apt install ffmpeg
- For Arch Linux, Manjaro, etc, use command:
sudo pacman -S ffmpeg
- And Fedora, RHEL, RockyLinux, etc, can install it via command:
sudo dnf install ffmpeg
Then, use the single command to flip your video file horizontally:
ffmpeg -i input-file.mp4 -vf hflip -acodec copy outut-file.mp4
In the last command:
-i input-file.mp4– specify the original video file in current working directory.-vf hflip– tells to flip the video codec horizontally.-acodec copy– tells to copy audio codec.outut-file.mp4– means the exported filename. You may change it to your favorite file format.
For example, the command below will mirror the “123.mp4” file under Documents folder into “123mirrored.mp4”:
ffmpeg -i 123.mp4 -vf hflip -acodec copy 123mirrored.mp4
NOTE: depends on your video file and hardware specs, the converting process can take a few minutes.
Mirror Video via a graphical video editor
For those hate Linux command, the thing can also be done easily via a video editor application. And, here I’m going to show you how to do the trick via shotcut video editor.
Watch video tutorial if you don’t want to scroll down anymore:
1. Firstly, search for and install shotcut video editor from your system Software App, App Store, or Software Manager.
2. Once installed, launch it either from start menu or ‘Activities’ overview depends on your DE:
3. Next, either drag and drop your video file from file manager into the app window, or use “Open File” option to open the source video. Then, click drag the preview into bottom timeline.
4. Then, click “Filters” button in tool-bar, and use the “+” button in the left to start adding a filter.
5. In next screen, either search or browse to find out “Mirror” filter and double click on it to add the effect. Once added, you should see the change in the video preview. Just enable and disable the check-box multiple times to see the change.
6. Finally, click “Export” button in the toolbar. Choose a preset from left pane if you don’t like the default mp4 output. Then click on “Export file“. After typing output filename and selecting where to save, you’ll see the video file export process in the right pane.
That’s all. Enjoy!
