


Let’s say you’re going to make a video tutorial or documentation, and need to add a highlighter around the mouse pointer.
While making a tutorial video, we normally add a yellow circular background around the mouse pointer or click animations. So it will be easy to follow. However, Linux so far lacks a screen recording app with mouse highlighting support.
If you’re running Ubuntu, Fedora, or other Linux with Gnome Desktop, this tutorial may help with 2 workarounds.
Locate Pointer via Ripple Animation:
GNOME desktop has built-in option to locate the mouse pointer. With it enabled, you can press Ctrl on keyboard to highlight the current location of the pointer. And it’s useful to indicate a mouse click action.
This feature looks like the one in Microsoft Windows mouse settings. However, you cannot find the option in Linux either via System Settings or Gnome Tweaks. To find it out, you can either browser in Dconf Editor or run gsettings command in terminal.
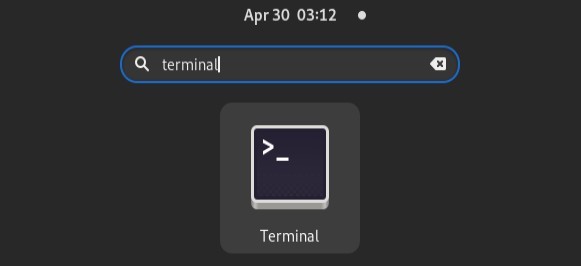
A single command will be straightforward even for those new to Linux. Firstly, click top-left ‘Activities‘ button, search for and open ‘terminal’.
Next copy and paste the command below into terminal and hit Enter.
gsettings set org.gnome.desktop.interface locate-pointer true
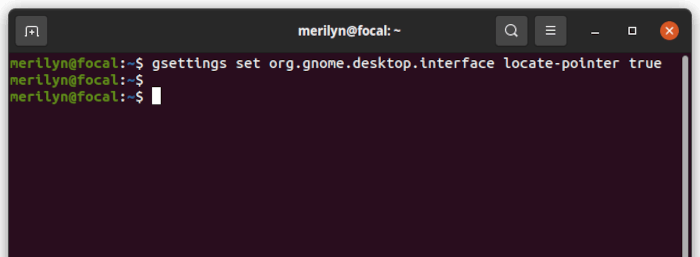
After that, press Ctrl on keyboard and see the effect!
For choice, you can disable this function by running command:
gsettings reset org.gnome.desktop.interface locate-pointer
Use Cursor Theme with Yellow Circle around the pointer.
Since the previous method does not highlight the pointer all the time, you may use a mouse cursor theme instead. So you can have a circular yellow background around it, just like what the Windows screen recording app does.
With it, audience can easily view the mouse movement in your video. And it works on all Linux that supports for Xcursor theme.
Install highlighted DMZ-White cursor theme.
So far there’s no cursor theme in this style. So this github project is created for creating highlighted Xcursors versions for any Xcursor theme.
To make like easier, a highlighted version of DMZ-White theme is already created. And you can install it by opening terminal from start menu firstly, and then run following commands one by one:
1.) First copy and paste the command below into terminal and run to create .icons folder if not exist:
mkdir ~/.icons
2.) Next navigate to the folder in terminal:
cd ~/.icons
3.) Clone the theme from github by running command:
git clone https://github.com/iPAS/DMZ-White-Highlighted.git
![]()
After running the previous commands, the cursor theme is installed into your local folder for single user use. It’s hidden file folder. You need to press Ctrl+H in file manager to view the folder if want.
And finally apply the theme via your desktop appearance settings. For Ubuntu, Fedora, other Linux with Gnome, install and open Gnome Tweaks and select it in Appearance settings.
![]()
That’s all. Enjoy!