


This simple tutorial shows how to install the old default Gedit text editor and set it as default in Ubuntu 23.10 Mantic Minotaur
Ubuntu adopts GNOME text editor as default plain text editing app since 22.10. Personally, I prefer the new default application to the classic Gedit. However, it always good to have more choices in case for those that need the old app for specific reasons. And, here’s how to do the job step by step.
Step 1: Install Gedit Text Editor
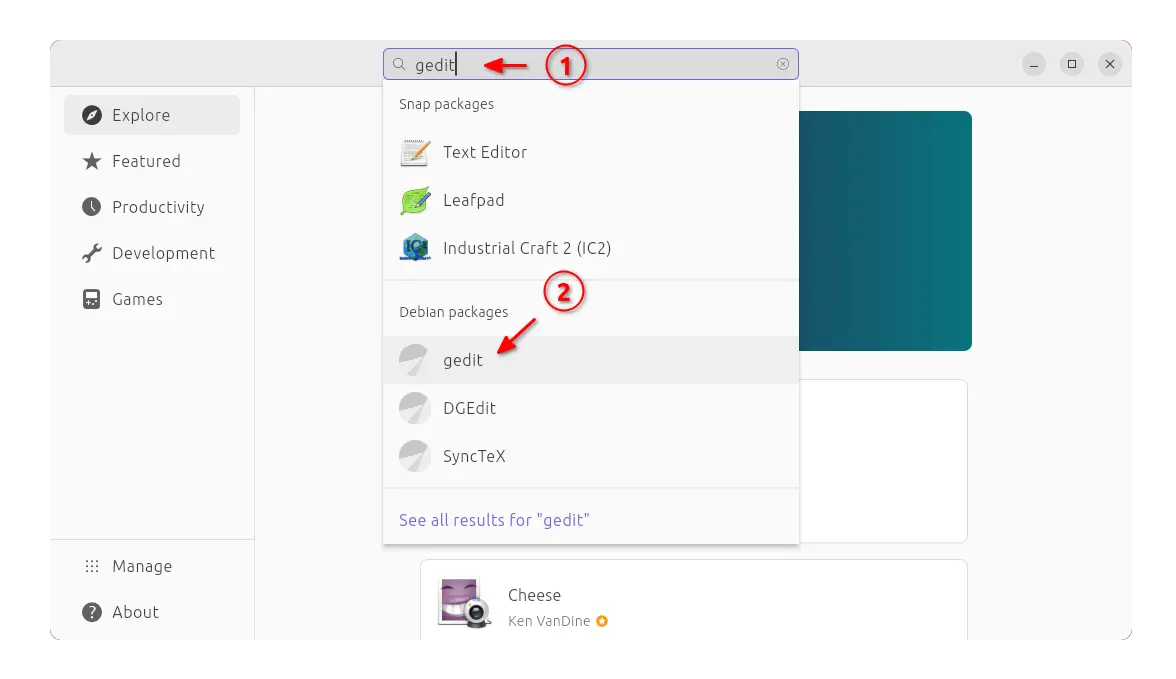
Gedit package is still available in system repository. Ubuntu and its based systems can simply install it on all supported cpu architecture types, either directly from Ubuntu Software App:
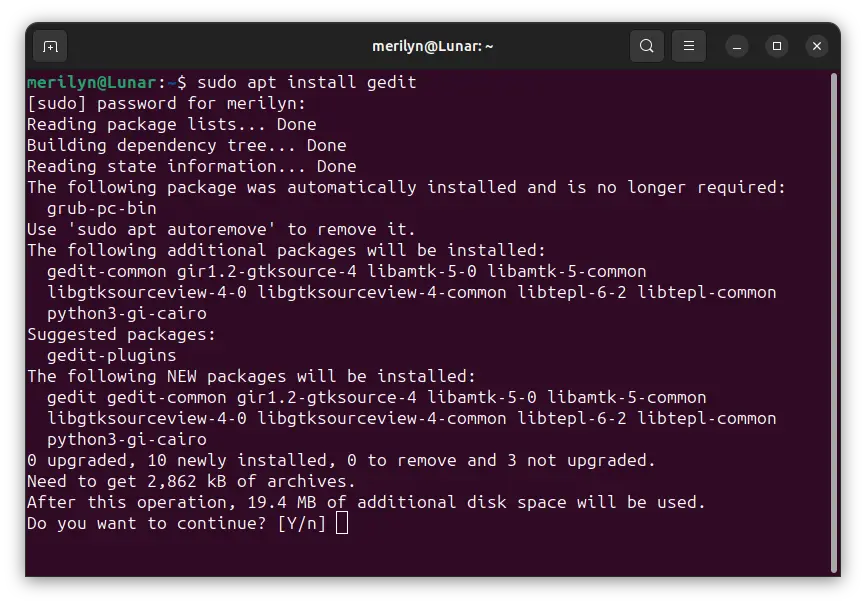
Or, press Ctrl+Alt+T on keyboard to open terminal and run the single command to install the text editor:
sudo apt install gedit
For the plugins, install via sudo apt install gedit-plugins
Step 2: Set Gedit as default
After installing the editor, you may either search for and open it directly from the overview screen or right-click on document and select ‘Open With’ and choose gedit from the list.
Option 1: Use context menu option
To set it as default, right-click on any file that you want to open with gedit, then click “Open With” option. In pop-up dialog, choose ‘gedit’ and use the ON/OFF switch to set ‘Always use for this file type’.
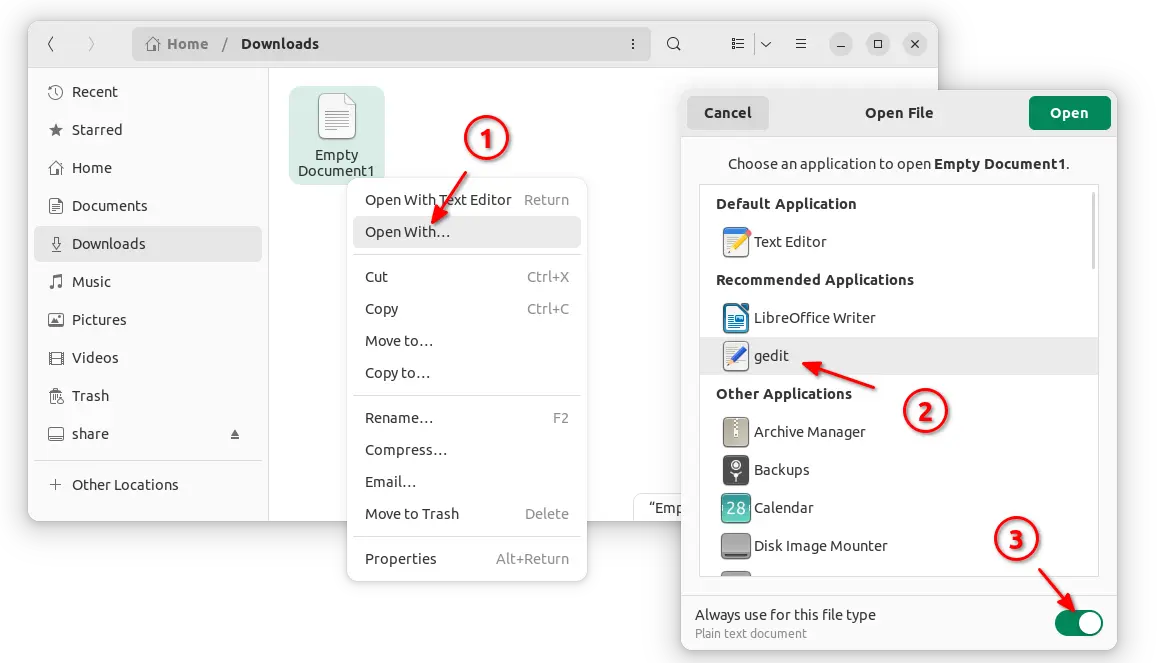
After that, all the files in that file type will use ‘gedit’ as default application to open with.
Option 2: Edit config file
Without setting the option one by one for each file type, advanced users may configure the ‘mimeapps.list‘ file to specify all the file types that use gedit as default.
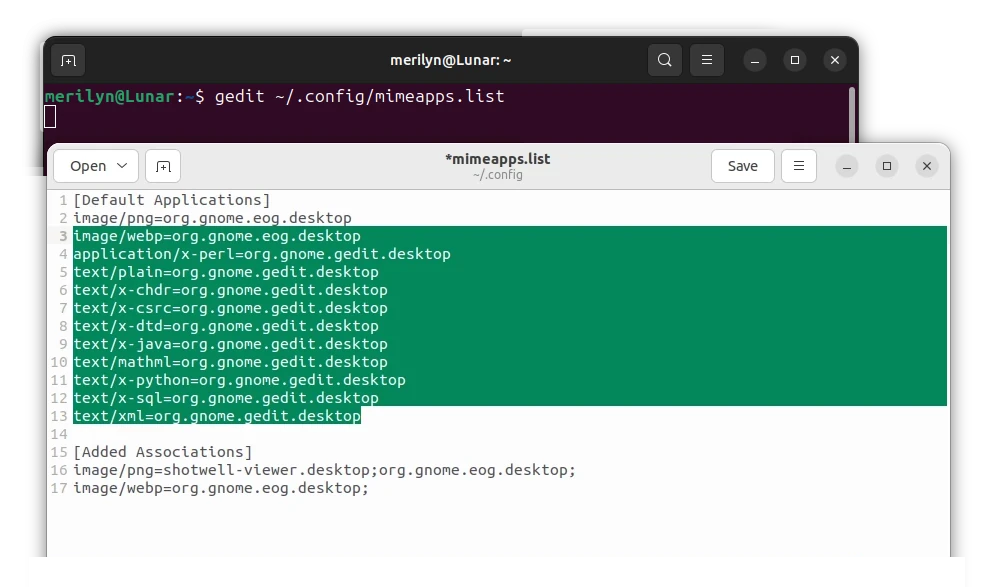
Simply press Ctrl+Alt+T on keyboard to open terminal. And, run command to open ‘~/.config/mimeapps.list’ file:
gedit ~/.config/mimeapps.list
When it opens, add the following lines to set gedit as default for common file types (add more as you need):
application/x-perl=org.gnome.gedit.desktop
text/plain=org.gnome.gedit.desktop
text/x-chdr=org.gnome.gedit.desktop
text/x-csrc=org.gnome.gedit.desktop
text/x-dtd=org.gnome.gedit.desktop
text/x-java=org.gnome.gedit.desktop
text/mathml=org.gnome.gedit.desktop
text/x-python=org.gnome.gedit.desktop
text/x-sql=org.gnome.gedit.desktop
text/xml=org.gnome.gedit.desktop
add [Default Applications] as first line, if it was an empty file.
After saving the file, all the file types you set will open by default with gedit text editor immediately.
Enable rounded bottom corner & auto light/dark theme
Gedit text editor is still GTK3 application that may look a bit outdated in Ubuntu 22.10. As a workaround, user may use rounded window corners extension to make rounded bottom corners, and install another extension to make it follow system color scheme (light/dark).
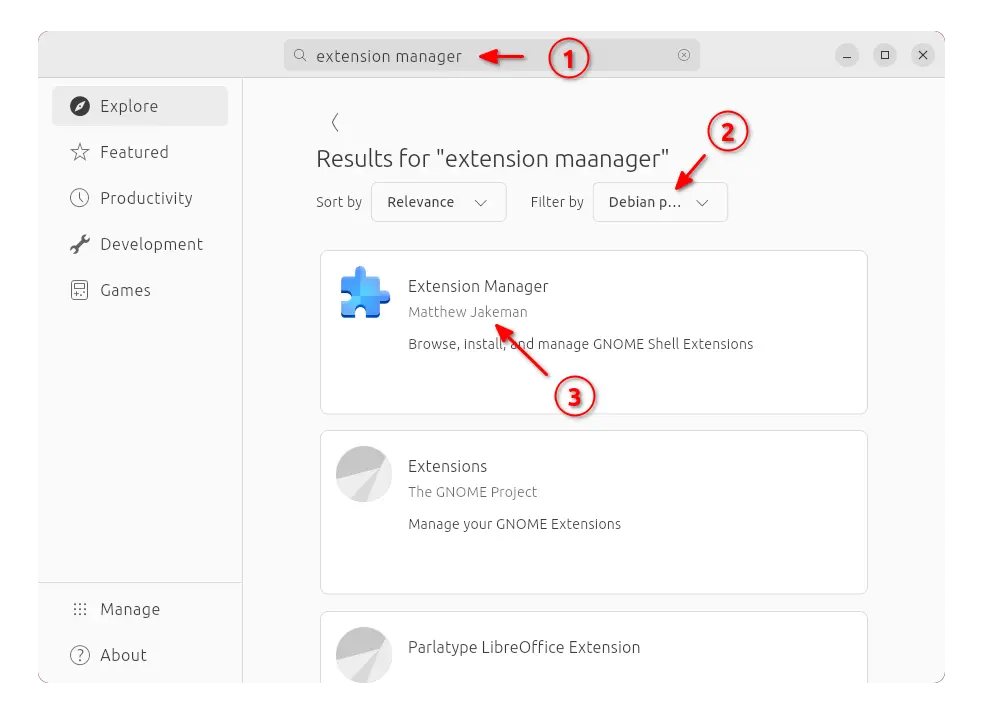
1. First, search for and install ‘Extension Manager‘ application from App Center:
2. Press Super (‘Windows’ logo) key on keyboard to open overview, search for and open Extension Manager. Then navigate to ‘Browse’ tab, search & install “rounded window corners”:

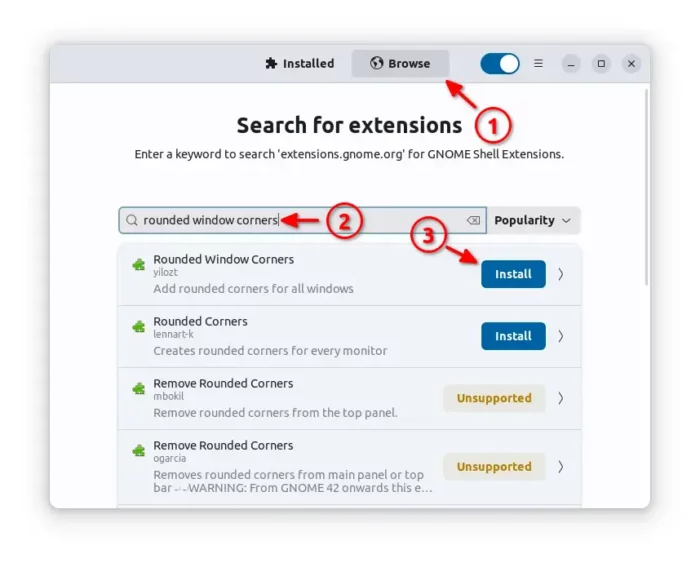
After that, your gedit text editor should have round bottom corners.
3. Also in ‘Extension Manager’ search for and install “Legacy (GTK3) Theme Scheme Auto Switcher” extension, to make it follow system light/dark theme.
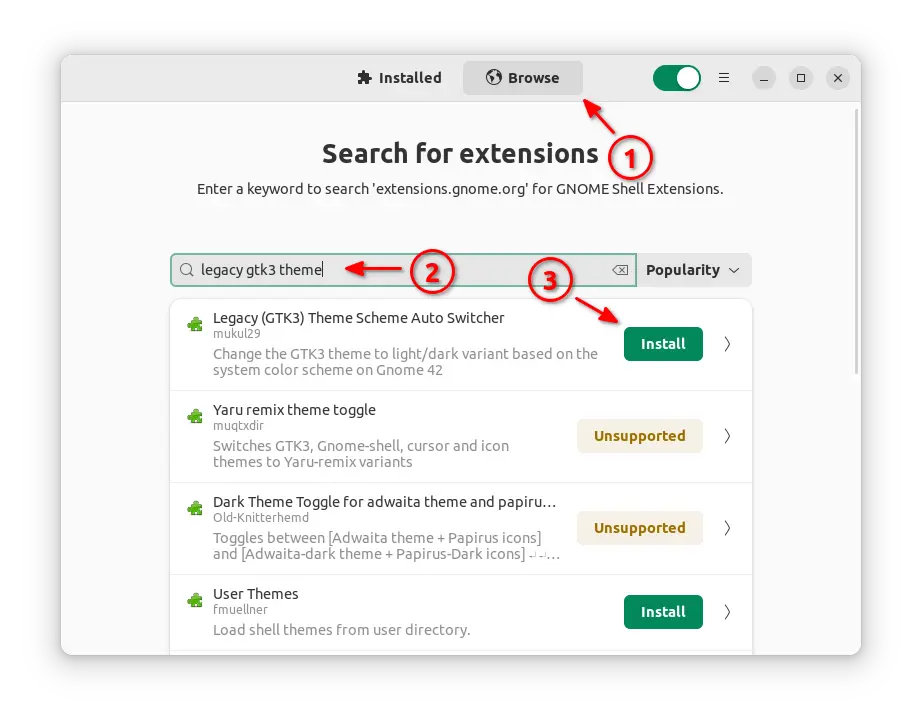
In my case, this extension needs log out and back in to make it work properly.
In addition to make gedit look even more native, you may install the adw-gtk3 theme and apply via GNOME Tweaks tool. See this tutorial for details.
That’s all. Enjoy!