


This is a beginner’s guide shows how to easily compress your data and add password protect to zip, rar, or 7-zip file archives in Ubuntu.
This tutorial should also work in Debian, Fedora, or other Linux with Gnome Desktop.
See the tutorial via Youtube video if you don’t want to scroll down anymore:
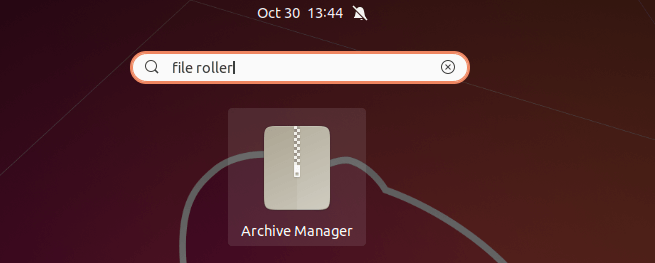
1. First open File Roller (Archive Manager) from the ‘Show Applications’ menu.

2. When it opens, click on the icon with three horizontal lines, and select ‘New Archive …‘ option.
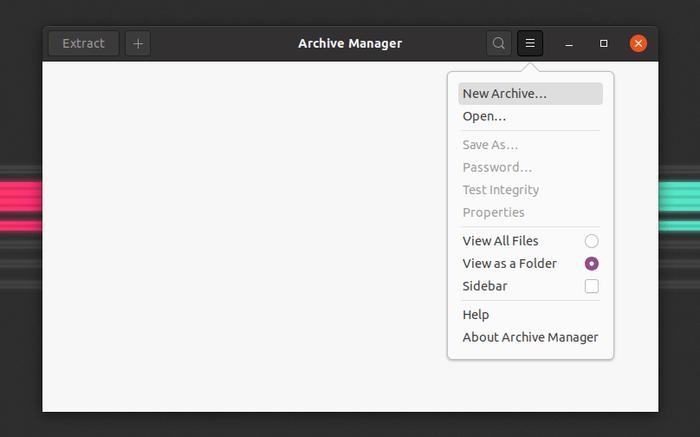

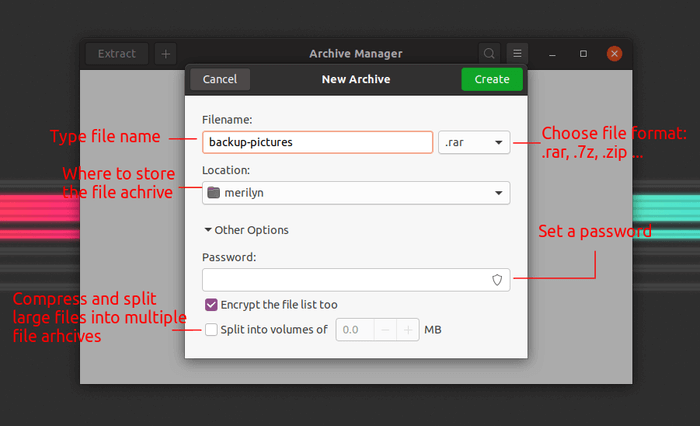
3. In the ‘New Archive’ dialog, do:
- Type a name for the file archive.
- Select file format: rar, zip, or 7z.
- Select where to store the file archive.
- Click expand ‘Other Options’ and set a password.
- Enable “Encrypt the file list too” if want.
- If you have large file to compress, enable the last option to split the archive.
- And finally click on the green Create button.
Ubuntu doesn't support RAR out-of-the-box, enable it by running command in terminal:

sudo apt install rar unrar

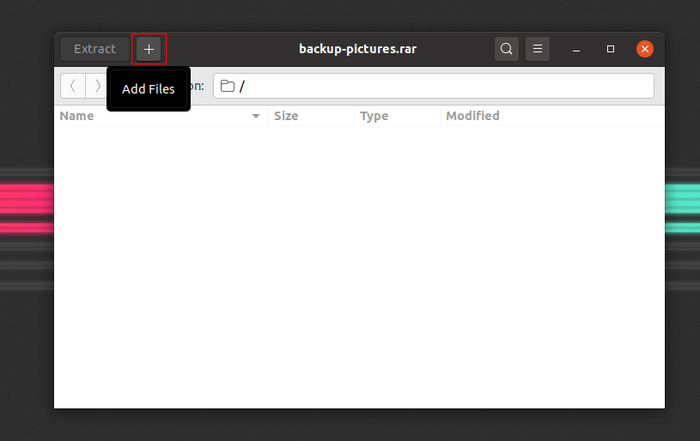
4. Now you have a password protected file archive created! Next click on the ‘+‘ plus icon to add files and / or folders.

5. When everything’s done. You’ll see something look like this:
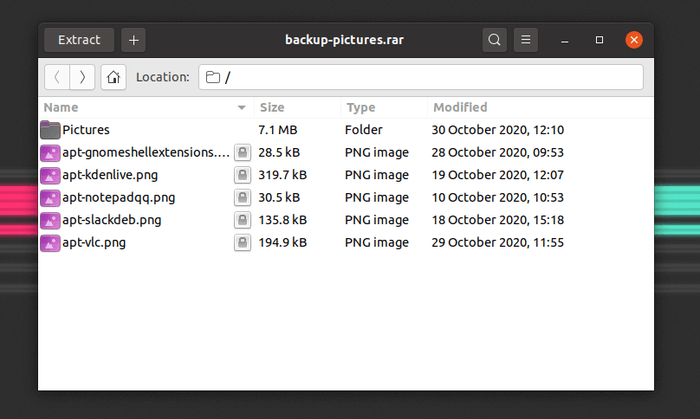

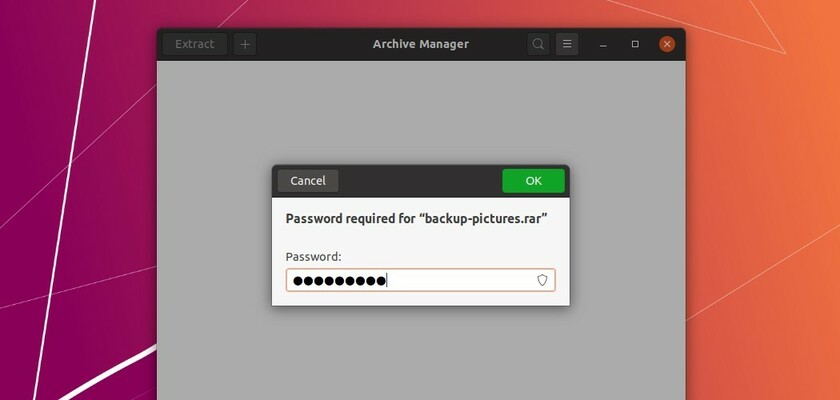
That’s it. Open file browser and check the Rar, Zip, or 7-Zip file archive.