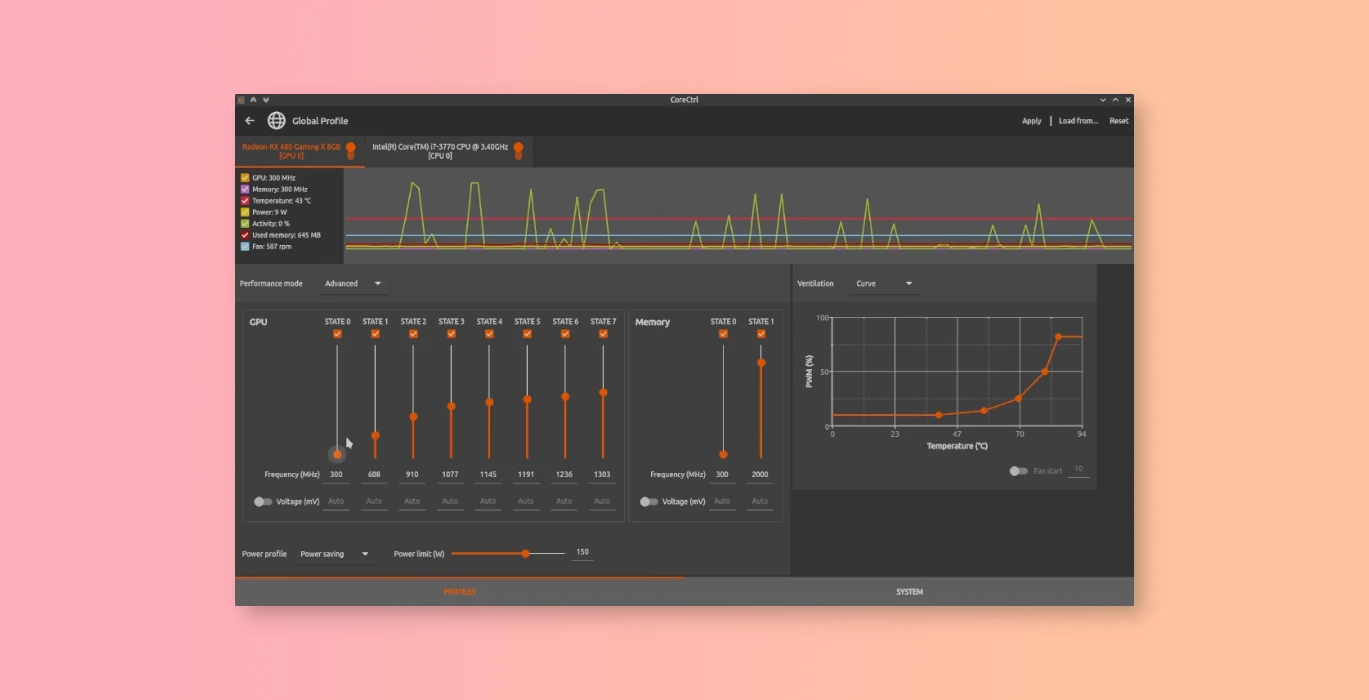
There are already a few tools (and even built-in options) to tune your CPU performance mode in today’s Linux. But what if you want to make your hardware work with different frequency for different applications?
CoreCtrl is the free and open-source tool designed to do the job! With it, you can create as many custom profiles as you want. Each application can have its own profile. And, each profile has custom CPU and GPU settings.
Meaning you can tuning your hardware to make it work in performance mode for games, 3D modeling applications, etc. While, leaving others running in power saving mode.
The application works for both native applications and Windows applications! So far, it has basic CPU controls, including the frequency scaling governor, a sensor for the package maximum frequency. More features in working in process.
And, it has full AMD GPUs controls (both older and newer hardware) though no NVIDIA support, including:
- PWM fan control
- frequency of core and memory
- power limit
- multiple sensors and displays hardware and software information for each GPU.
Besides custom profiles, it can also display system information. They include Mesa, Kernel versions, and CPU/GPU details, such how many cores/threads, L1/L2/L3 cache, module number, BIOS, OpenGL/Vulkan versions.
See more about CoreCtrl via screenshots:
Or see the official YouTube video about the application:
How to Install CoreCtrl in your Linux
CoreCtrl is available in the official repositories for many Linux, including Arch, Fedora, RHEL, and Ubuntu 23.04.
Arch Linux and its based system can open terminal and run command to install it:
sudo pacman -S corectrl
Fedora, RHEL, CentOS, Rocky Linux users can install it either from GNOME Software or by running command in terminal:
sudo dnf install corectrl
Install CoreCtrl in Ubuntu
The application has been made into Ubuntu (and Debian Unstable) repository since 23.04, though it just does not launch in my case.
So, besides building from the source, this Ubuntu PPA is a good choice with Ubuntu 20.04, Ubuntu 22.04, and higher support.
- Firstly, press Ctrl+Alt+T on keyboard to open terminal. When it opens, run command to add the PPA:
sudo add-apt-repository ppa:ernstp/mesarc
Type user password when it asks (no asterisk feedback) and hit Enter to continue.
- The PPA also contains other software packages, such as Mega, Wayland, and Xorg libraries. So, it’s recommend to set PPA priority to avoid them!To do so, run command to create and open a config file in terminal:
sudo nano /etc/apt/preferences.d/corectrl
When the file opens in terminal, paste following line:
# Never prefer packages from the ernstp repository
Package: *
Pin: release o=LP-PPA-ernstp-mesarc
Pin-Priority: 1

# Allow upgrading only corectrl from LP-PPA-ernstp-mesarc
Package: corectrl
Pin: release o=LP-PPA-ernstp-mesarc
Pin-Priority: 500
Finally, press Ctrl+X, type y and hit Enter to save the file.
- After that, refresh system package index by running command in terminal:
sudo apt update
- Finally, install the application by running command:
sudo apt install corectrl
After installation, search for and open CoreCtrl from either ‘Activities’ overview or start menu depends on your desktop environment, and enjoy!
Uninstall CoreCtrl
To remove the software package in Ubuntu, also open terminal and run command:
sudo apt remove --autoremove corectrl
And, remove the Ubuntu PPA by running command:
sudo add-apt-repository --remove ppa:ernstp/mesarc
Also remove the PPA priority config file via command:
sudo rm /etc/apt/preferences.d/corectrl
