Want to group your pictures into light/dark mode wallpapers, that switches automatically when you change system light/dark style? Here’s how to do the trick in GNOME 42+!
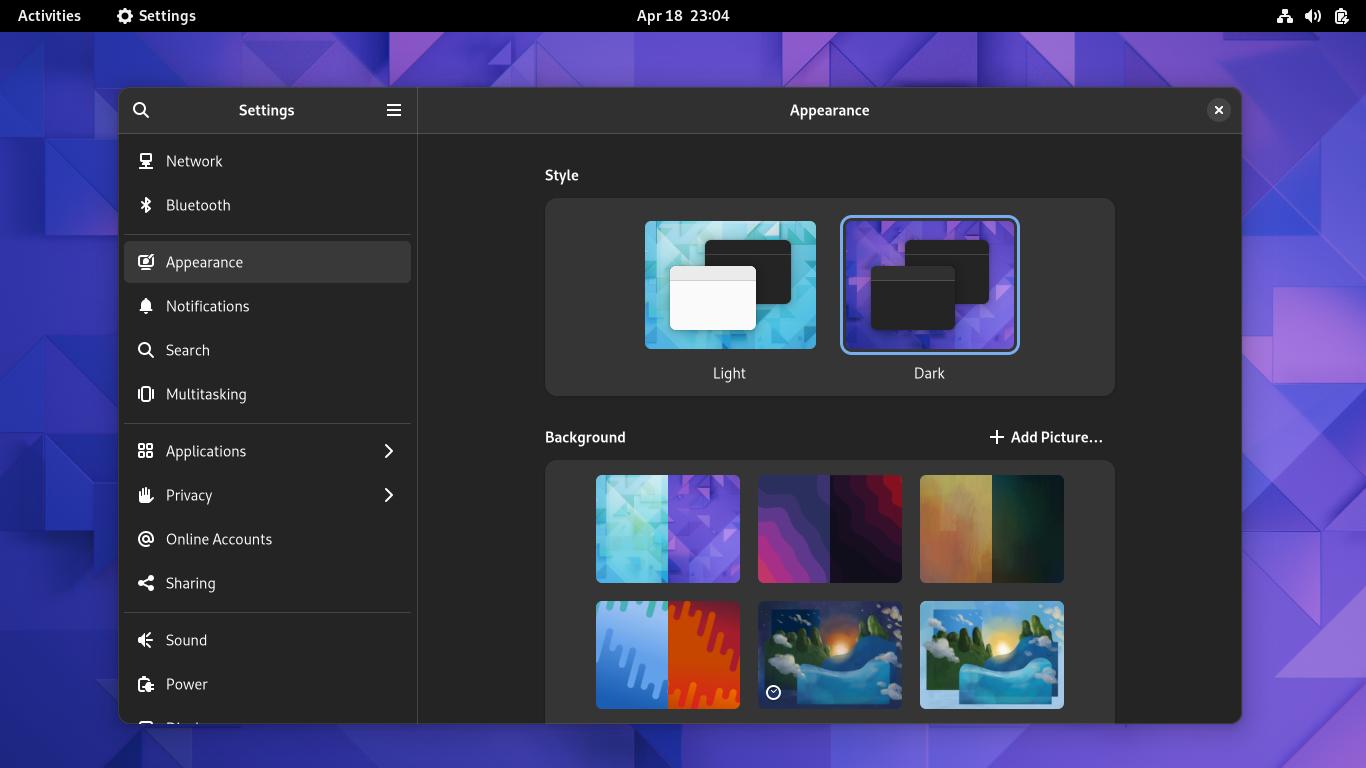
GNOME 42 came with new “Appearance” settings page allows to switch between Light and Dark style. As well, each wallpaper (GNOME’s default) includes 2 picture files that follows system color style.
If you want to add your own pictures as light/dark wallpaper, simply create a XML configuration file to the right place. See following steps for details.
NOTE: this tutorial does NOT work in Ubuntu 22.04, but WILL work in Ubuntu 23.10, 23.04.
Option 1: Create Light/Dark wallpapers manually
User can manually create XML config file to do the job. And, the file should be placed in either “/usr/share/gnome-background-properties/” directory for all users, or “.local/share/gnome-background-properties/” for current user only.
1.) Firstly, press Windows Logo (Super) key on keyboard to open the overview screen. Then search for and open terminal window.
2.) When terminal opens, run the command below to create and edit the XML file (change file name jammy to yours):
- For all system users, run command to generate and edit XML file:
sudo gnome-text-editor /usr/share/gnome-background-properties/jammy.xml
- For current user only, first create the config folder in case it does not exist:
mkdir -p ~/.local/share/gnome-background-properties
Then, create and edit the XML config file:
gnome-text-editor ~/.local/share/gnome-background-properties/jammy.xml
3.) When the file opens, add following lines:
<?xml version="1.0"?>
<!DOCTYPE wallpapers SYSTEM "gnome-wp-list.dtd">
<wallpapers>
  <wallpaper deleted="false">
    <name>TYPE_NAME_HERE</name>
    <filename>/PATH/TO/PICTURE_LIGHT</filename>
    <filename-dark>/PATH/TO/PICTURE_DARK</filename-dark>
    <options>zoom</options>
  </wallpaper>
</wallpapers>
Type a name in “<name>” section, and insert file path of picture for light mode between <filename> and </filename>. Also, add file path for dark mode in <filename-dark> section.
Tip 1: press Ctrl+L in file manager allows to copy current folder path.
Tip 2: Drag & drop file into terminal will insert the file path, so you may copy & paste it to anywhere else.
After saving the file, you should see the new wallpaper in ‘Appearance‘ (need to refresh, switch to another tab and then back) settings page.
Option 2: Use a Graphical Tool
Without editing the config file every time, there’s a third-party graphical application make things easier.
Install the Dynamic Wallpaper app
Fedora 38+ with third-party repository enabled can search for and install “Dynamic Wallpaper” app directly from Gnome Software.
For other Linux with GNOME 42+, do following steps one by one to install it:
- First, search for and open terminal from ‘Activities’ overview.
- When terminal opens, run command to install the Flatpak daemon in Ubuntu/Debian:
sudo apt install flatpak
Fedora has Flatpak support out-of-the-box, other Linux can follow this setup guide to enable it.
Enable Flatpak support in Ubuntu - Finally, install the Dynamic Wallpaper app by running command in terminal:
flatpak install https://dl.flathub.org/repo/appstream/me.dusansimic.DynamicWallpaper.flatpakref
Create light/dark wallpaper via the app
Once installed the application, search for and launch it from overview screen.
When it opens, type a desired name, click on the little folder icon one by one to add image files, and finally click on “Create” button.
It makes a backup of selected image files into .local/share/backgrounds folder. Meaning, you don’t need to keep the original photo image files.
And, it creates the XML config file for current user only by storing it in .local/share/gnome-background-properties directory. After that, you will see the new wallpaper in the “Appearance” settings page.
